Slime making may be one of the messier activities you’ll get up in the classroom – but it’s also one of the most fun.
It’s not just the making that will excite your class either. Once it has been made, the slime can be used for a whole host of engaging educational means.
In this article, we’ve got it all. First, a short video of how easy it is to make your slime using Elmer’s Slime Starter Pack. Then, a collection of ideas for putting it to good use in the classroom.
Table of contents
Steps
6
Total time
30 minutes
Difficulty
Easy
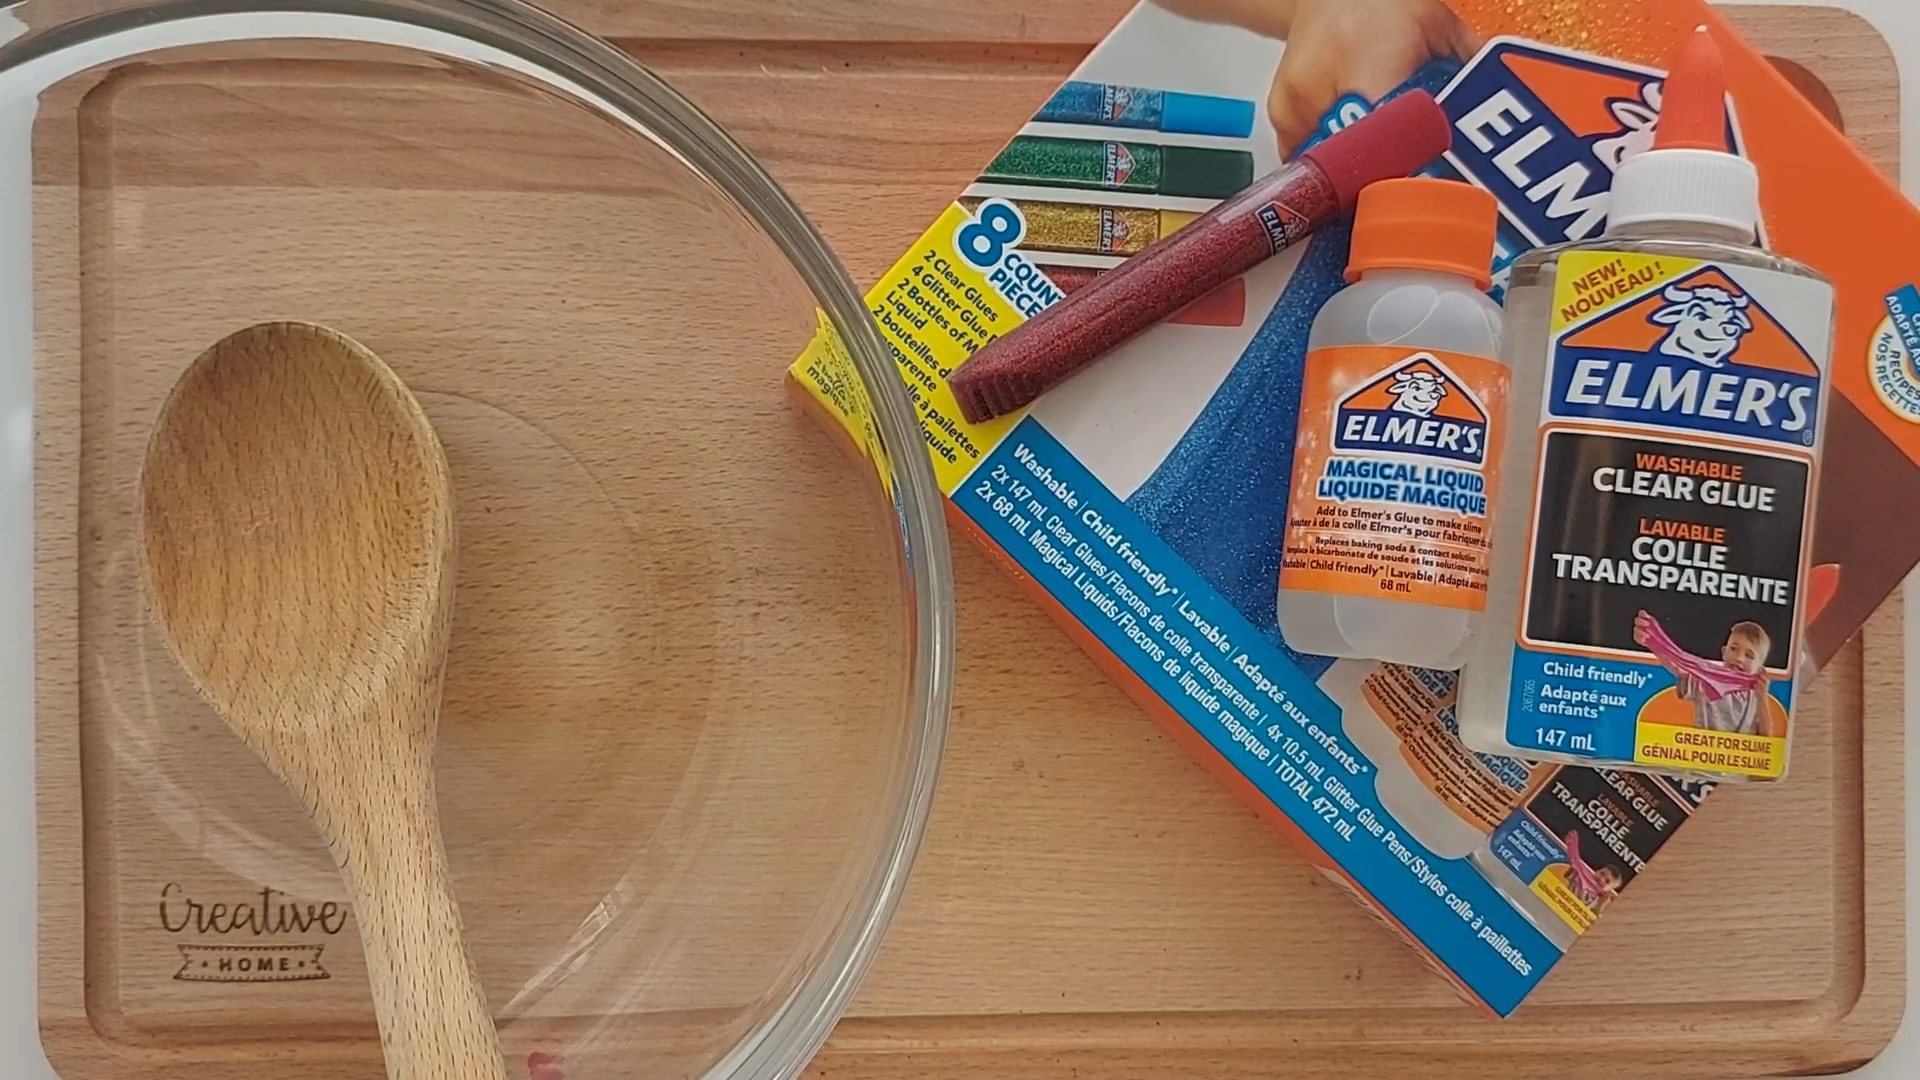
What you’ll need
- Elmer’s Slime Starter Pack
- Clear school glue
- Glitter glue pen
- Magical liquid
- Mixing bowl
- Wooden spoon or mixer
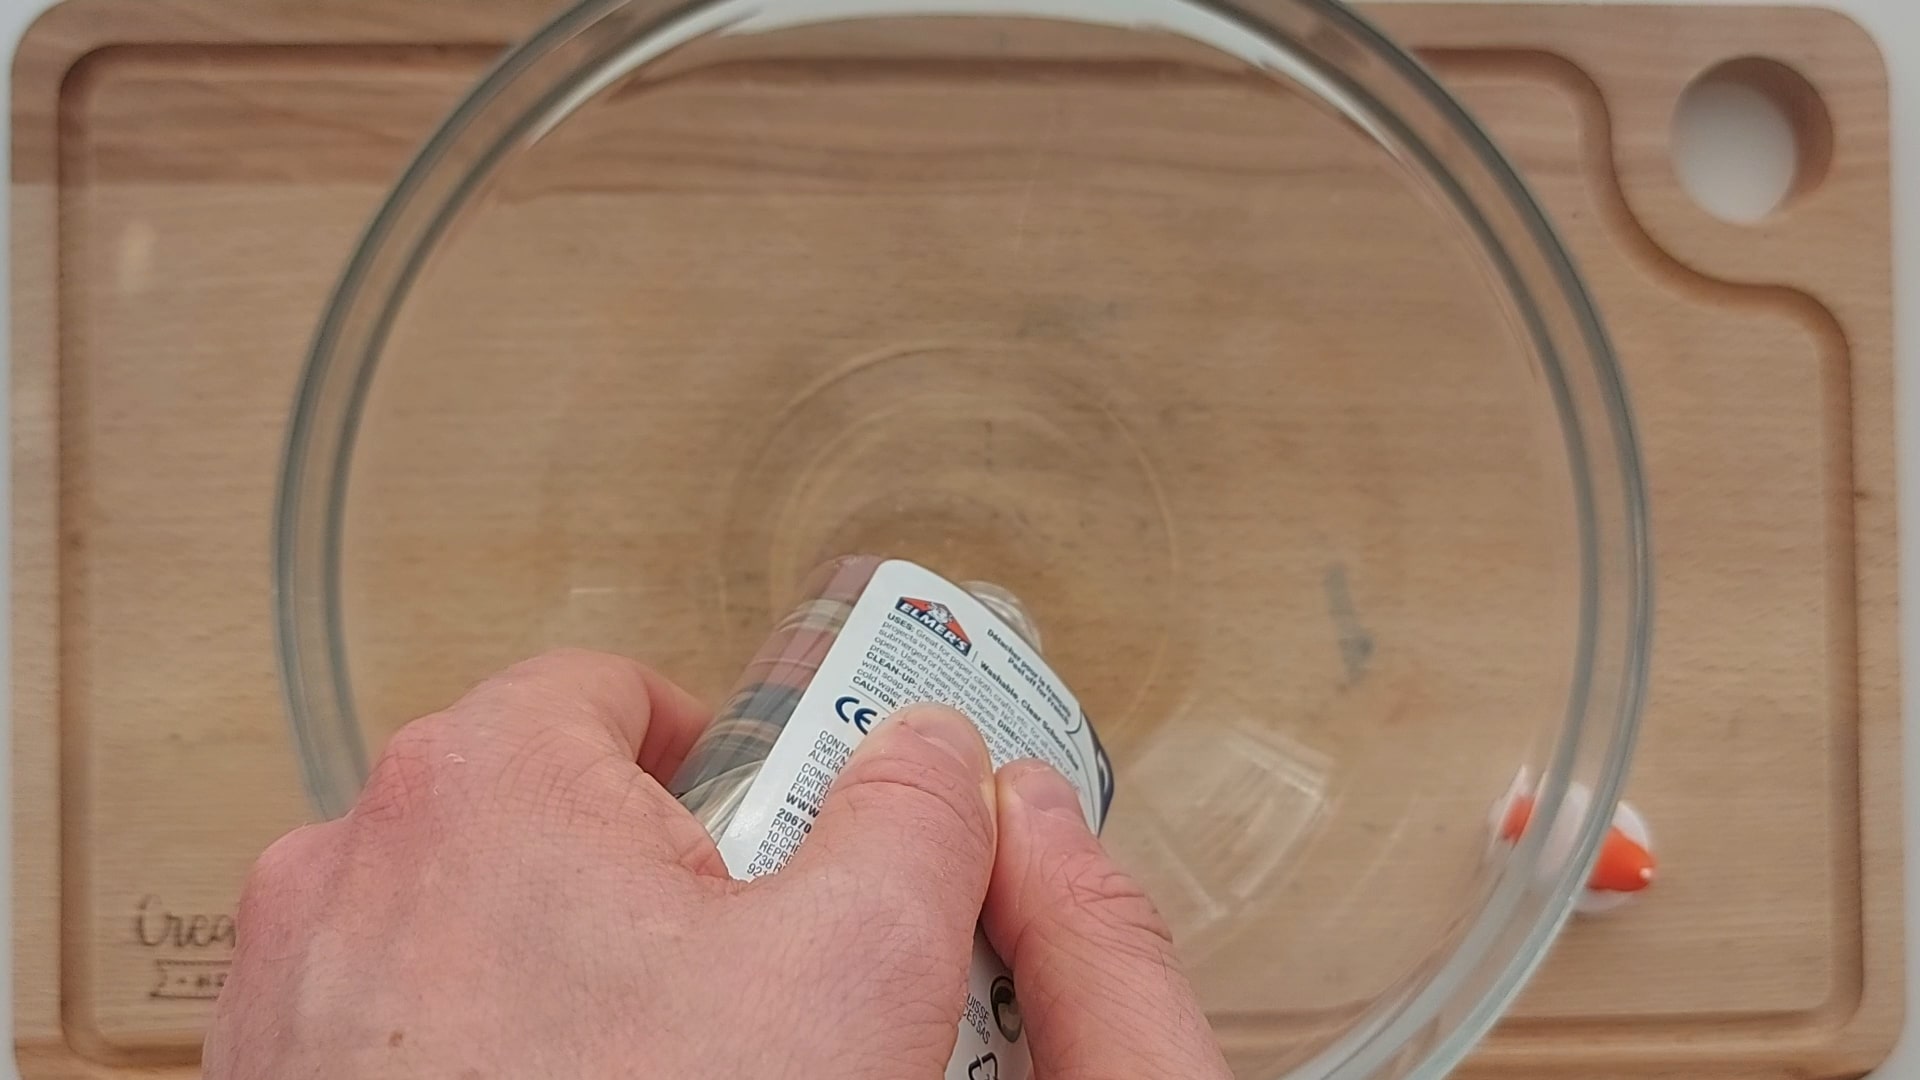
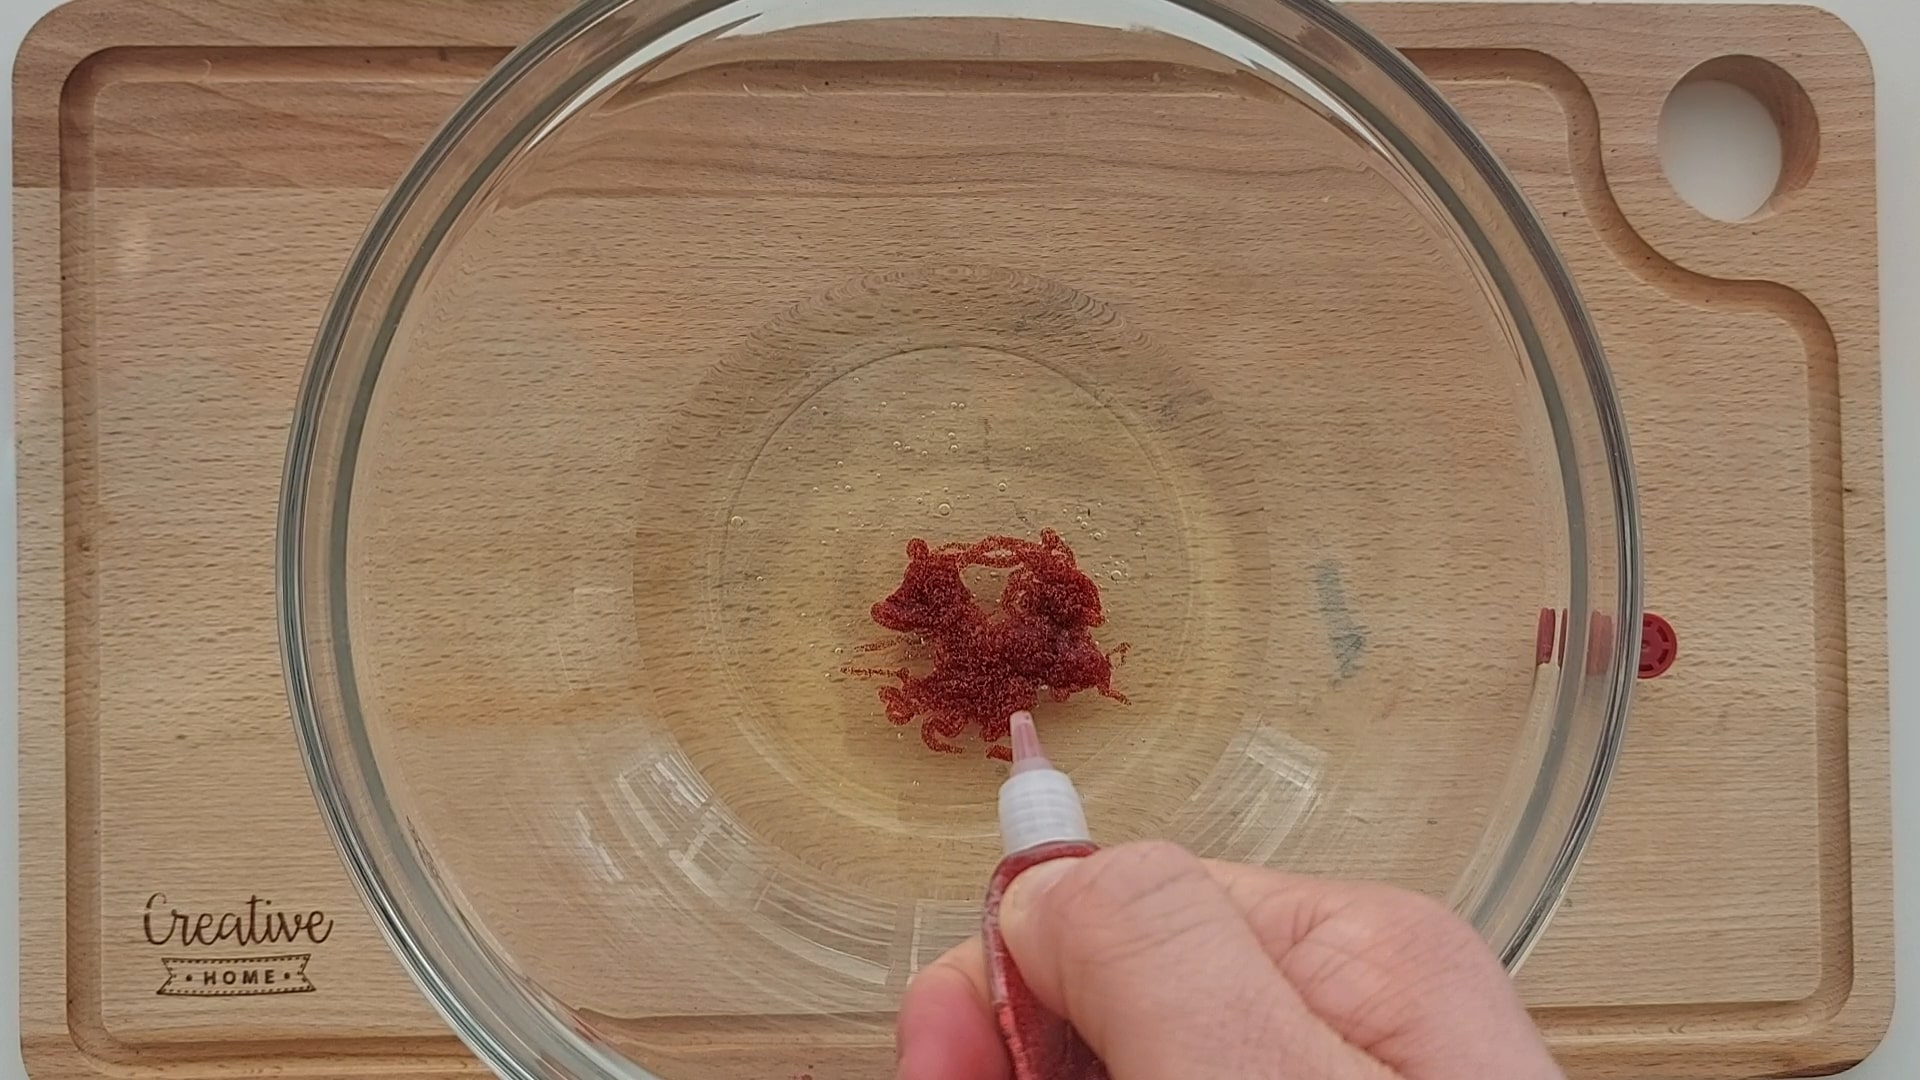
Step 2
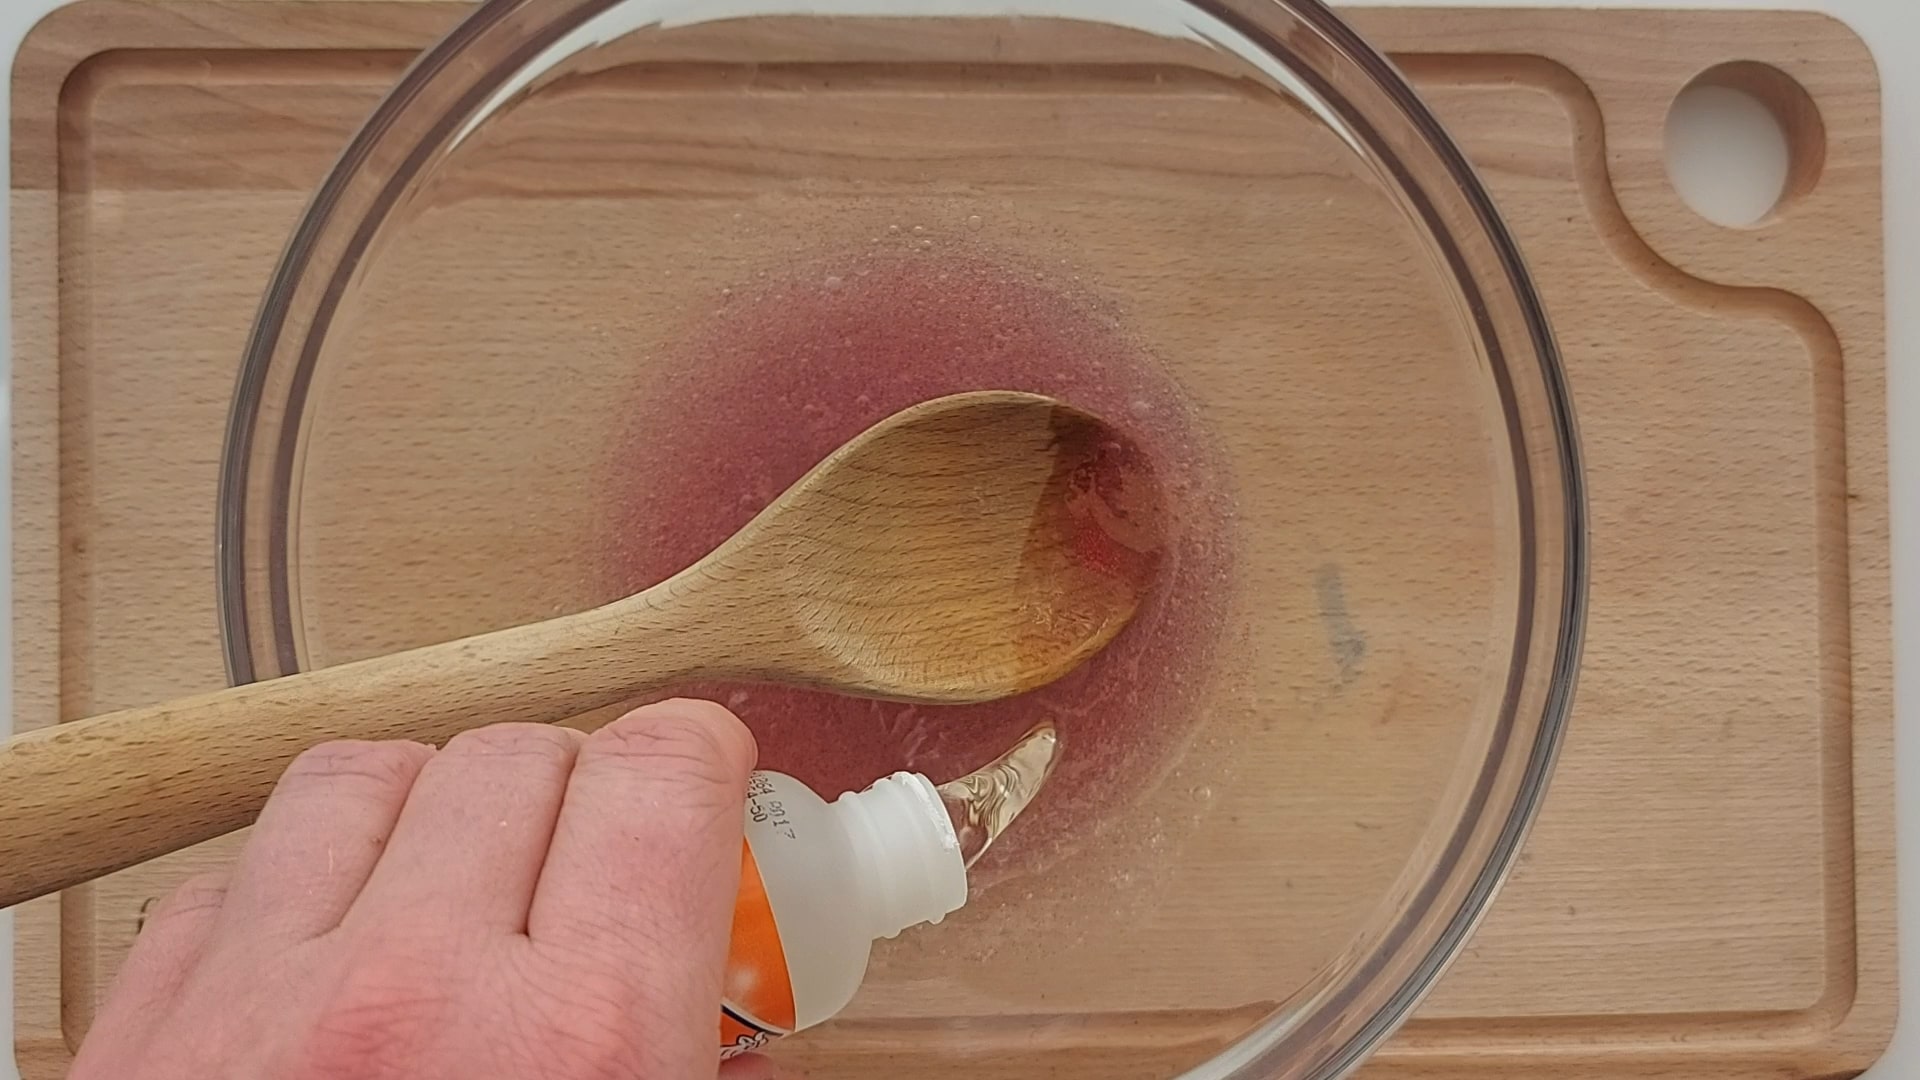
Add to it your choice of glitter glue. We went for red, but you can be as creative as you like and go with whatever your favourite colour is.
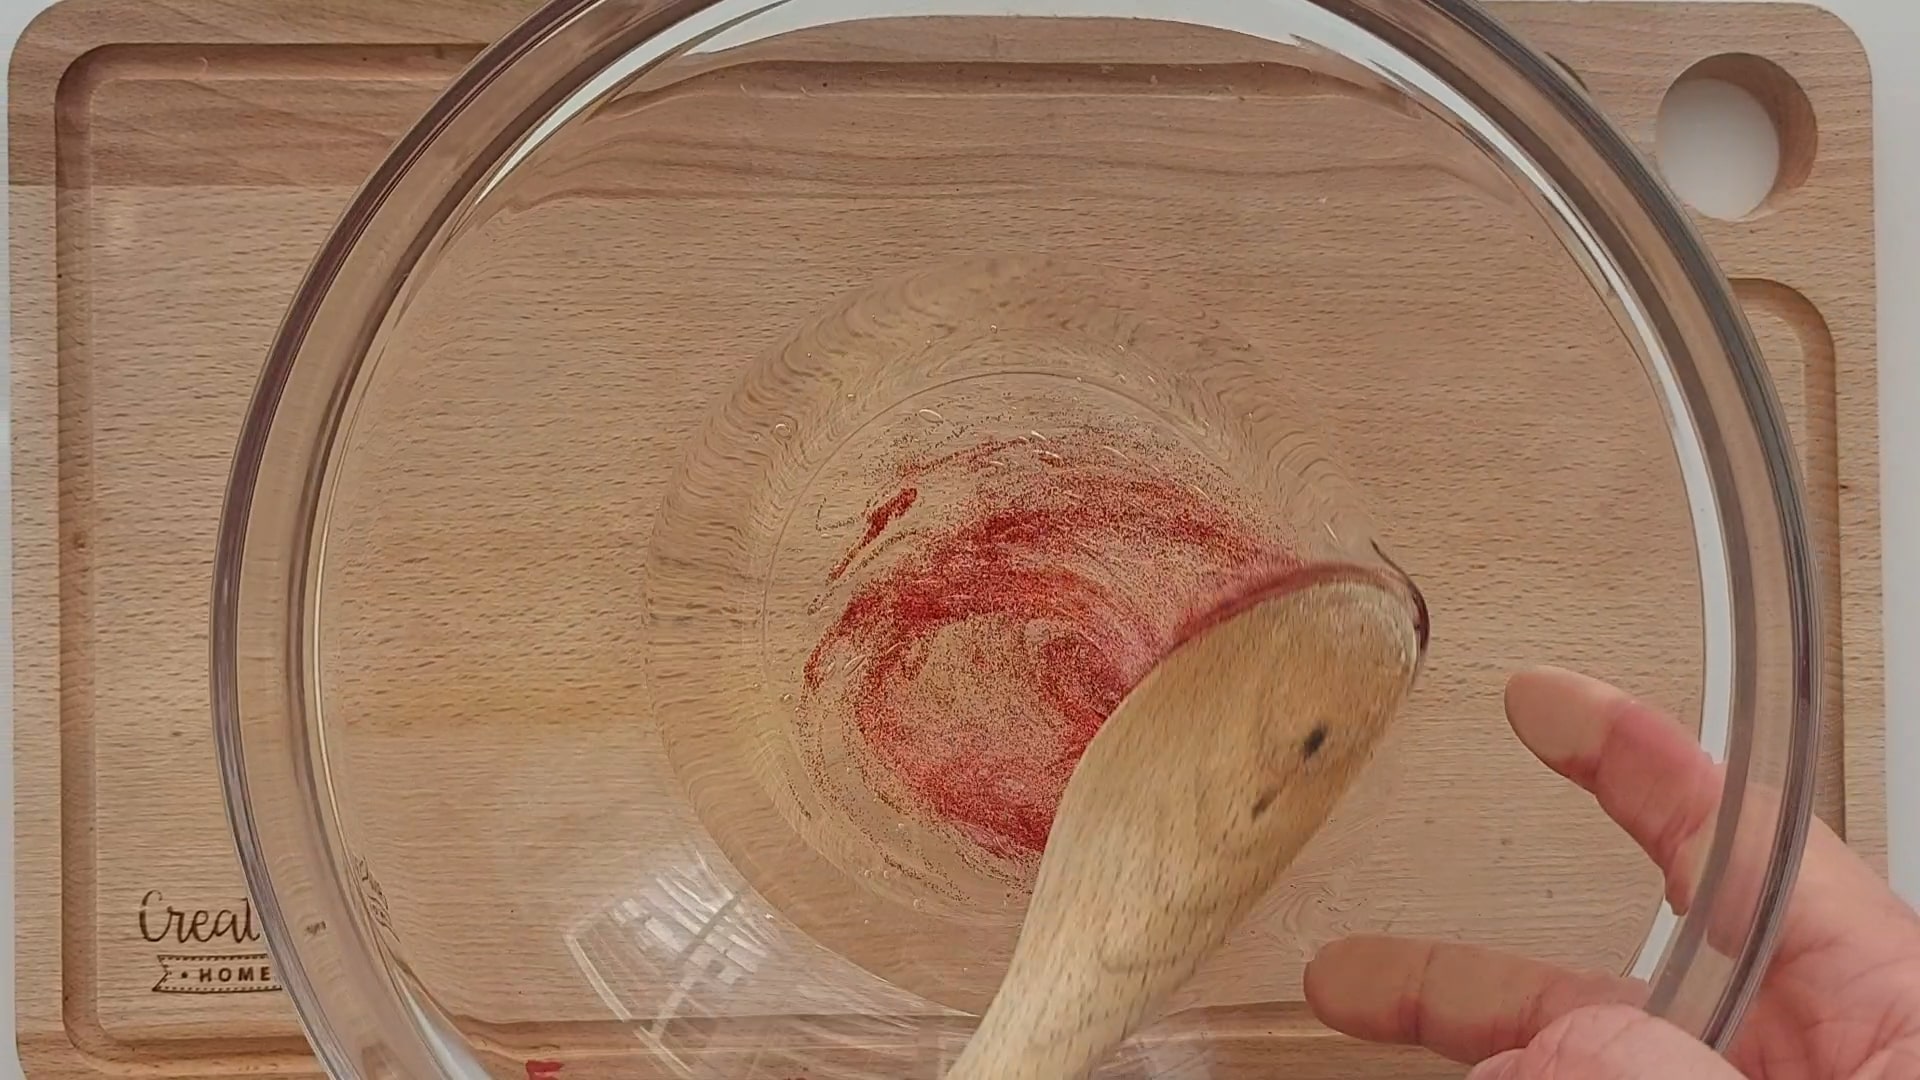
Step 3
Now take your mixing spoon and give it a good stir. You want the glitter to be as evenly distributed as possible and the colour to have set nicely into the glue.
Step 4
Once that’s done, add in a bottle of the magical liquid.
Step 5
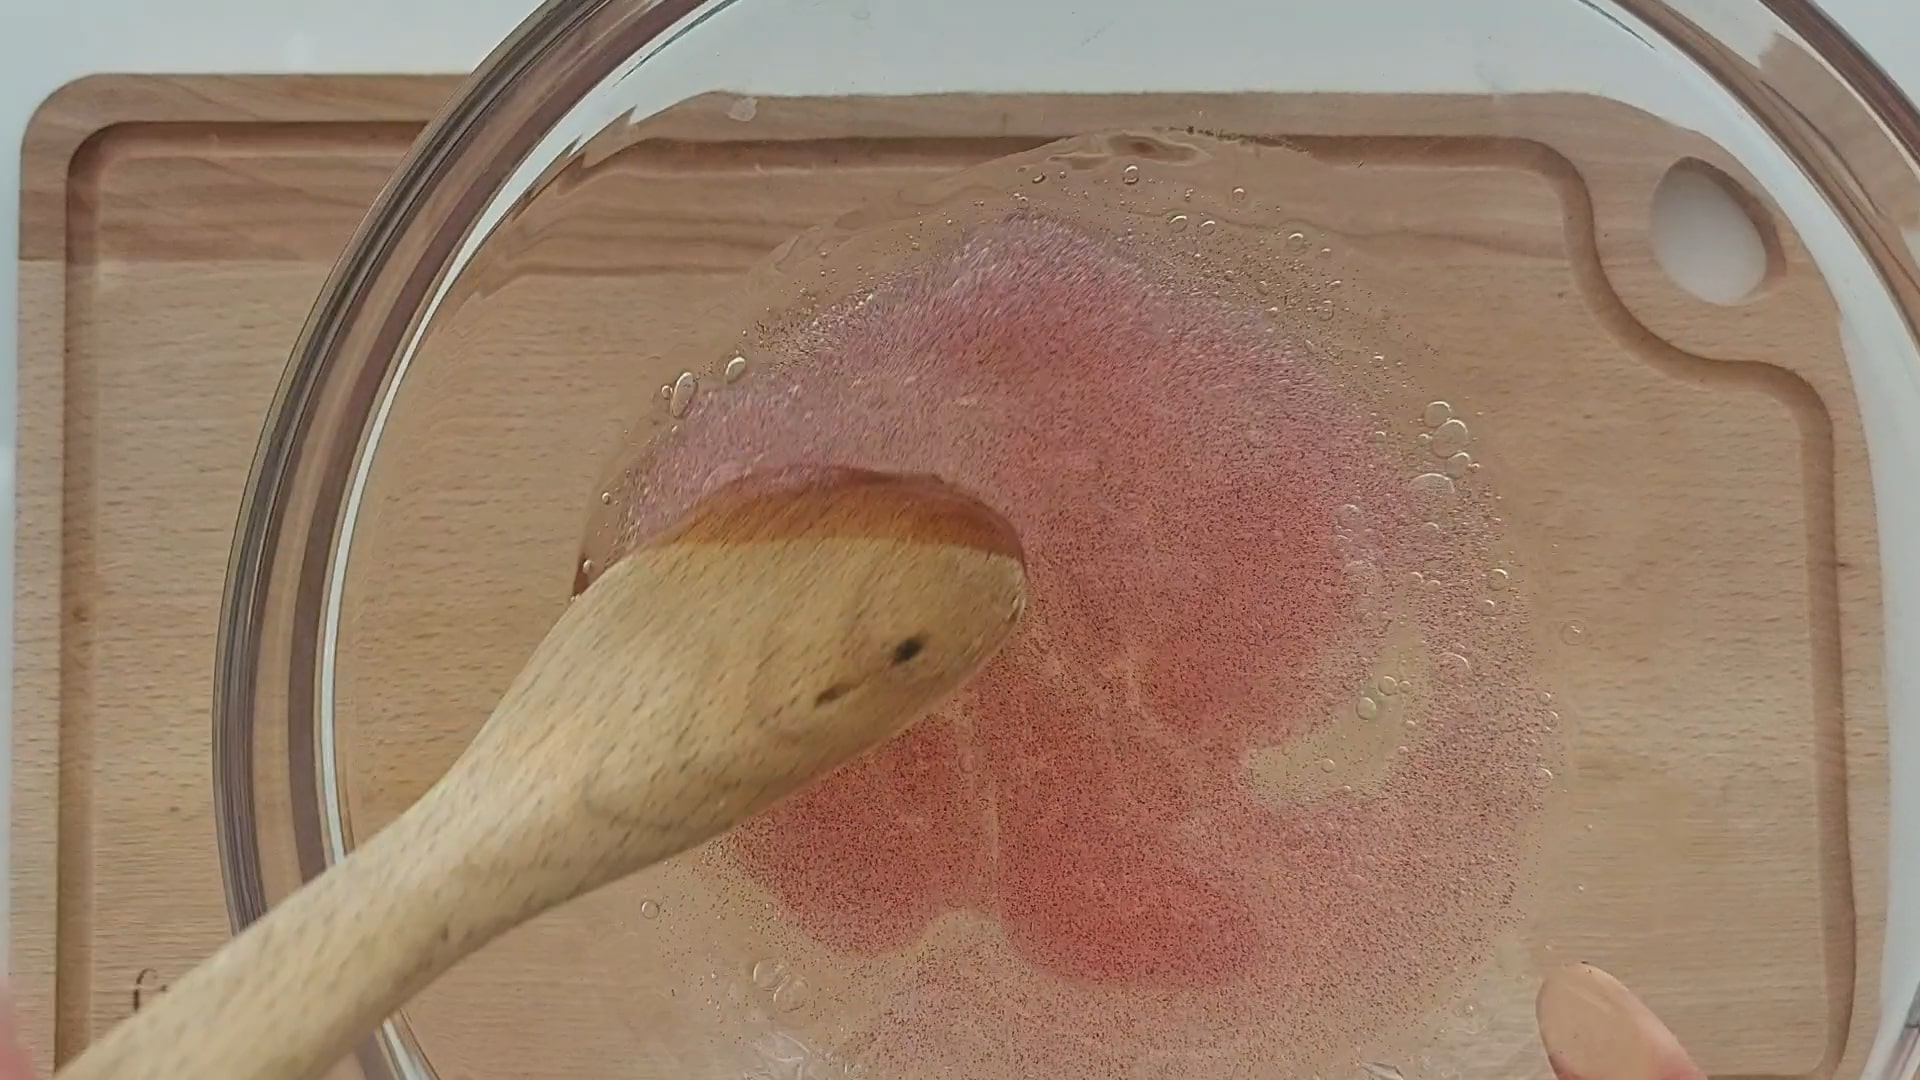
Keep stirring the mixture together. You’ll notice it start to harden and become more and more difficult to stir.
Your slime is coming on nicely!
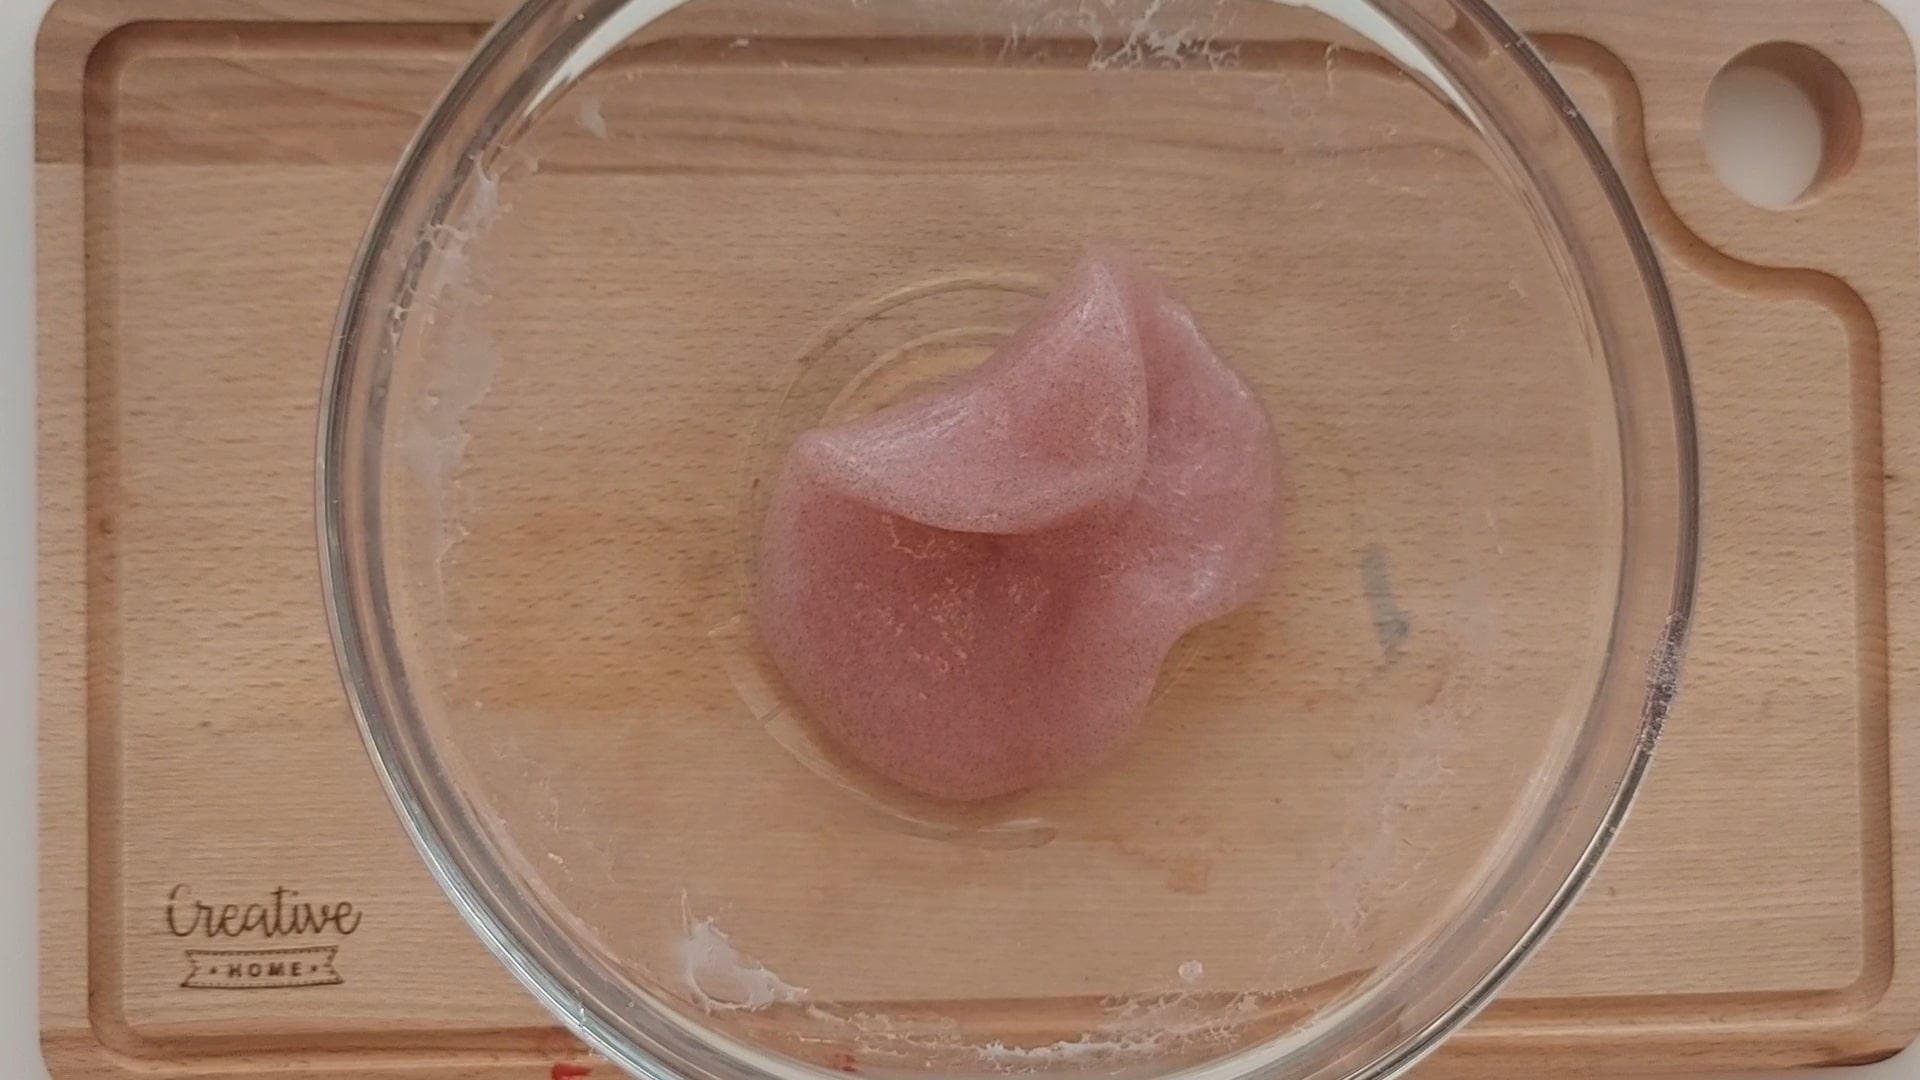
Step 6
Eventually, it’ll be too stiff to stir at all. It should also be less sticky, meaning you can bring it out the mixing bowl and onto a plastic surface (like a chopping board). Stick to plastic as the slime will stick more easily to wooden surfaces – messy!
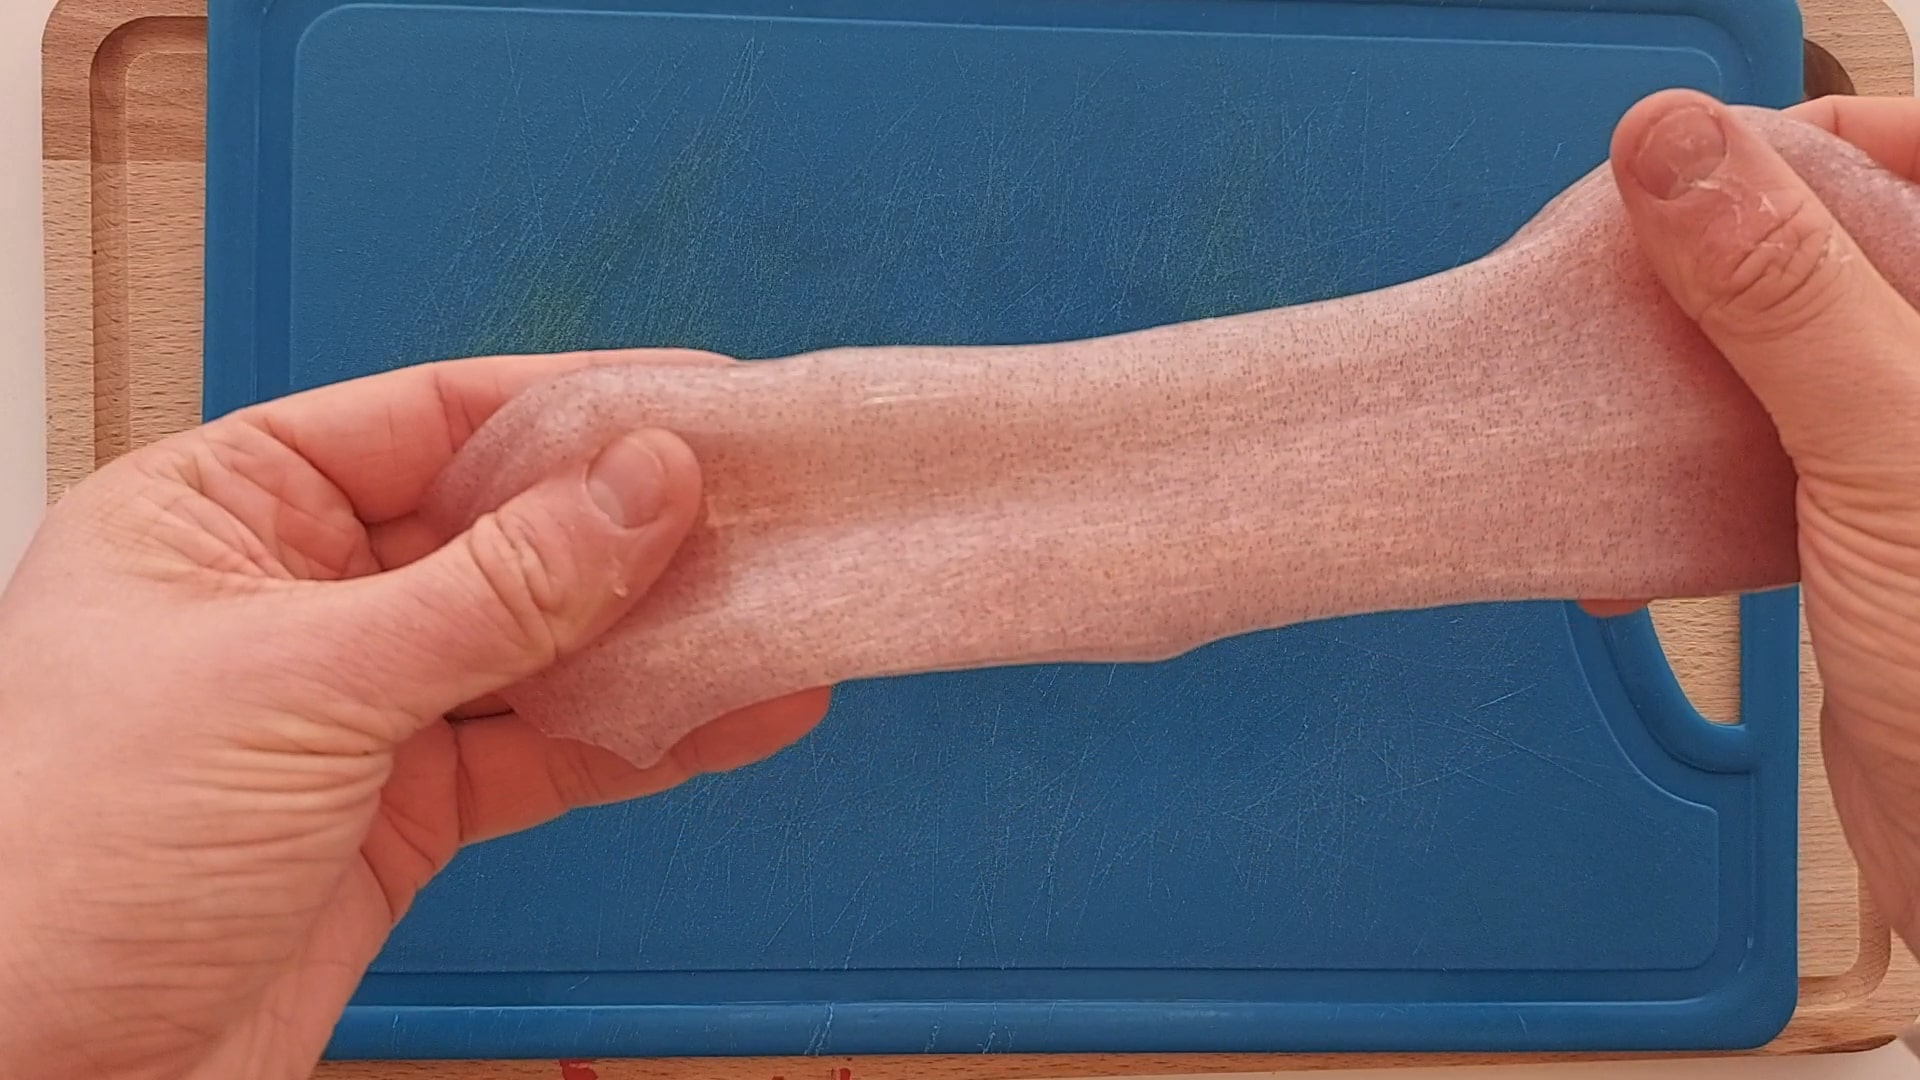
To finish off your slime, knead it with your hands. You’ll know it’s ready when you can stretch and squeeze the slime without it sticking to your hands or the plastic surface.
Making slime with glue sticks
Using a premade kit isn’t the only way you can make slime in the classroom. Using a stock cupboard staple – the trusty glue stick – you can make slime that’s just as squishy and fun.
The process has many similarities above, but here is a quick step-by-step guide on how it is done:
Step 1: Wind your glue stick up all the way, cutting off small chunks and catching them in a bowl as you go.
Step 2: Add in a small amount of water. If doesn’t have to be a lot, it’s just to prevent the glue from drying out in the step 3.
Step 3: Pop the bowl in the microwave for 30-50 seconds (depending on the power of your microwave). The intention here is to dissolve the glue.
When it is finished, give it a stir. If it hasn’t dissolved completely, keep heating it in the microwave in 15 second intervals until it has.
Step 4: To give your slime some colour, stir in a few drops of food colouring of your choice.
Step 5: Put the slime in the freezer for a brief time – around 15 minutes. It should now have a more slimey, gooey appearance.
Step 6: To make it more solid, give the slime a knead with your hands. This will likely take a few minutes, but the more you knead the better your slime will be.
Note: This method will produce slime that is a little more gooey and a little less solid. There are also recipes for making slime using laundry detergent and even contact lens solution. Have an experiment and find which is best for your needs.
5 classroom activity ideas using slime
Now your slime is complete, let the fun commence! There are a whole host of ways you can use slime to engage and excite the pupils in your class. Here are five to get your creative juices flowing.
1. Observe and make notes
Start by simply getting stuck in and having some fun with it. Make a checklist for your class and ask them to make notes on each point. Does it bounce? How does it feel? Is it heavy or light?
Make simple observations about the slime and take that into some of the other activities on this list.
2. The buoyancy test
Slime is a great tool for some buoyancy science. Does it float or sink? How does it compare with other materials that sink or float – do they fall faster or slower?
All these questions and plenty more can be answered by using your slime for some experiments.
3. Work out the force
More science, but this time using a force meter. Pull on the slime and see how many newtons it can resisted before it pulls apart. Again, compare it to other common materials. Is tit more or less resistant? Note down the measurements to make it a professional experiment.
4. The sink test
As an extension of the buoyancy test, can it act like a boat for other materials or does the extra weight take it under? How does adding more weight impact the slime when it interacts with water?
5. Give them some personality
Put science to one side and just get arty with it. Glitter is only the tip of the iceberg when it comes to decorating slime. Food colouring, sequins and other crafty bits can go into your mix for an extra bit of personality. You could even stick on some googly eyes and make a face on them.