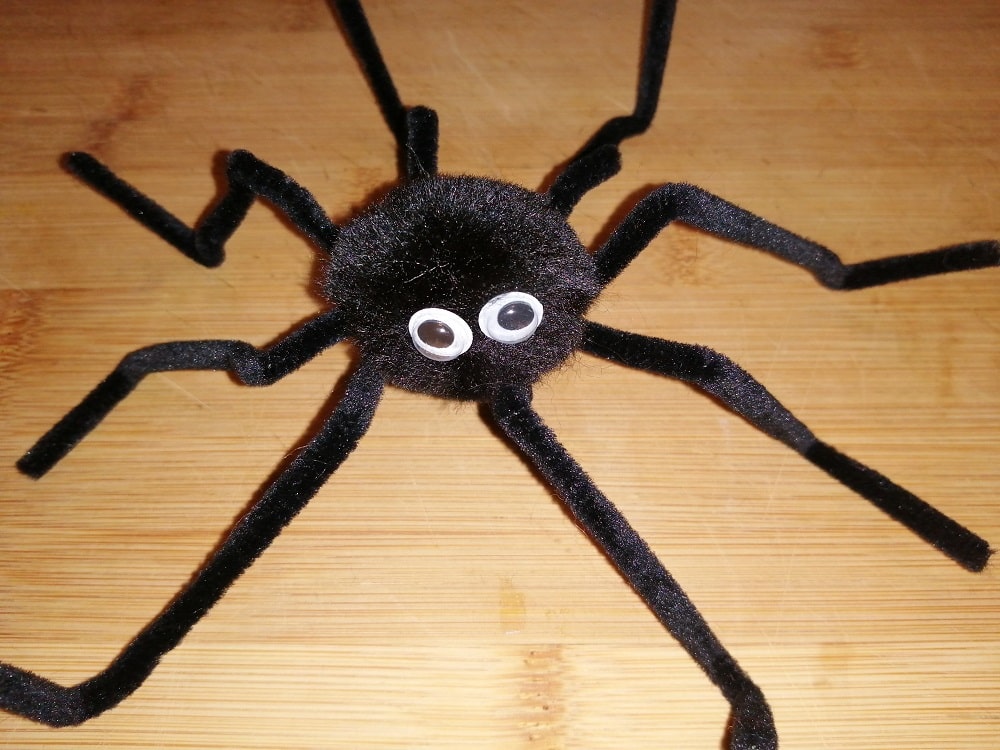
If you’re after a simple but spooky solution for an upcoming craft session, then look no further than the pipe cleaner spider. These fun eight-legged friends are great for Halloween or any time you want to make a creepy, atmospheric classroom or home.
And the best part is, they’re super quick and easy to make. Here is how to make the perfect pipe cleaner spider in just six steps.
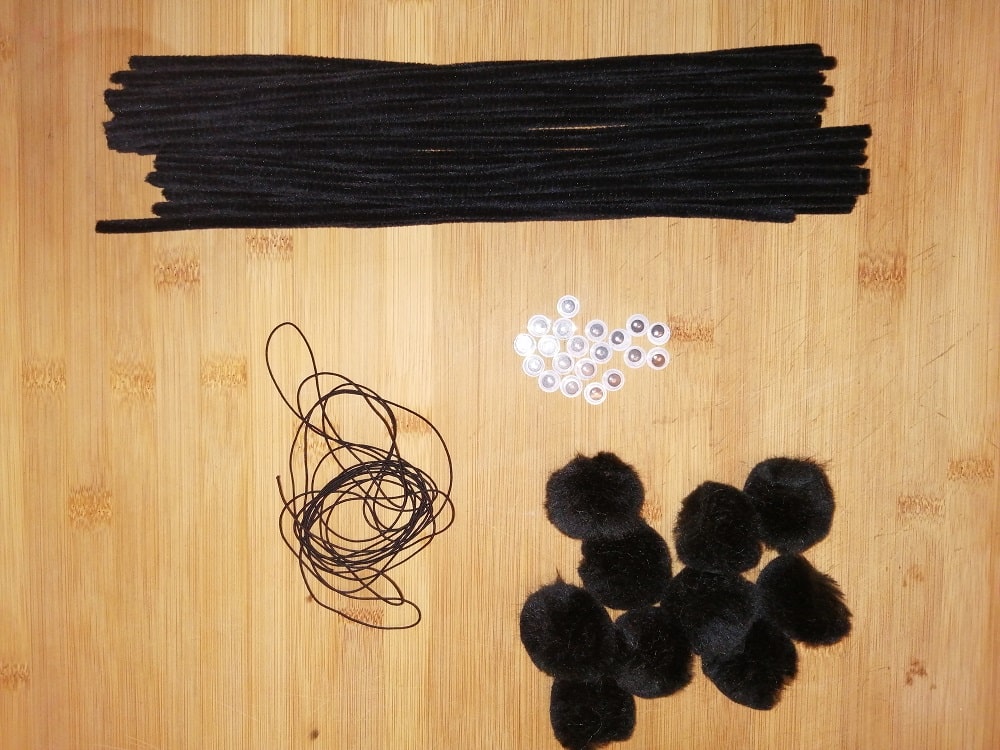
What you’ll need
- Black pom poms
- Googly eyes
- Black pipe cleaners
- Black elastic cord
- Glue
Method
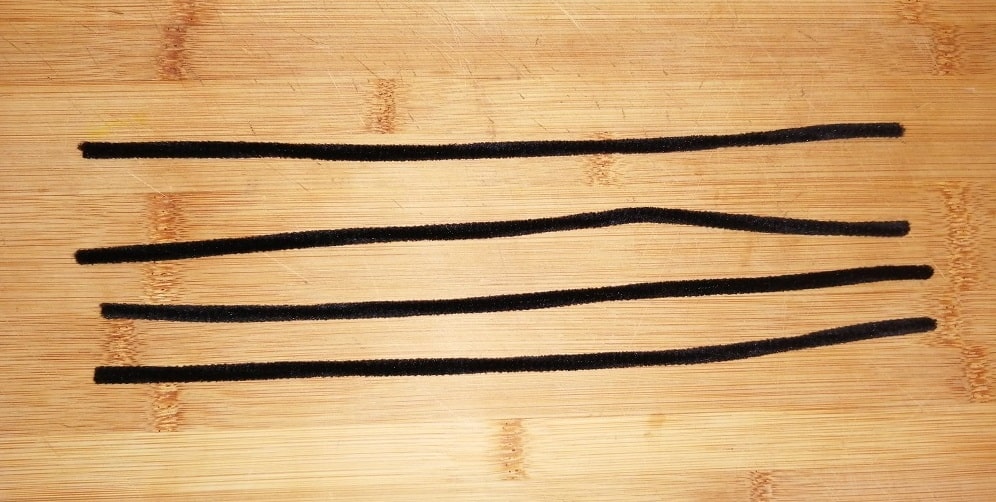
Step 1
Start by laying out the four pipe cleaners parallel to one another in front of you.
Step 2
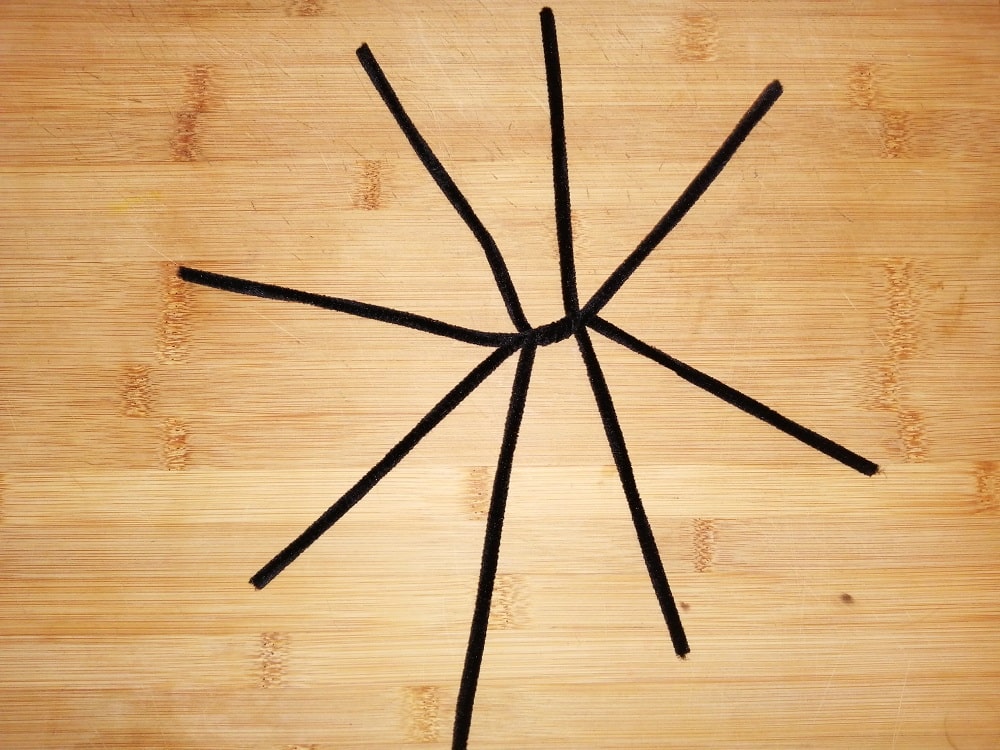
Then, firmly pinch the pipe cleaners at the centre using your fingers. Twist them several times to lock them together until they are sturdy.
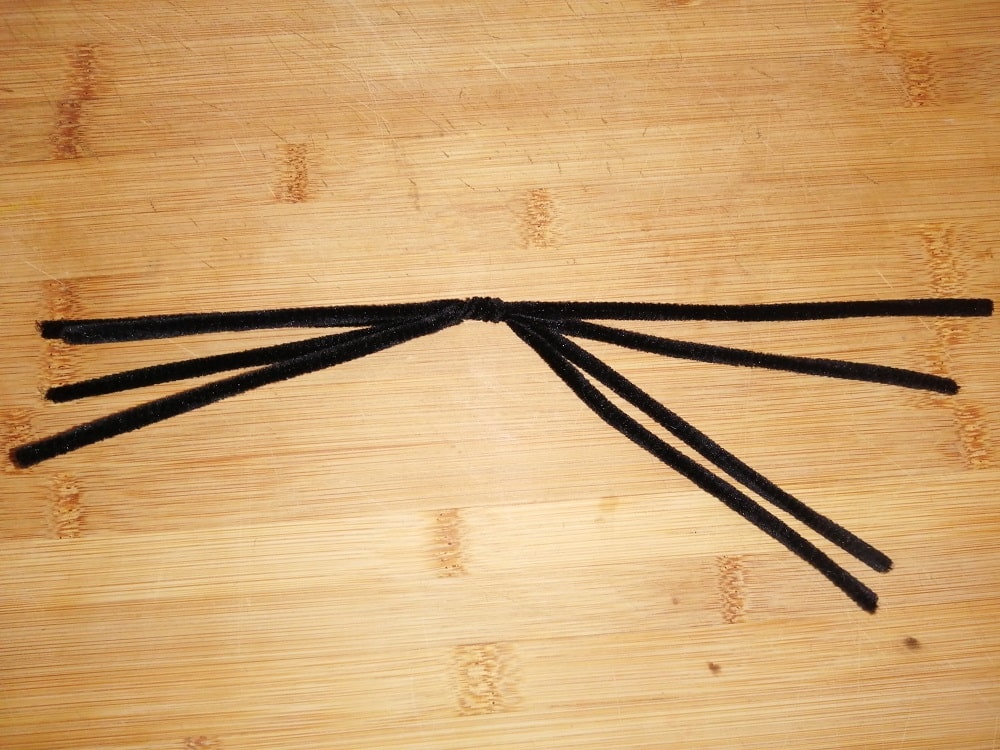
Step 3
Once the pipe cleaners are held together, spread them out evenly to formulate eight legs.
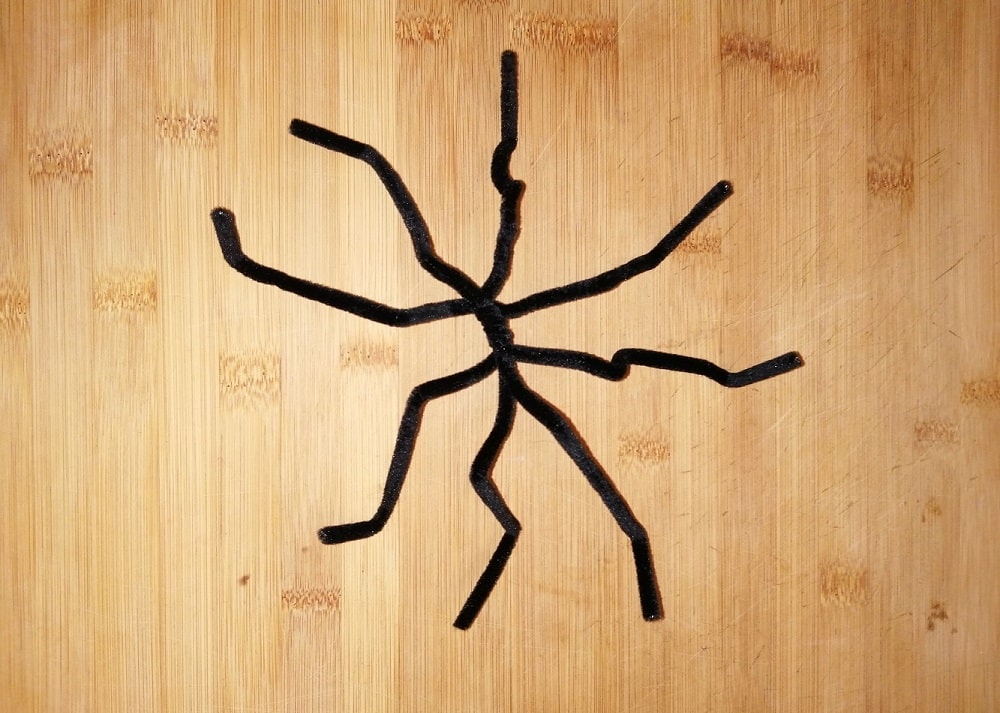
Step 4
Bend each of the outstretched pipe cleaners to give them more of a spidery look and feel. Your pipe cleaner spider is really starting to come together!
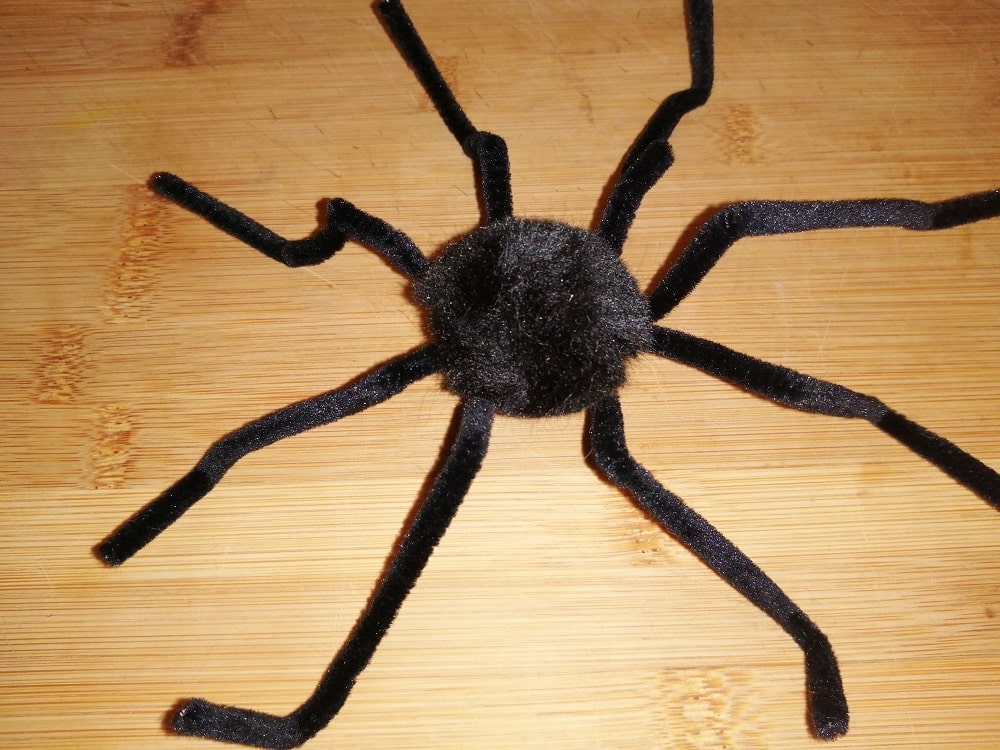
Step 5
Apply a small amount of glue to the centre of the spider’s legs and apply a pom pom onto it to make the spider’s head. Leave it to dry for a few minutes.
Step 6
Once the glue has set and the head is in position, you can apply the finishing touches. Add a small amount of glue to the back of some googly eyes and press them into place on the head of the spider. Once the glue is dry you’re all set!