Hanukkah Menorah and Dreidel how-to craft
Hanukkah is a time of joy and light, a festival that celebrates the miracle of oil that lasted eight days when there was only enough for one. At the heart of Hanukkah is the menorah, a nine-branched candelabrum that serves as a symbol of light and hope. Another beloved symbol of Hanukkah is the dreidel, a four-sided spinning top used in traditional games played throughout the festival. Together, the menorah and dreidel are wonderful starting points to help young children connect with Hanukkah in a meaningful and creative way.
Try our easy step-by-step Hanukkah Menorah and Dreidel crafts for kids. We’ve included the art and craft supplies you’ll need to create this festive craft. Simply make sure you have everything you need from our list below and follow the steps to make your own Hanukkah crafts.
Menorah Craft
You will need:
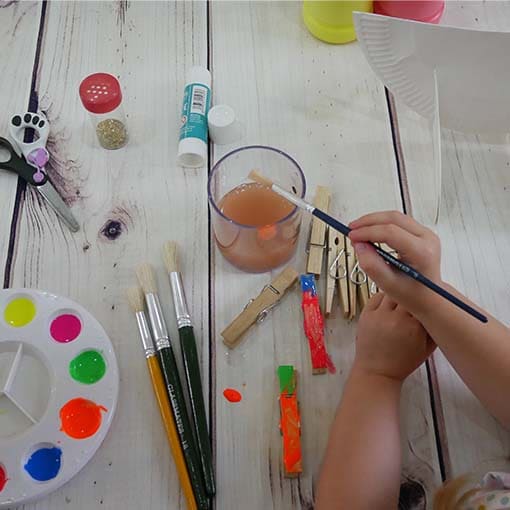
Step 1:
Take the wooden clothes pegs and decorate them using glue, paint and glitter. You can add other things if you wish, just make them bright! Leave them to dry.
Step 2:
Whilst you’re waiting for the pegs to dry, take two paper plates and fold them in half to create semi-circles, before cutting slits in the middle of each one. Make sure the slits are cut from the closed end, and don’t cut all the through!
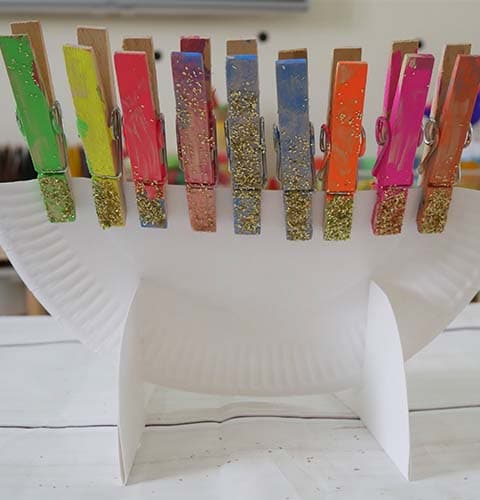
Step 3:
Take a third paper plate, fold it in half and sit the circled edge side in between the two slits (use photographs for reference)
Step 4:
Once the pegs are dry, clip them on to the top of the first paper plate and there you have it – your very own Hanukkah Menorah!

Paper Dreidel
You will need:
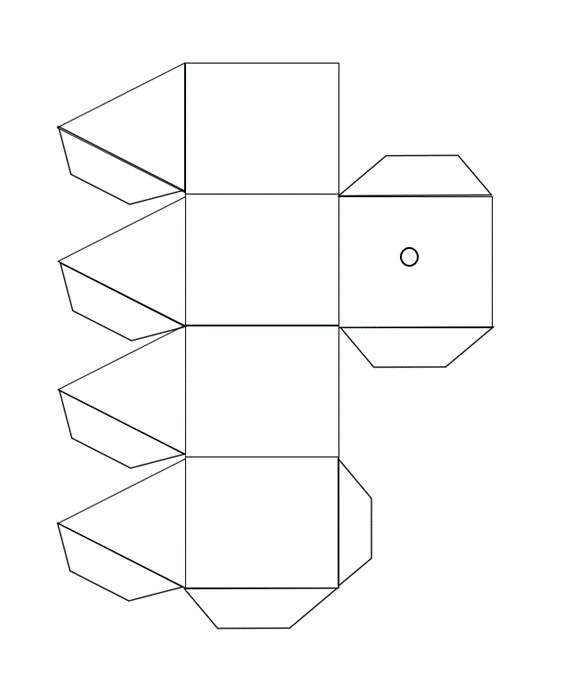
Step 1:
Draw or print off a template like the one below and then cut around the outside, using any coloured card you like, we used blue.
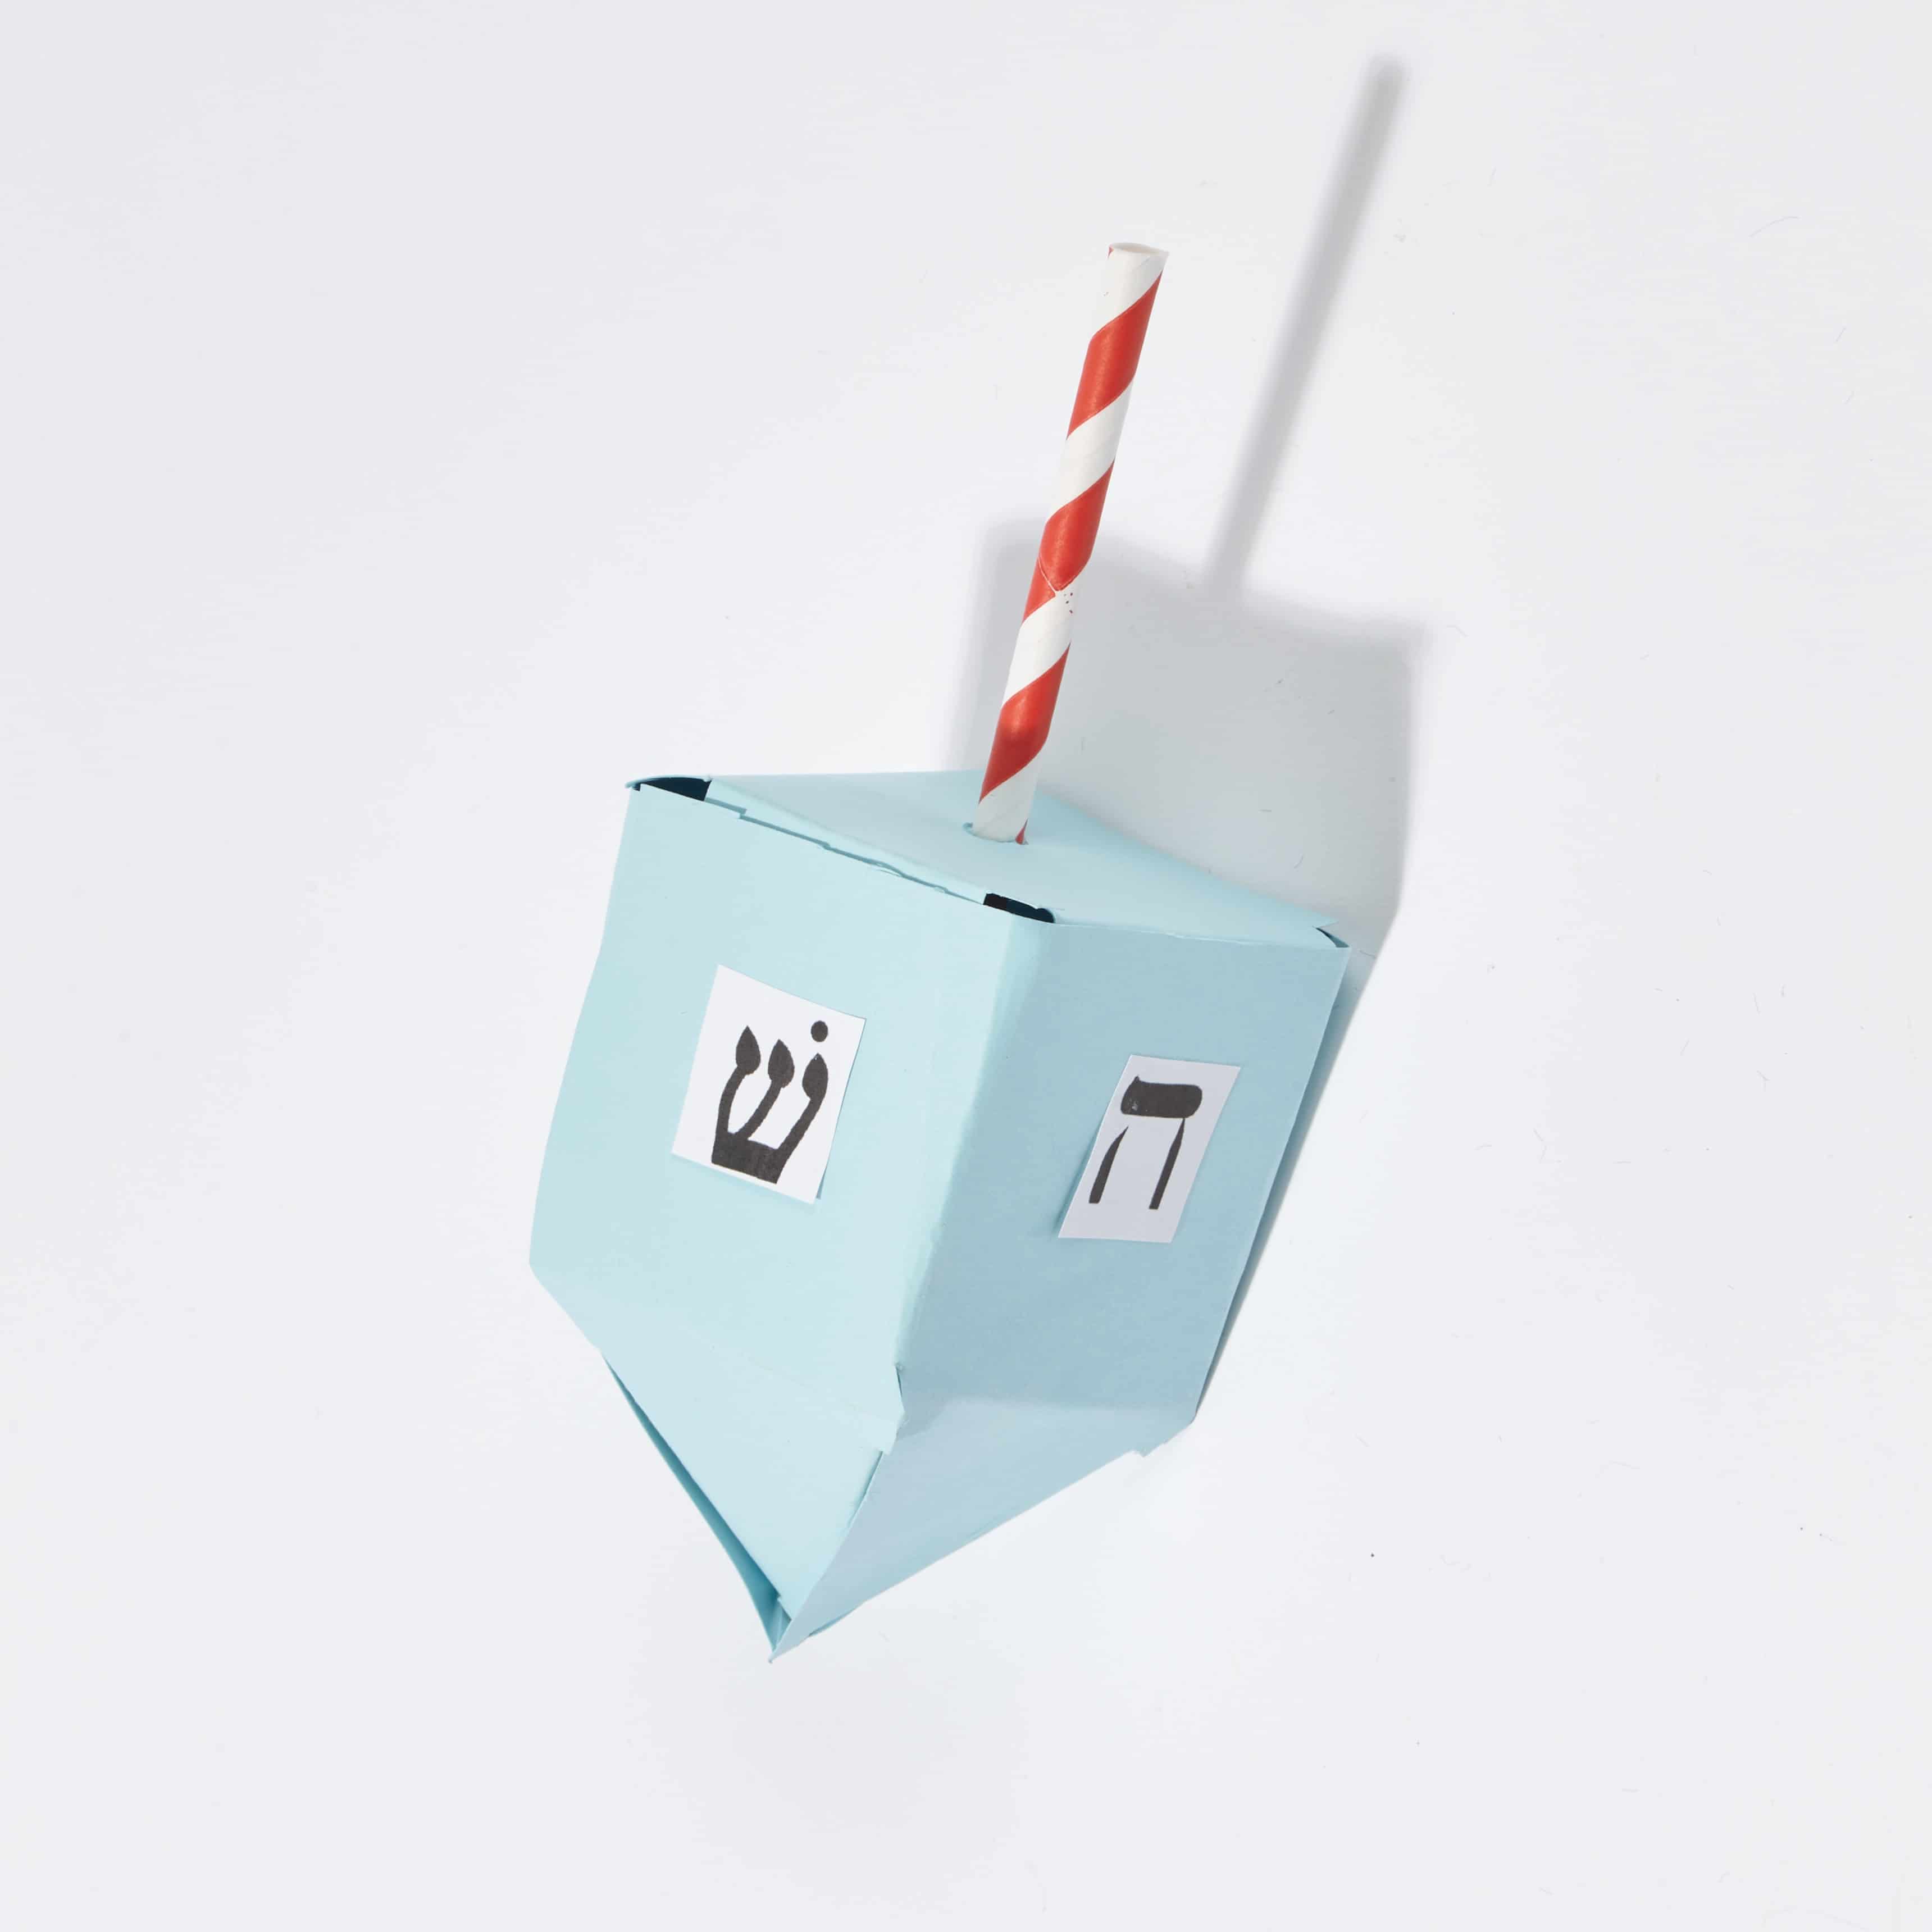
Step 2:
Fold along all of the edges and glue the tabs in place using either a glue stick or PVA glue.
Step 3:
Make a hole in the top and stick a paper straw through it.
Your Dreidel is now ready to decorate and spin!
This menorah and dreidel craft activity will bring the spirit of Hanukkah into any setting, offering a hands-on way for children to connect with the festival’s traditions.
We’d love to see the finished results! Once you and the little ones have completed these crafts, take some photos, and tag us on Instagram.
Also for all your seasonal crafting needs, check out all our essentials on the Hope website.
Related blogs
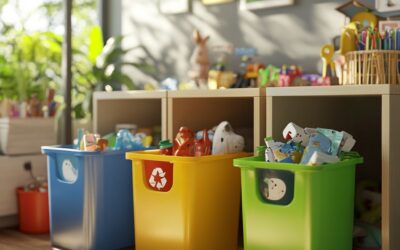
What Goes In, Must Go Out
Creating a Circular Economy in Your Nursery Author: Nick Corlett Sustainability Manager at LEYF Sustainability is more than a trend—it’s a shared responsibility, and the nursery is the perfect place to nurture these skills. Every day...
In The Dark
Author: Alice Sharp It’s vital that we remember that a three year old’s imagination is just beginning to really develop and they may fear things that aren’t real, such as monsters in the shadows or darkness. Their ability to imagine can make them more susceptible to...

Celebrating being part of a Global Community
Author: Alice Sharp As a young teacher I can remember how much time and effort went into looking at the SHAP Calender. This is a calendar of festivals around the world. We had to try and ensure we celebrated anything relevant but also introduce other festivals from...