Easy Easter Crafts at Home
Easter is the perfect celebration to get crafty. Whether you get children to paint, stick, or draw there is no better way to get them involved in Easter than unleashing their imaginations through easy Easter crafts. We understand that thinking of fresh and enjoyable crafts to do at home together is hard. To help you out, we have created a step-by-step guide for two Easter themed crafts that children will love.
Our friends over at @misscteacher and @this_sonny_day have created the perfect Easter crafts that are simple to create to kickstart the Easter holidays!
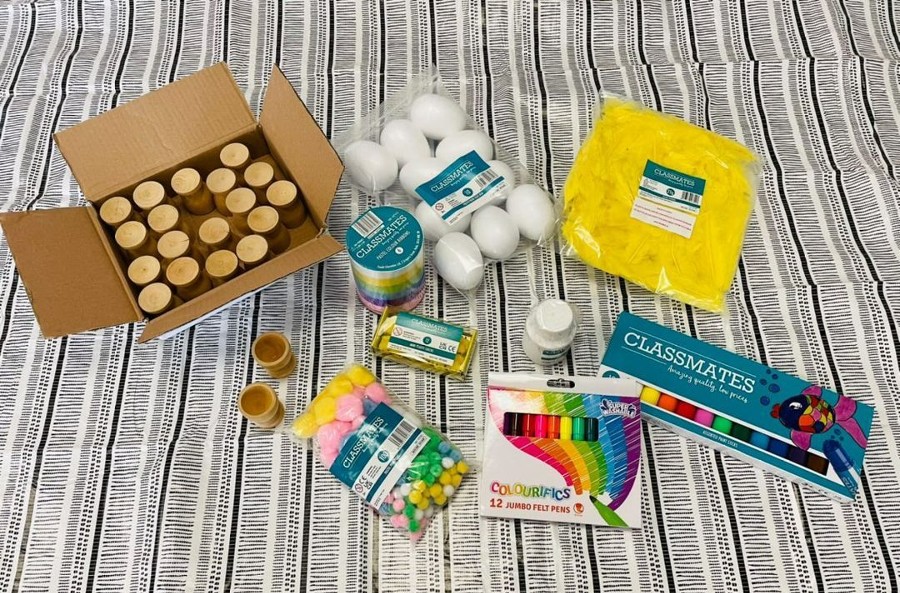
Easter Chicks
Step 1
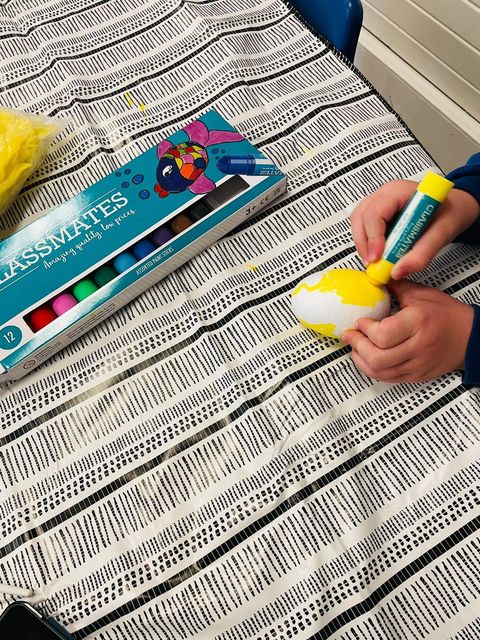
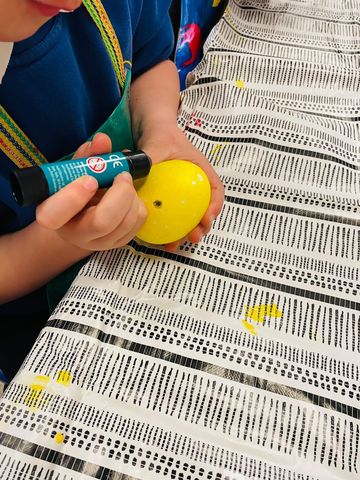
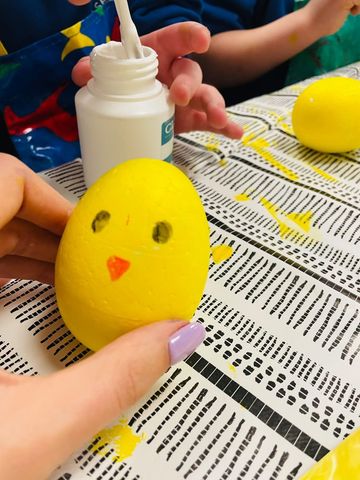
To start this easter chick craft, colour the polystyrene eggs, using the paint sticks, in yellow or any colour you like.
Step 2
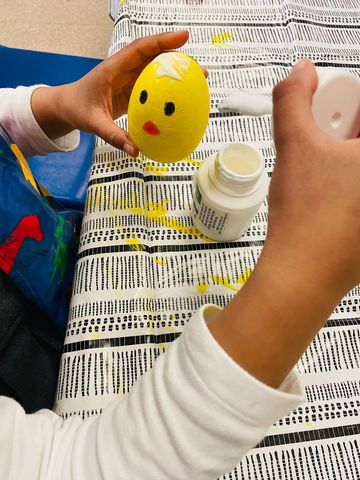
Begin the features of the chick with the felt pens. Draw two eyes in black and a small, orange triangle for the beak to bring them alive. Encourage children to be more creative by allowing them to freely doodle on the egg or create a pattern.
Step 3
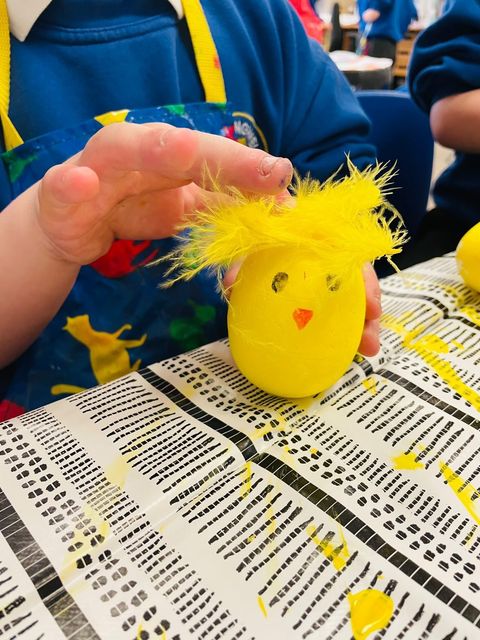
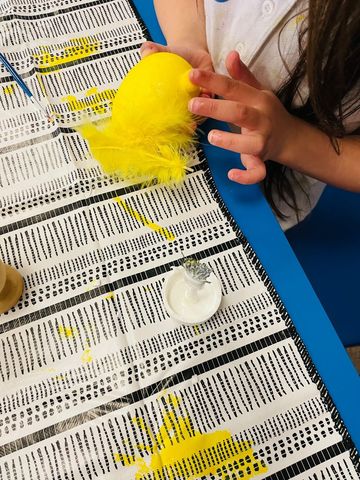
Stick the yellow feathers to the top of the egg to give the chicks some hair, creating a personality for each one. You could even cut the feathers up and stick them around the egg to give the fur effect.
Step 4
Gather the yellow pom poms from the pack and stick to the back to create a small tail.
Step 5
Using the card, cut out feet shapes and glue to the bottom of the egg. You can use any colour card, but orange is best to create a traditional chick.
Step 6
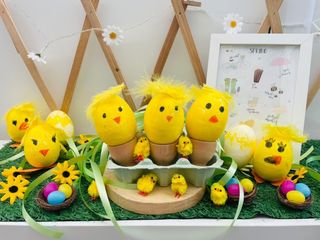
Place the finished eggs in the wooden egg cups. Cut up the ribbon and tie around the egg cup or egg itself.
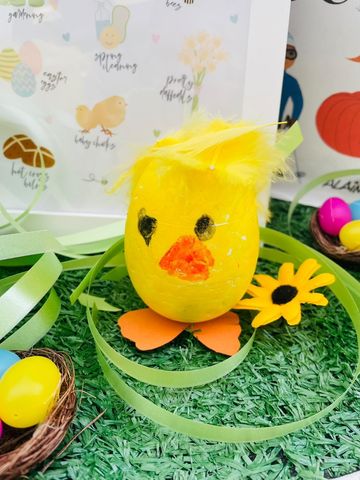
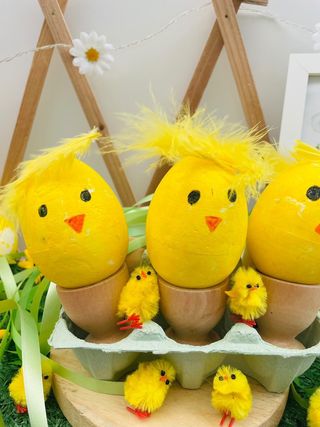
Use the mini fluffy chicks as decoration for an Easter display for all to see!
Why not try to create some rabbit eggs as well to finish off the Easter display.
Easter card making
Step 1
Choose a coloured card from the pack and fold it vertically in half – to make the card smaller you can fold again horizontally.
Step 2
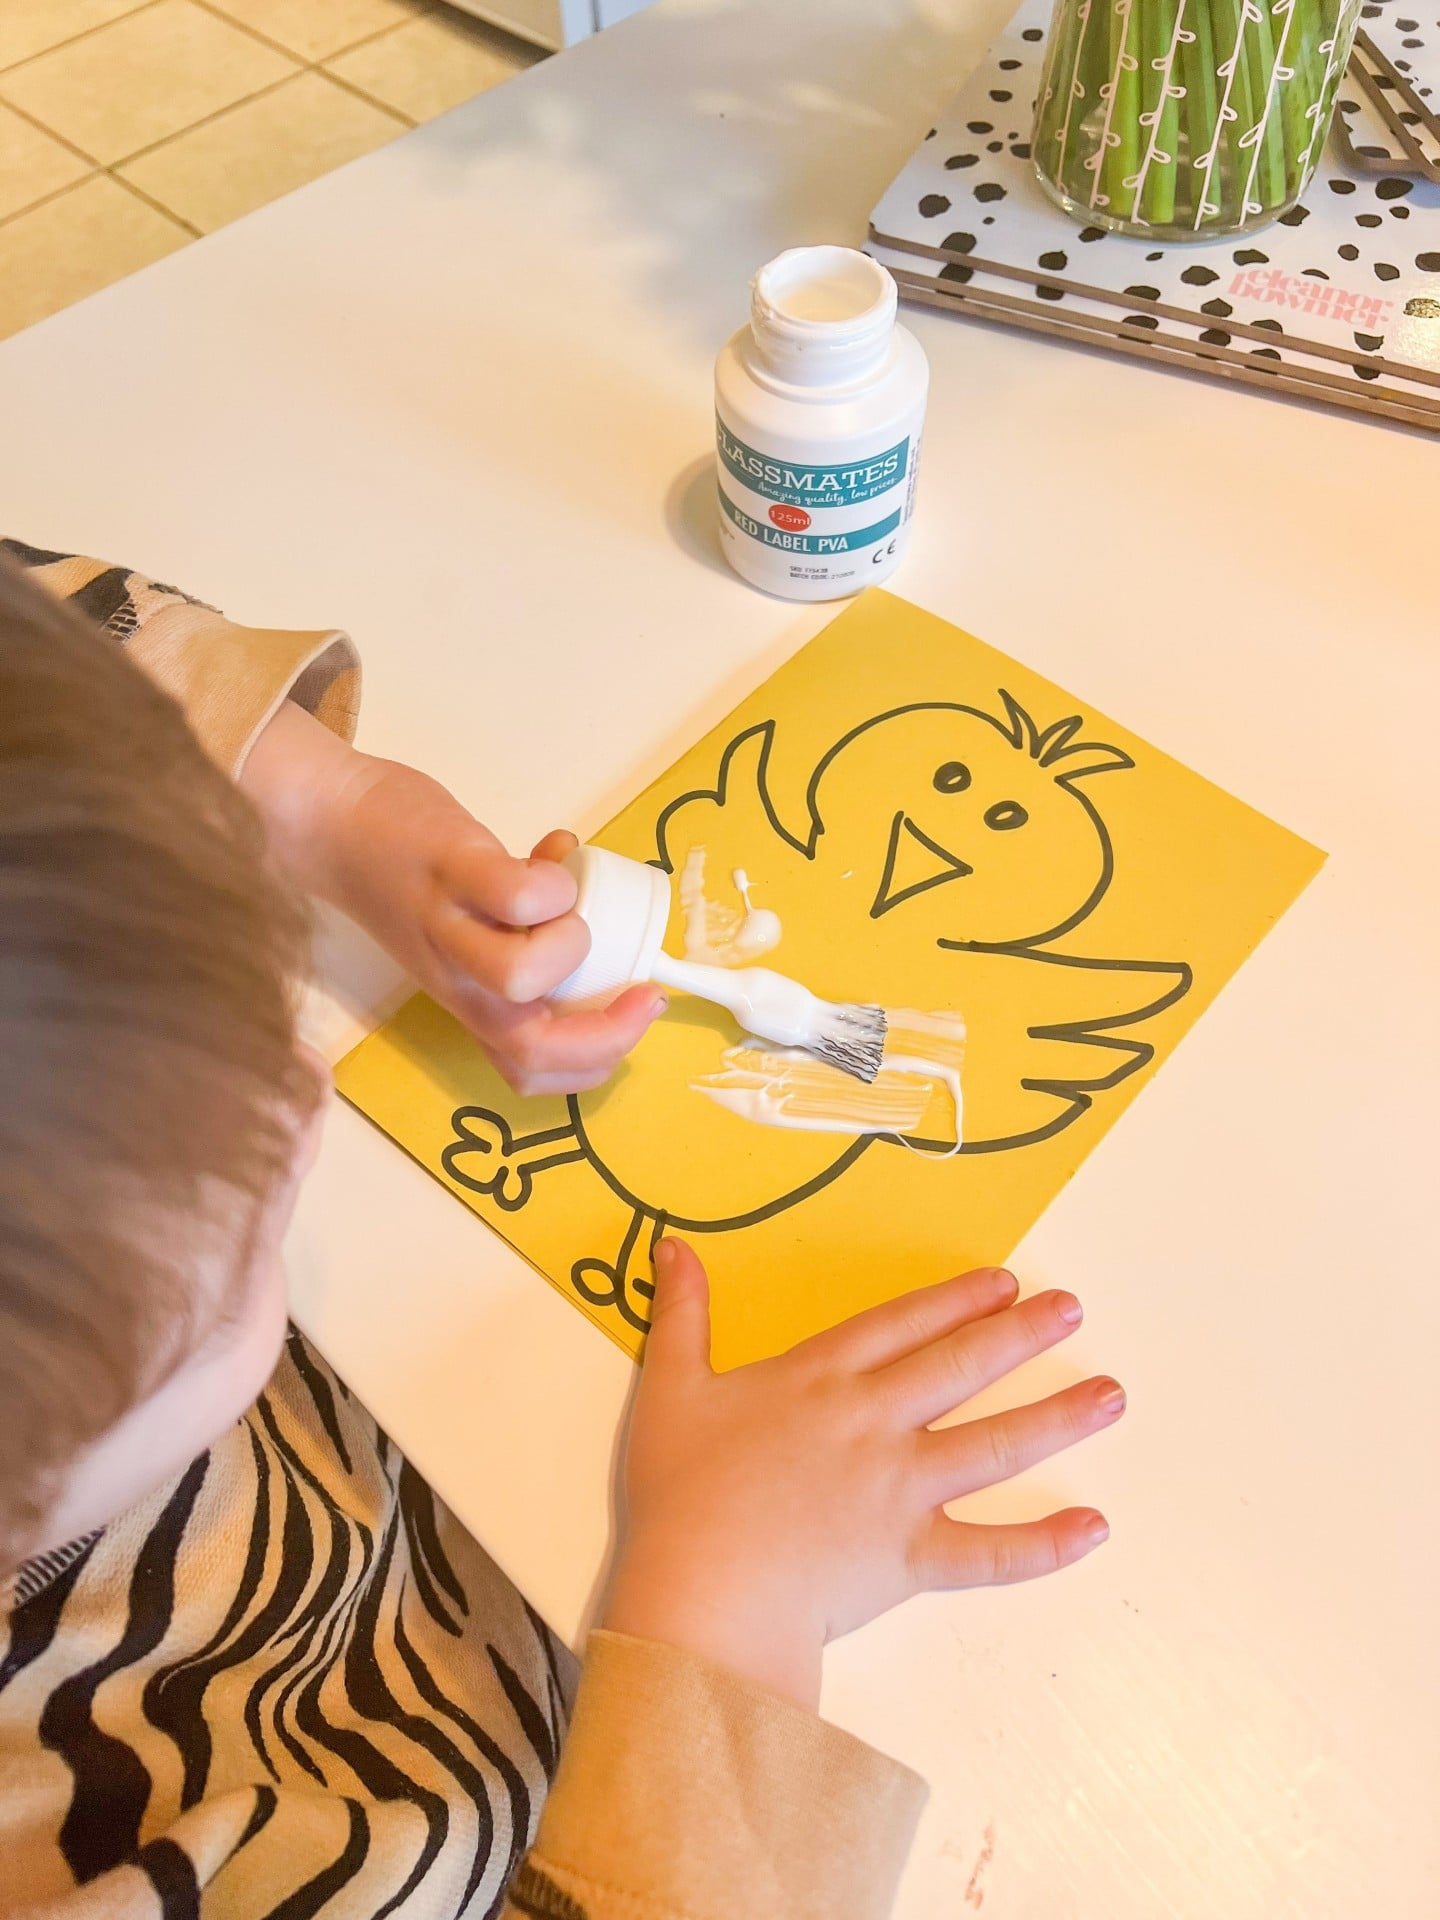
Using the paint sticks and felt pens, draw the outline of a chick on the front of the card. You might need to assist with this and let children decorate and colour the drawing in.
Step 3
Colour the chick in using paint sticks and felt pens and draw its features to make the chick- you can even cut up some orange card to use for the beak and feet.
Step 4
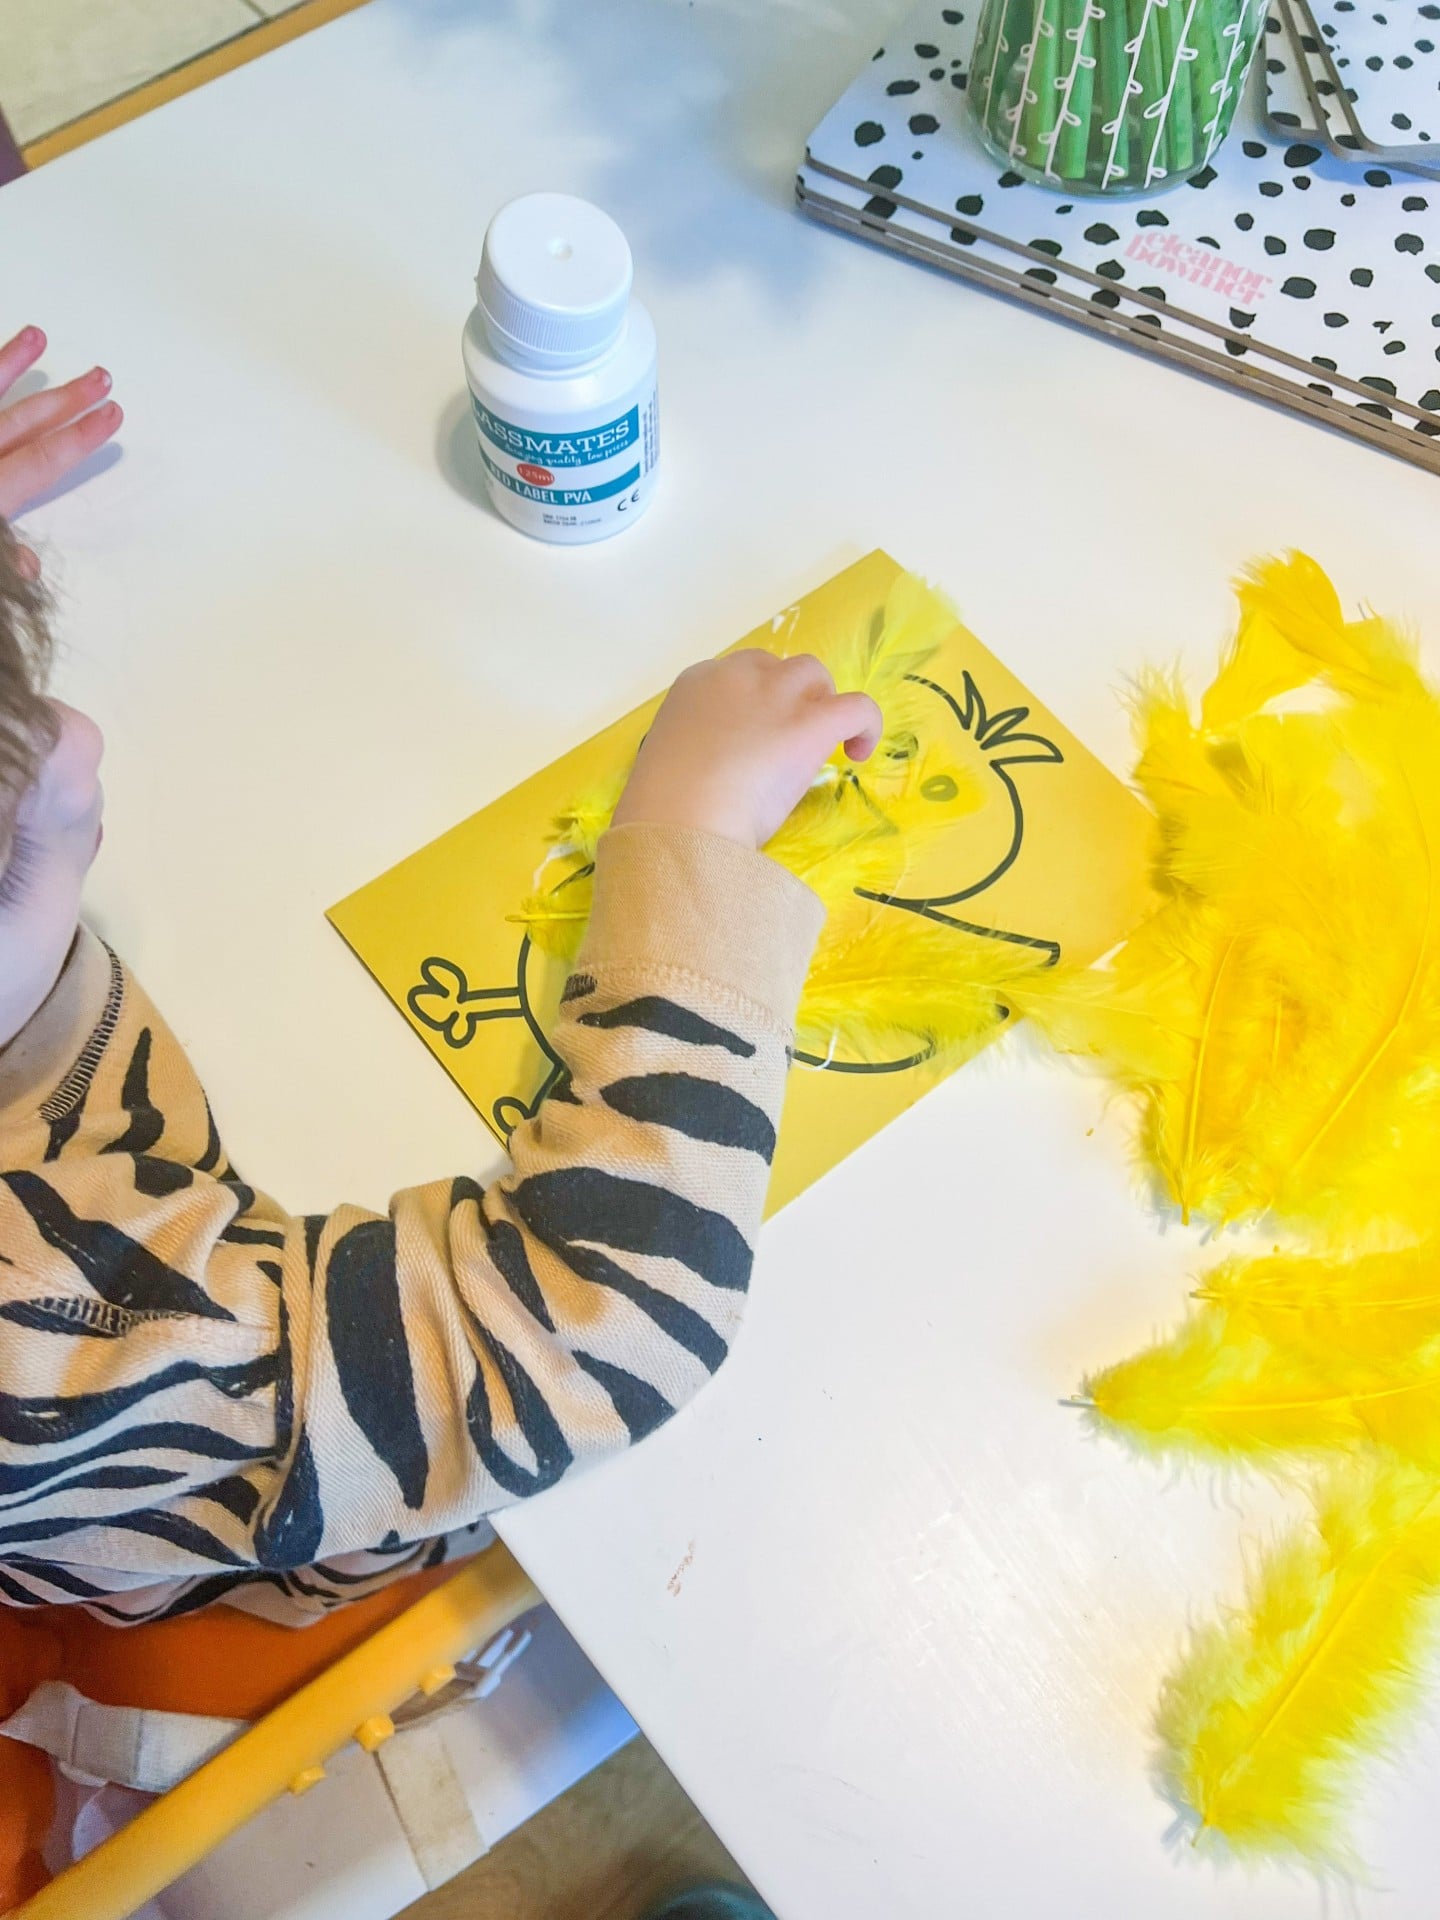
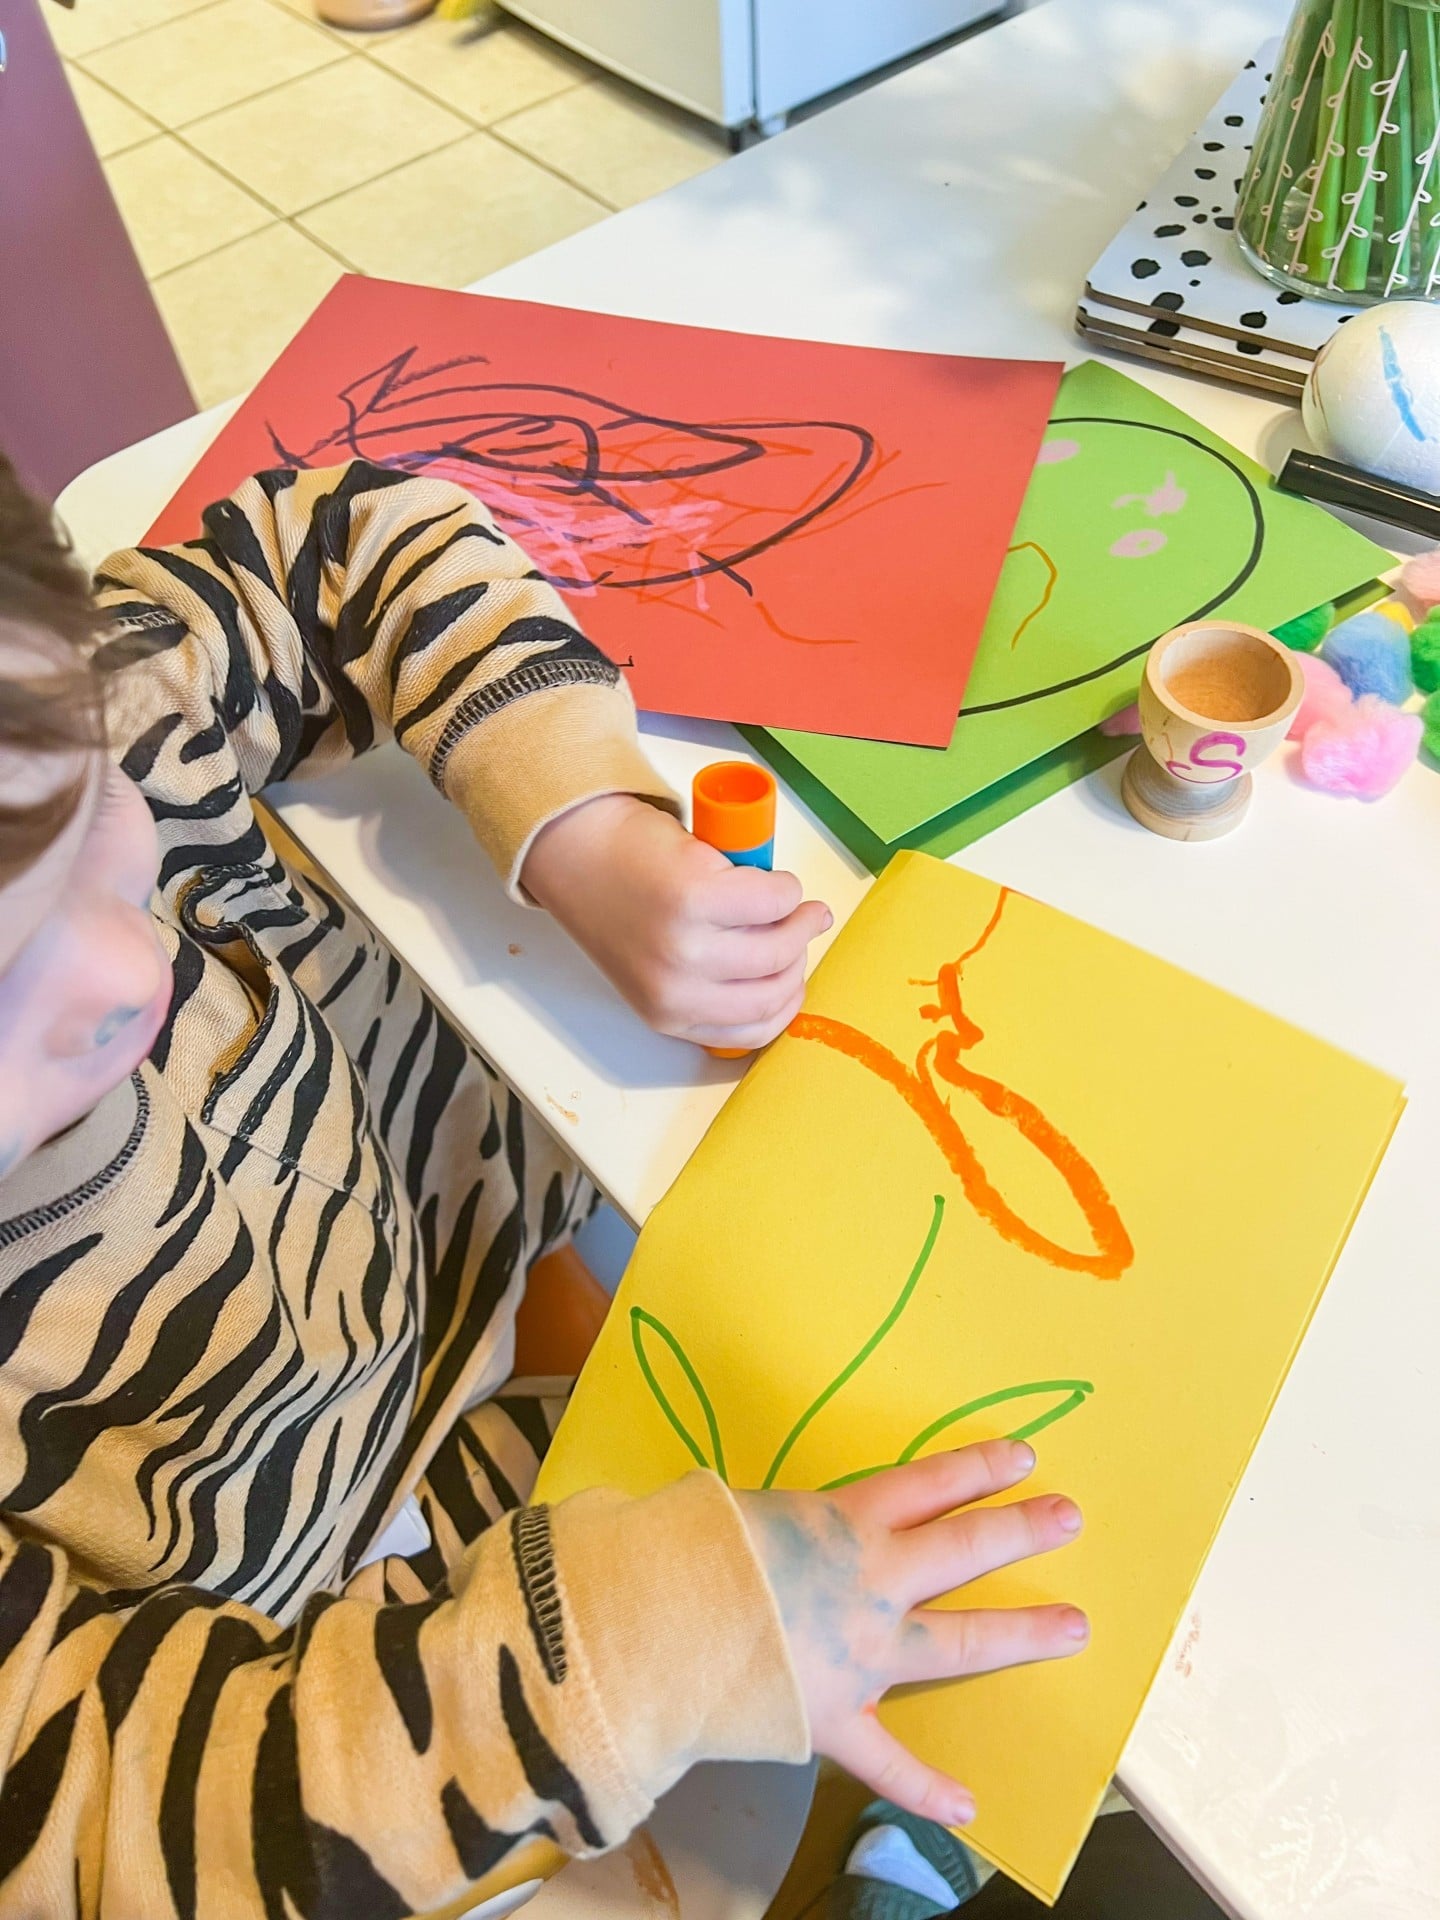
Decorate the chick and the rest of the card. This is where children can let loose and use all the materials such as the ribbon, feathers, and pom poms. Allow them to decorate the card how they please so that it’s personal for the person they are giving it to. Make sure to help with the PVA glue to stick the materials down onto the card.
Step 5
Write a loving message wishing a happy Easter inside the card to finish it off. As a little gift stick a mini chick inside that the receiver can keep as an Easter memento.
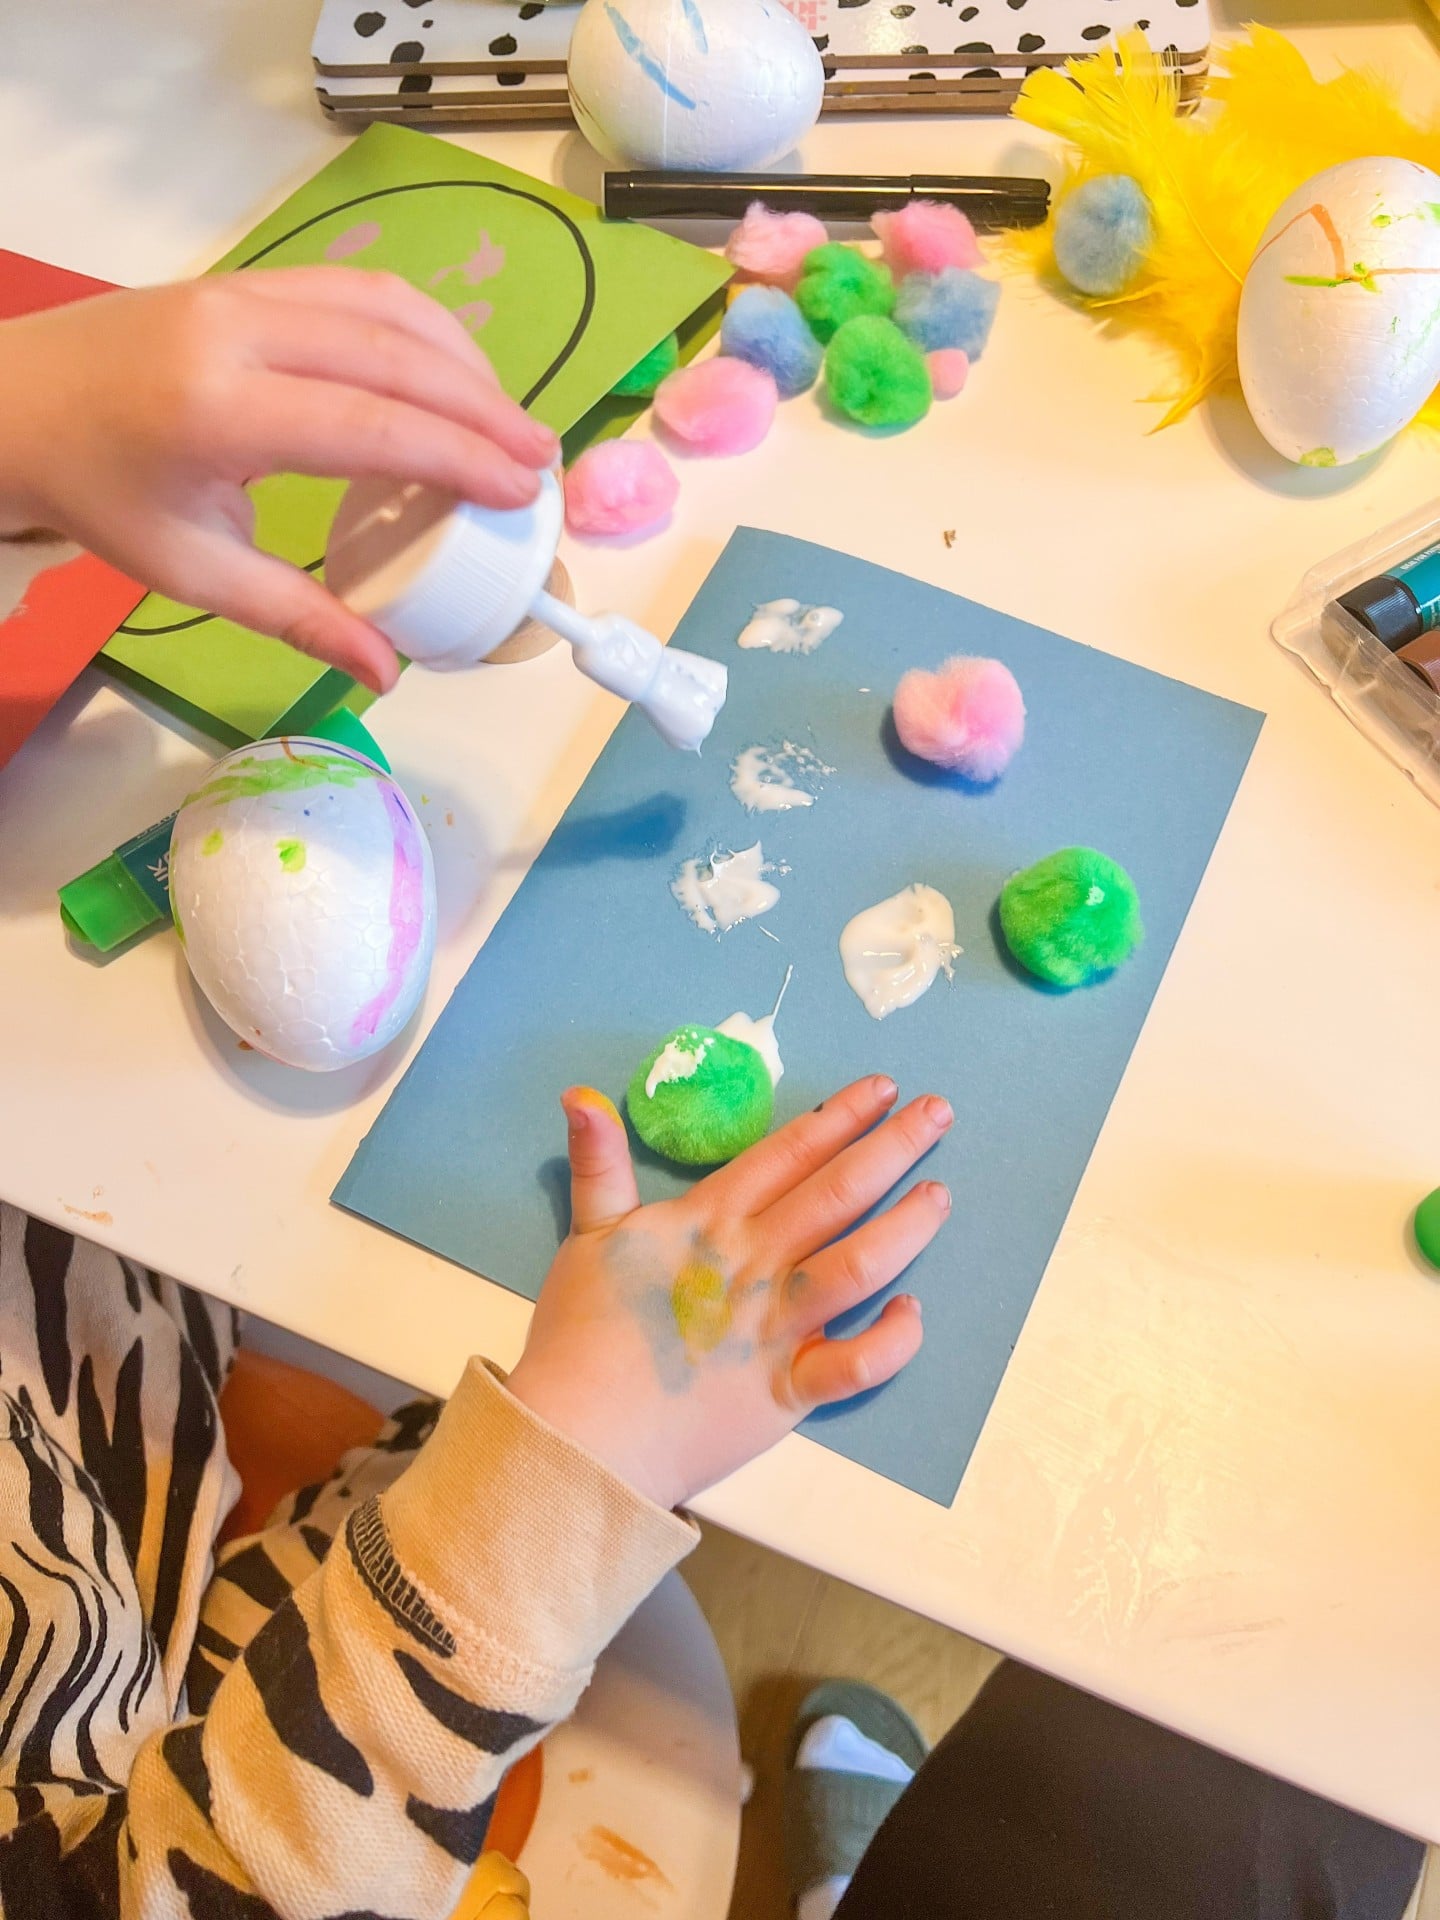
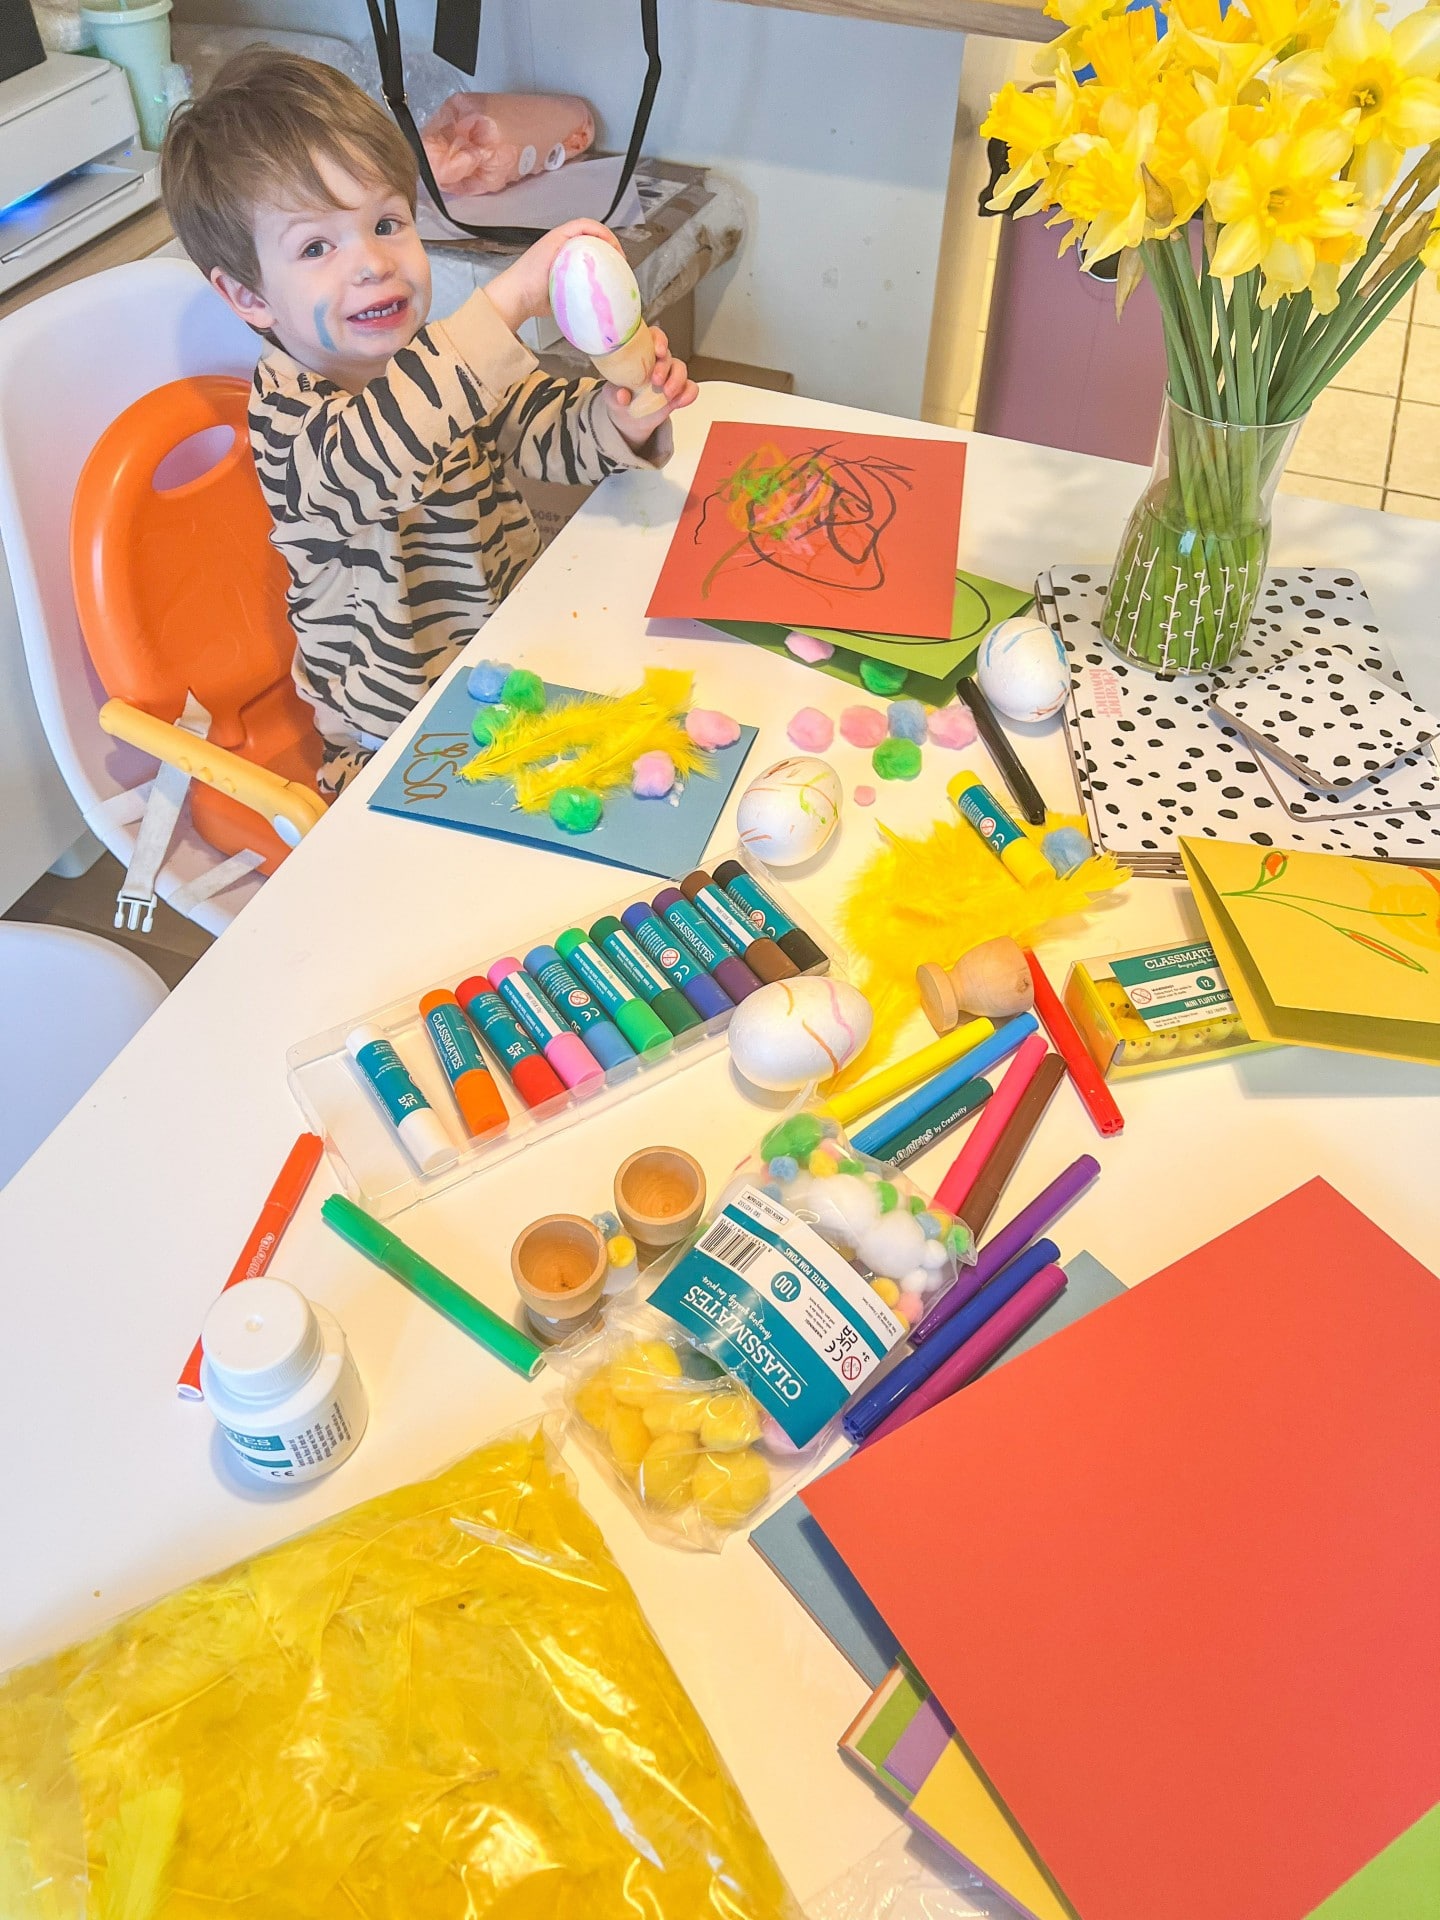
This craft is all about letting children express themselves and enjoy crafting however they please. Allow them to draw whatever they like onto the card this could be an Easter egg, bunny, chick or anything else. Let children get creative with their easter card ideas. It’s important for children to make the choice on what they want to create for the card – so let them go crazy the card will mean so much more that way.
Have some Easter fun by trying these easy Easter crafts! Let children run wild with their creativity whilst making these amazing crafts. Perfect for free crafting as they can make them their own, bringing a personal touch to the creations.
Why not try some Easter craft kits too? Such as our easter basket kit and chick boxes. The templates are simple to put together and can be personalised by everyone, allowing children to use their imaginations and have lots of fun.
Make sure to follow @misscteacher and @this_sonny_day on Instagram for more amazing craft ideas.