Create your very own Fireworks Display
Bonfire night is fast approaching, and we couldn’t be more excited! The bonfire crackling and fireworks lighting up the night sky is what makes the night special. So, to start getting the children excited for bonfire night, why not try a firework display craft that they will love and have fun with?
What you’ll need
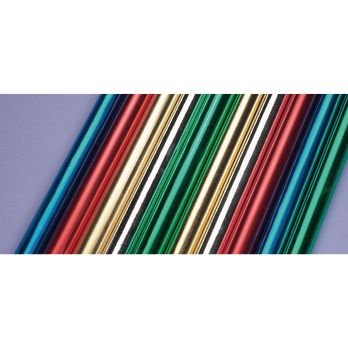
- Foil rolls
- Black mounting paper
- Chalk pens
- Toilet roll
- Tape measure
- Scissors
- Yummy snacks! (for fun)
Method
Display Lady’s Guide to making the foil fireworks:
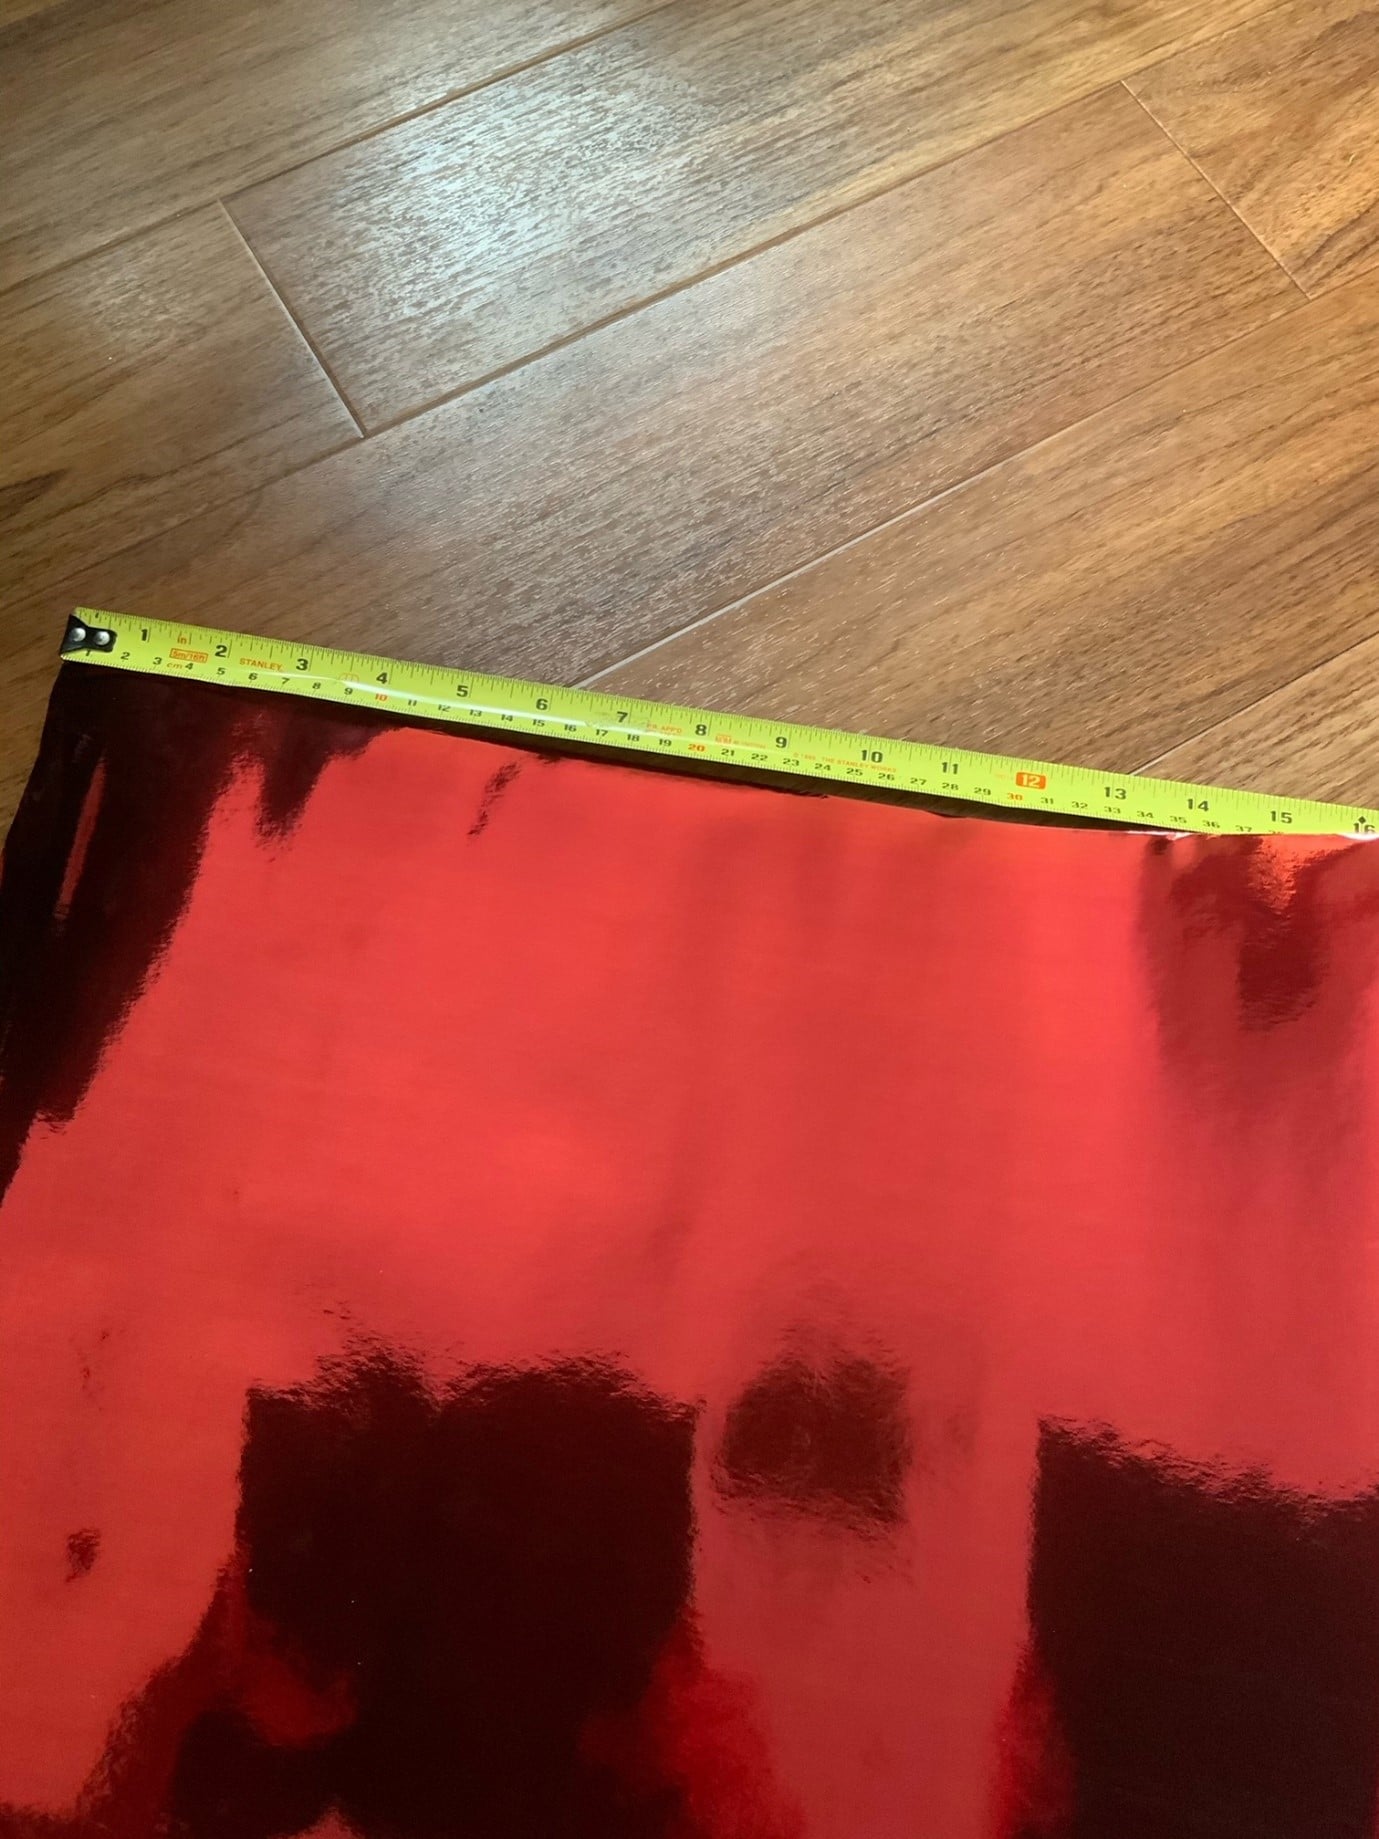
Step one:
Firstly, measure and cut your paper whatever the diameter fan you want that’s your width and the 1.5 times that is the length you need.
Who made the most spectacular display? Show us your creations by tagging us on Instagram @Hopeeducation_primary and we’ll share them!
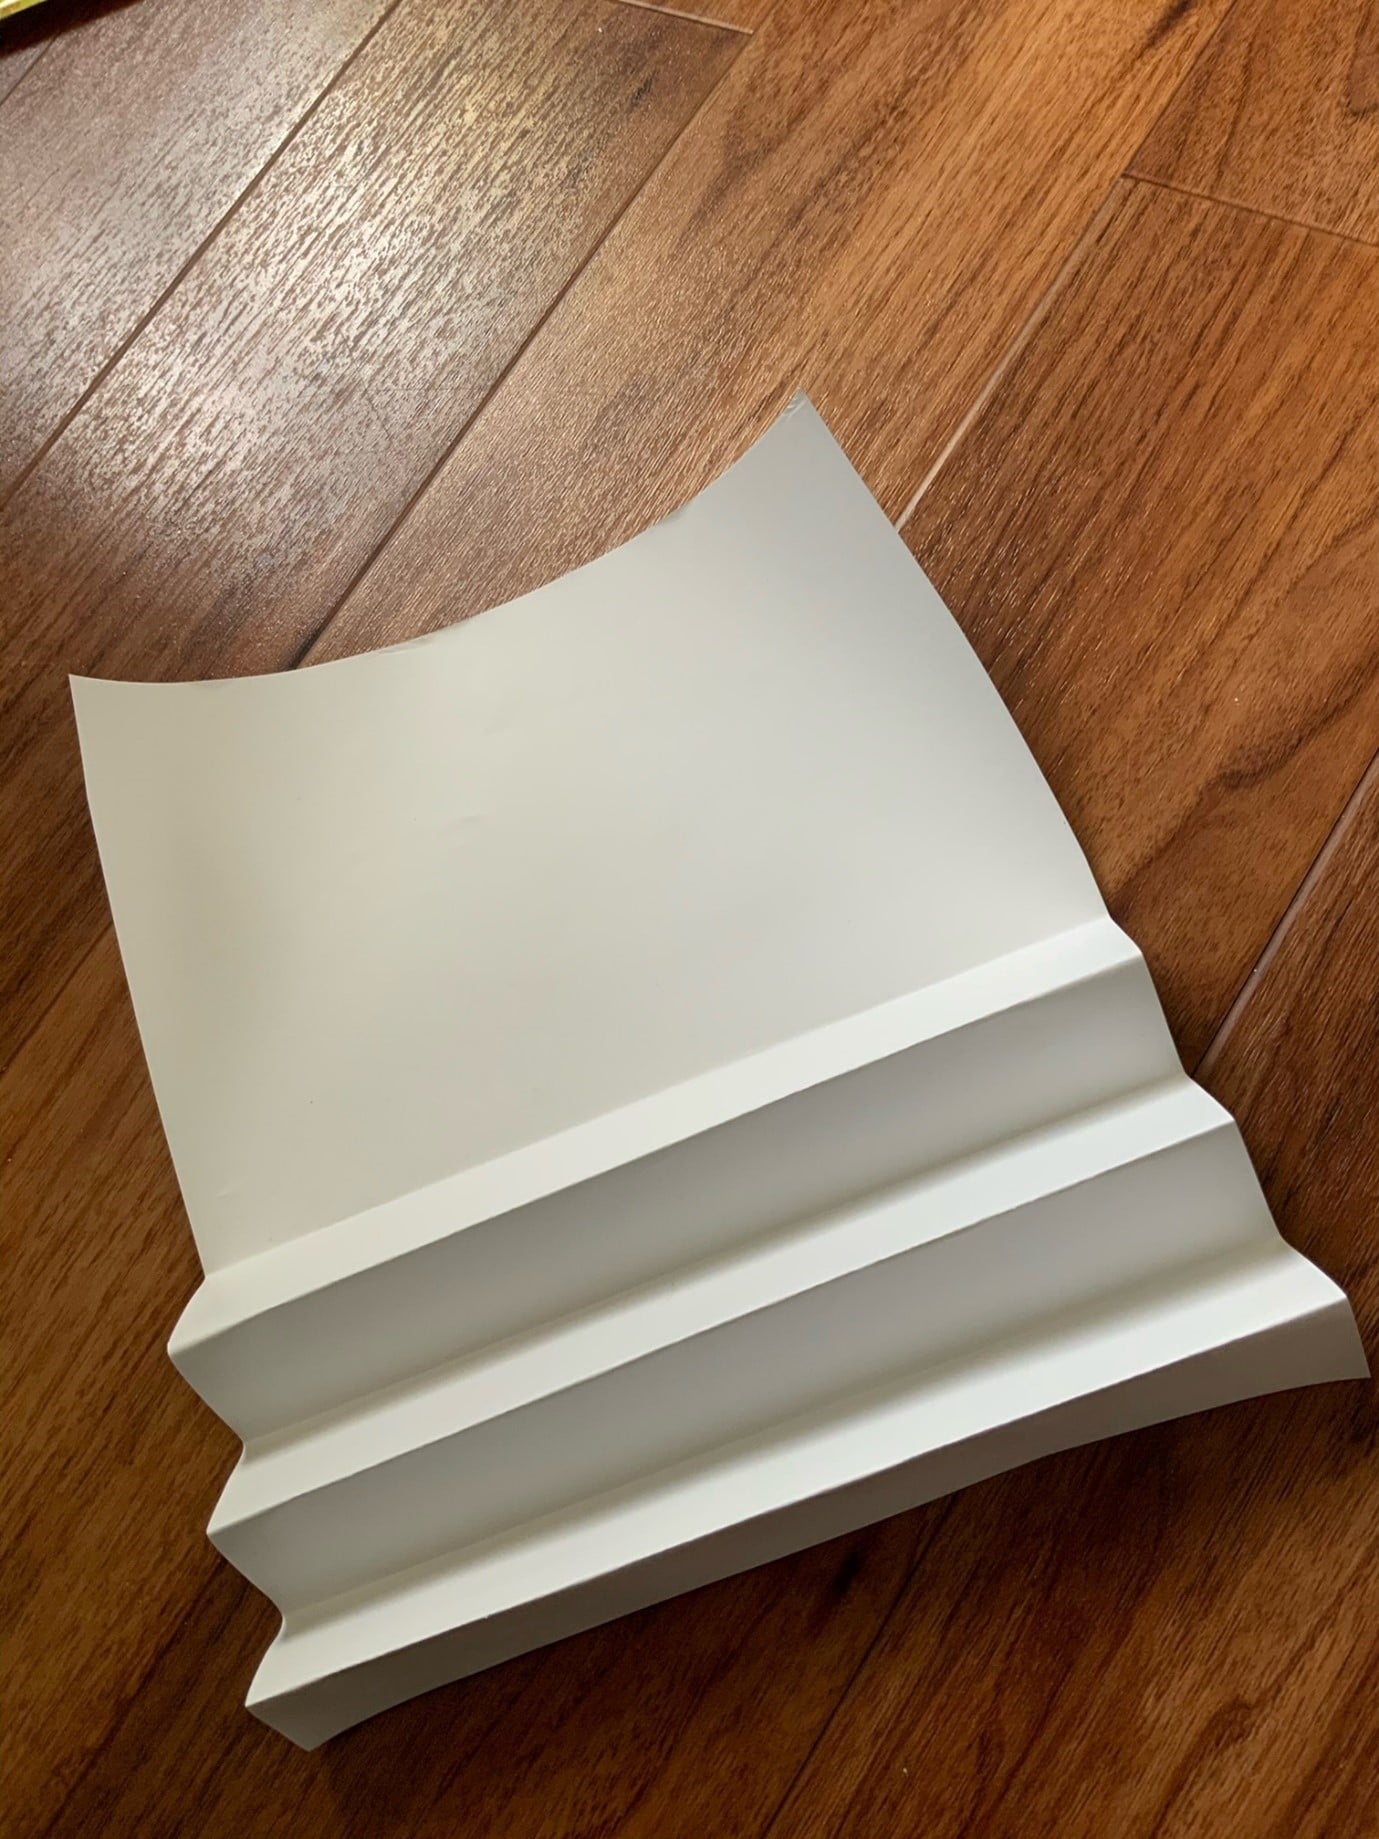
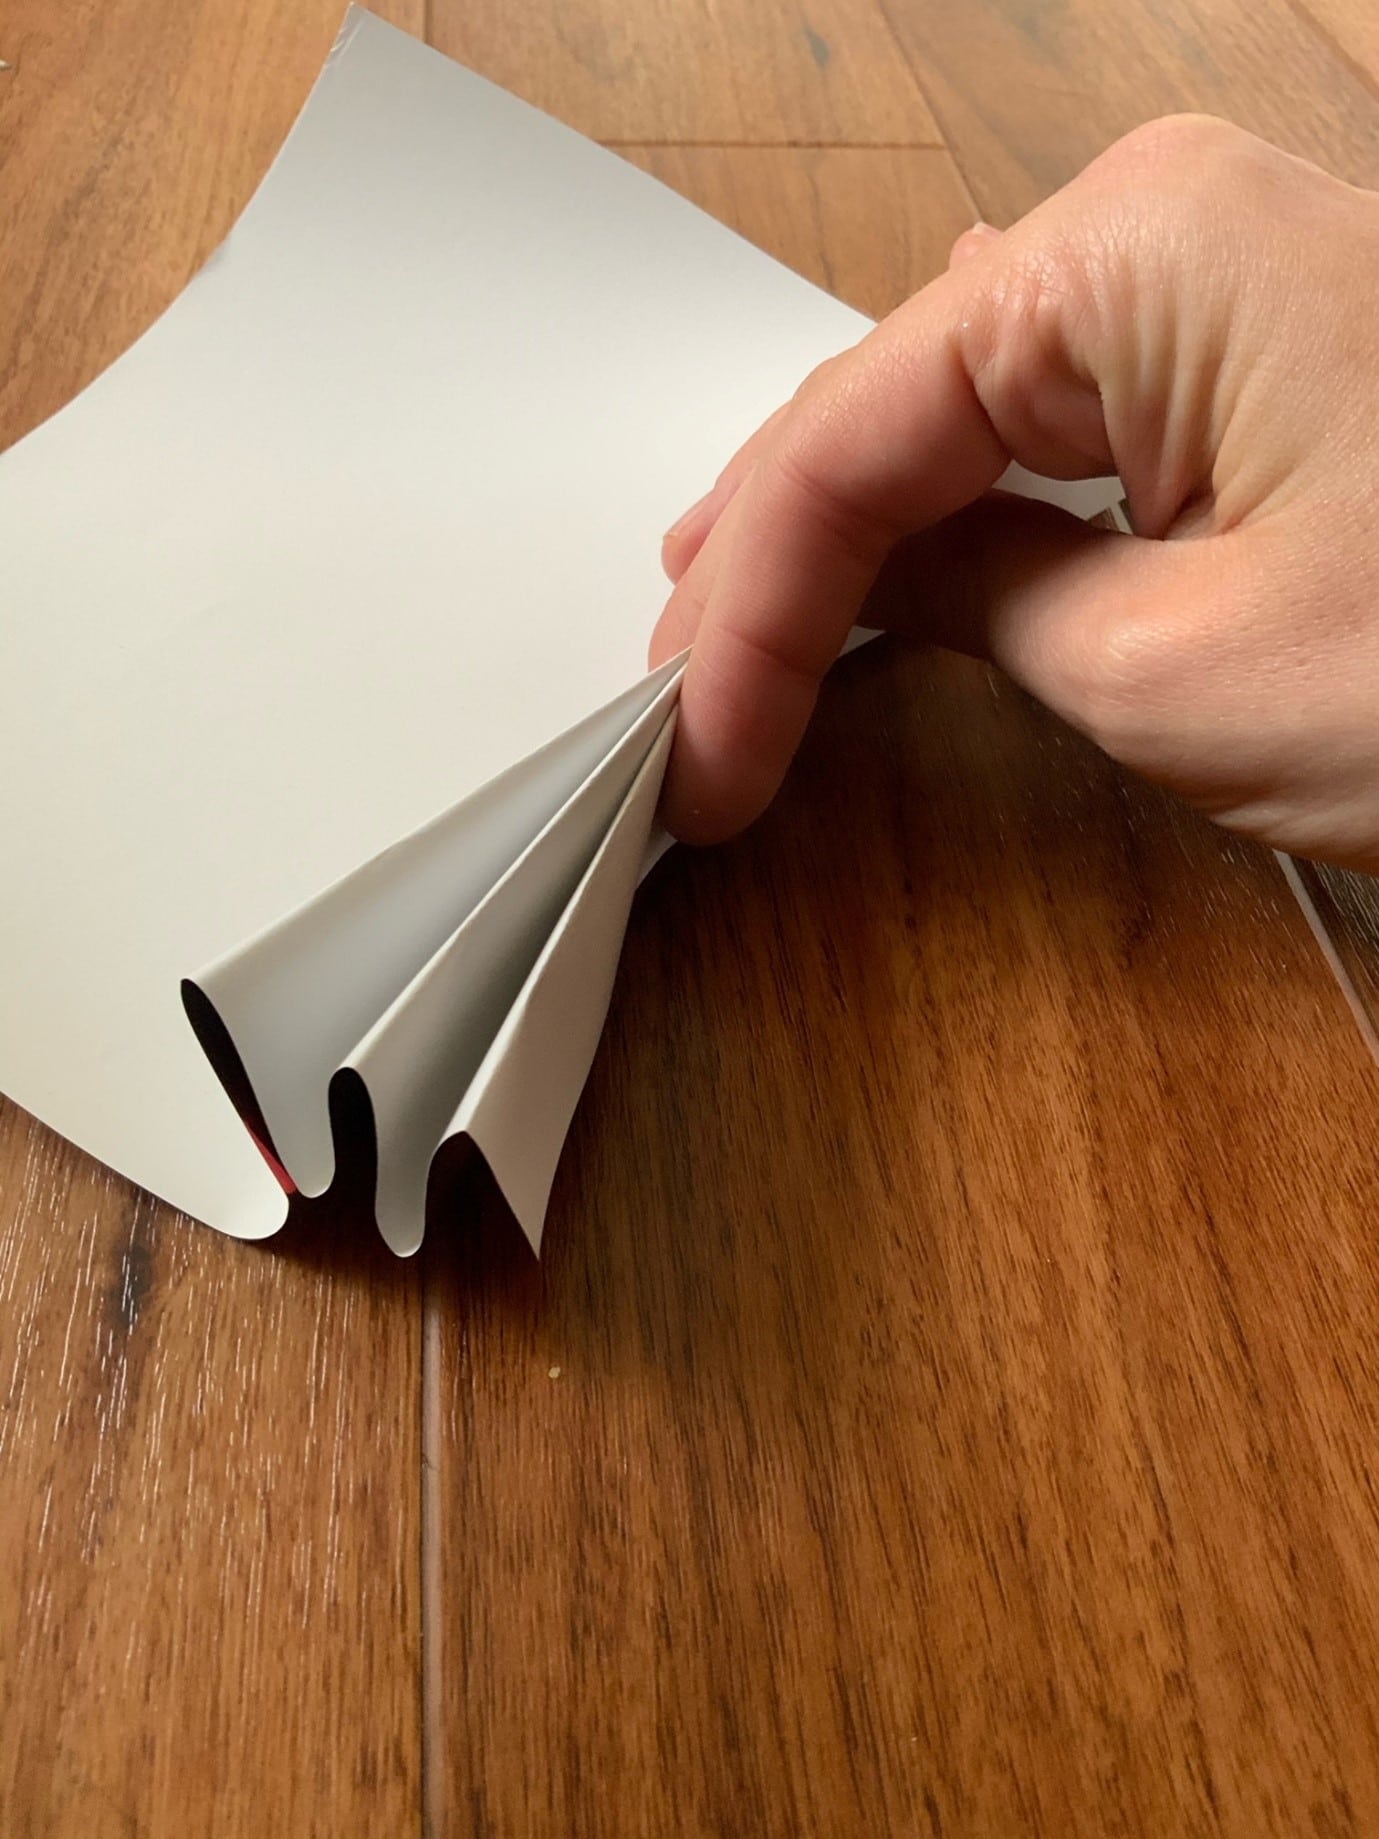
Step two:
The second step is to fold like a fan one way and then back over the other way
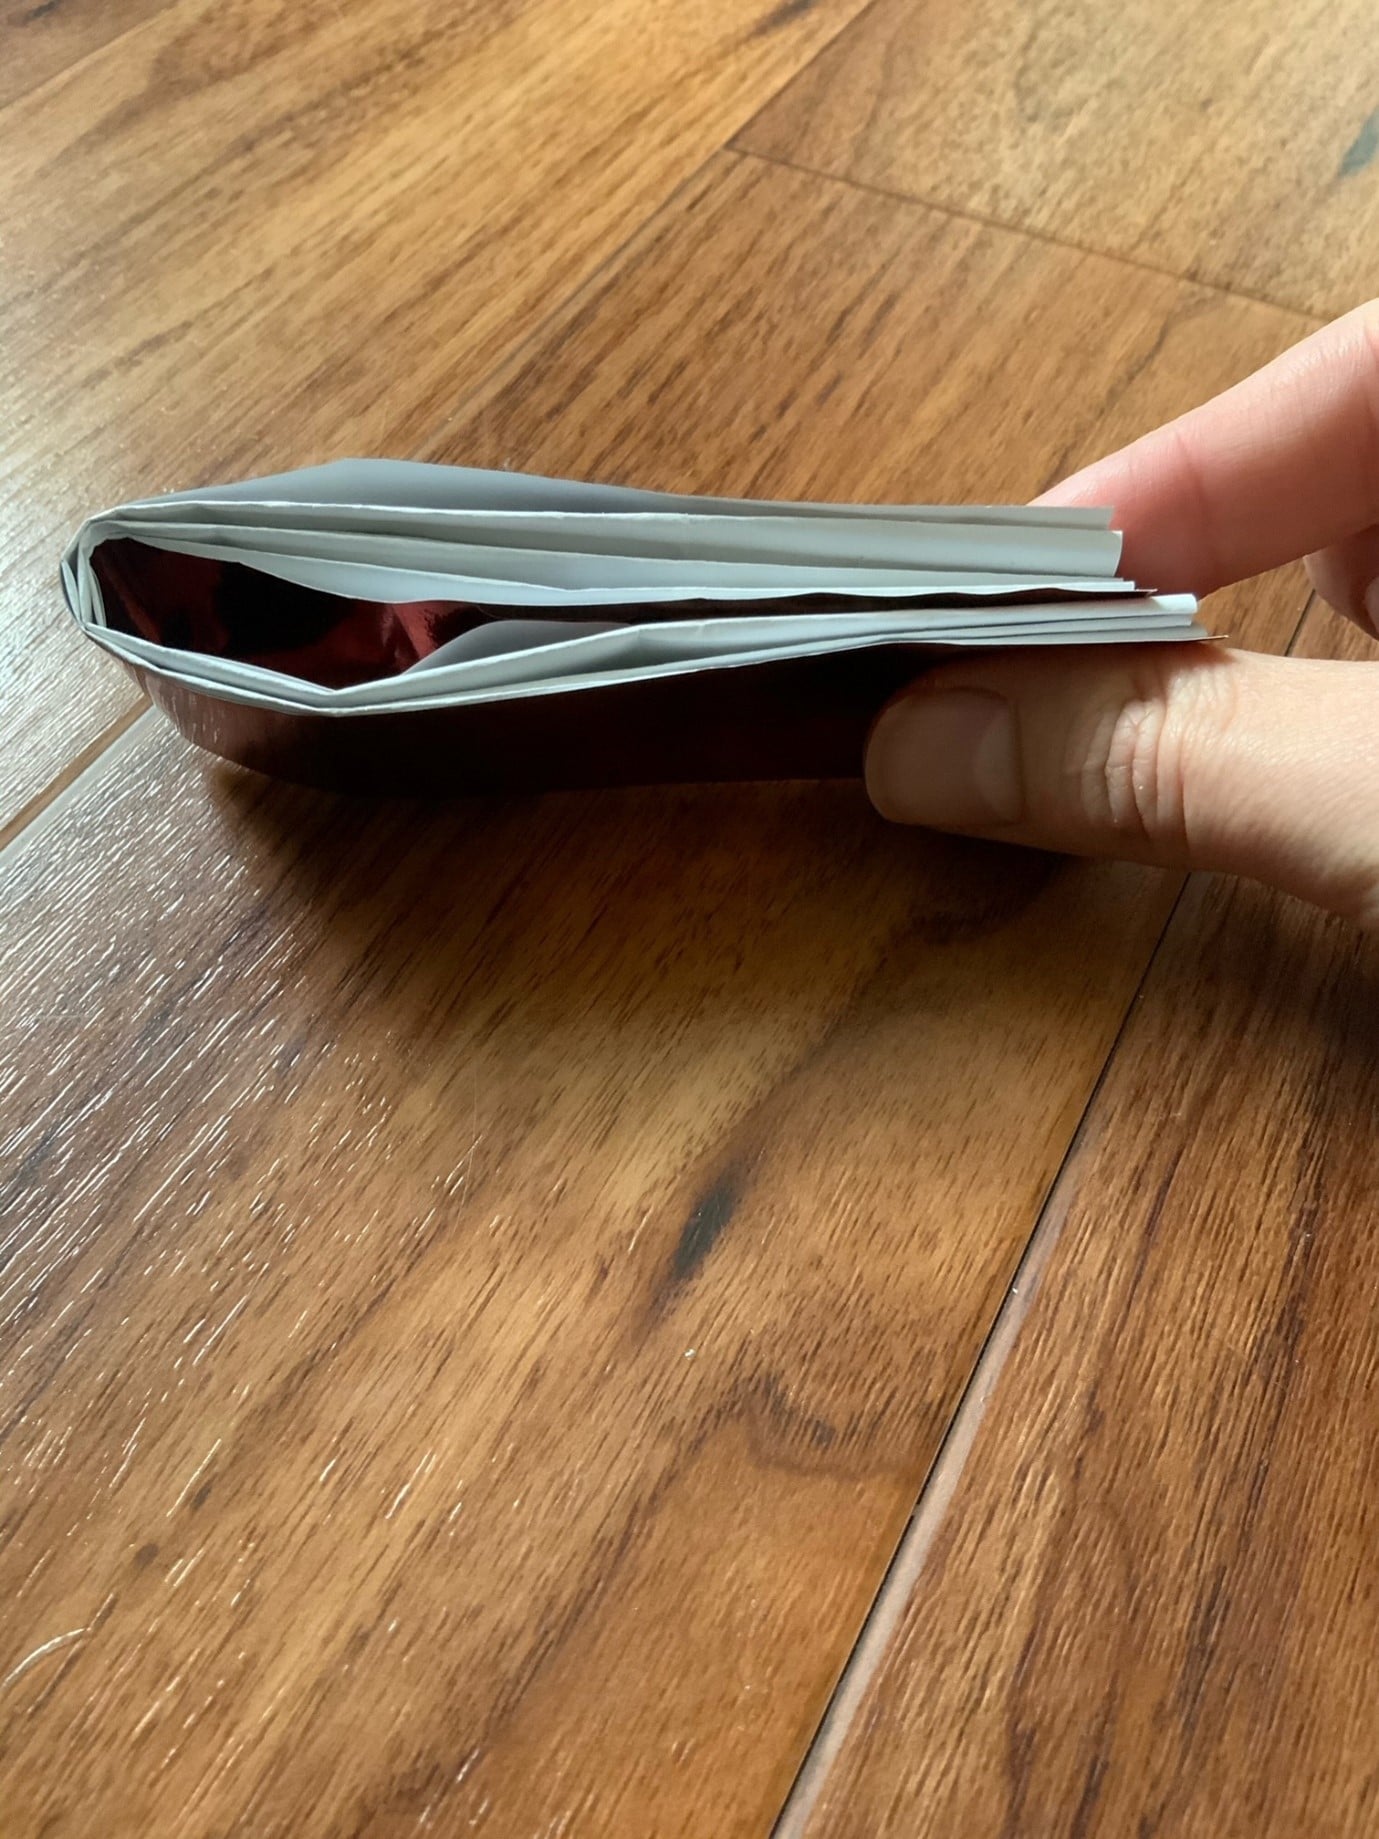
Step three:
When you finish, fold in half, re-open and stable as perpendicular as you can get in your middle fold line
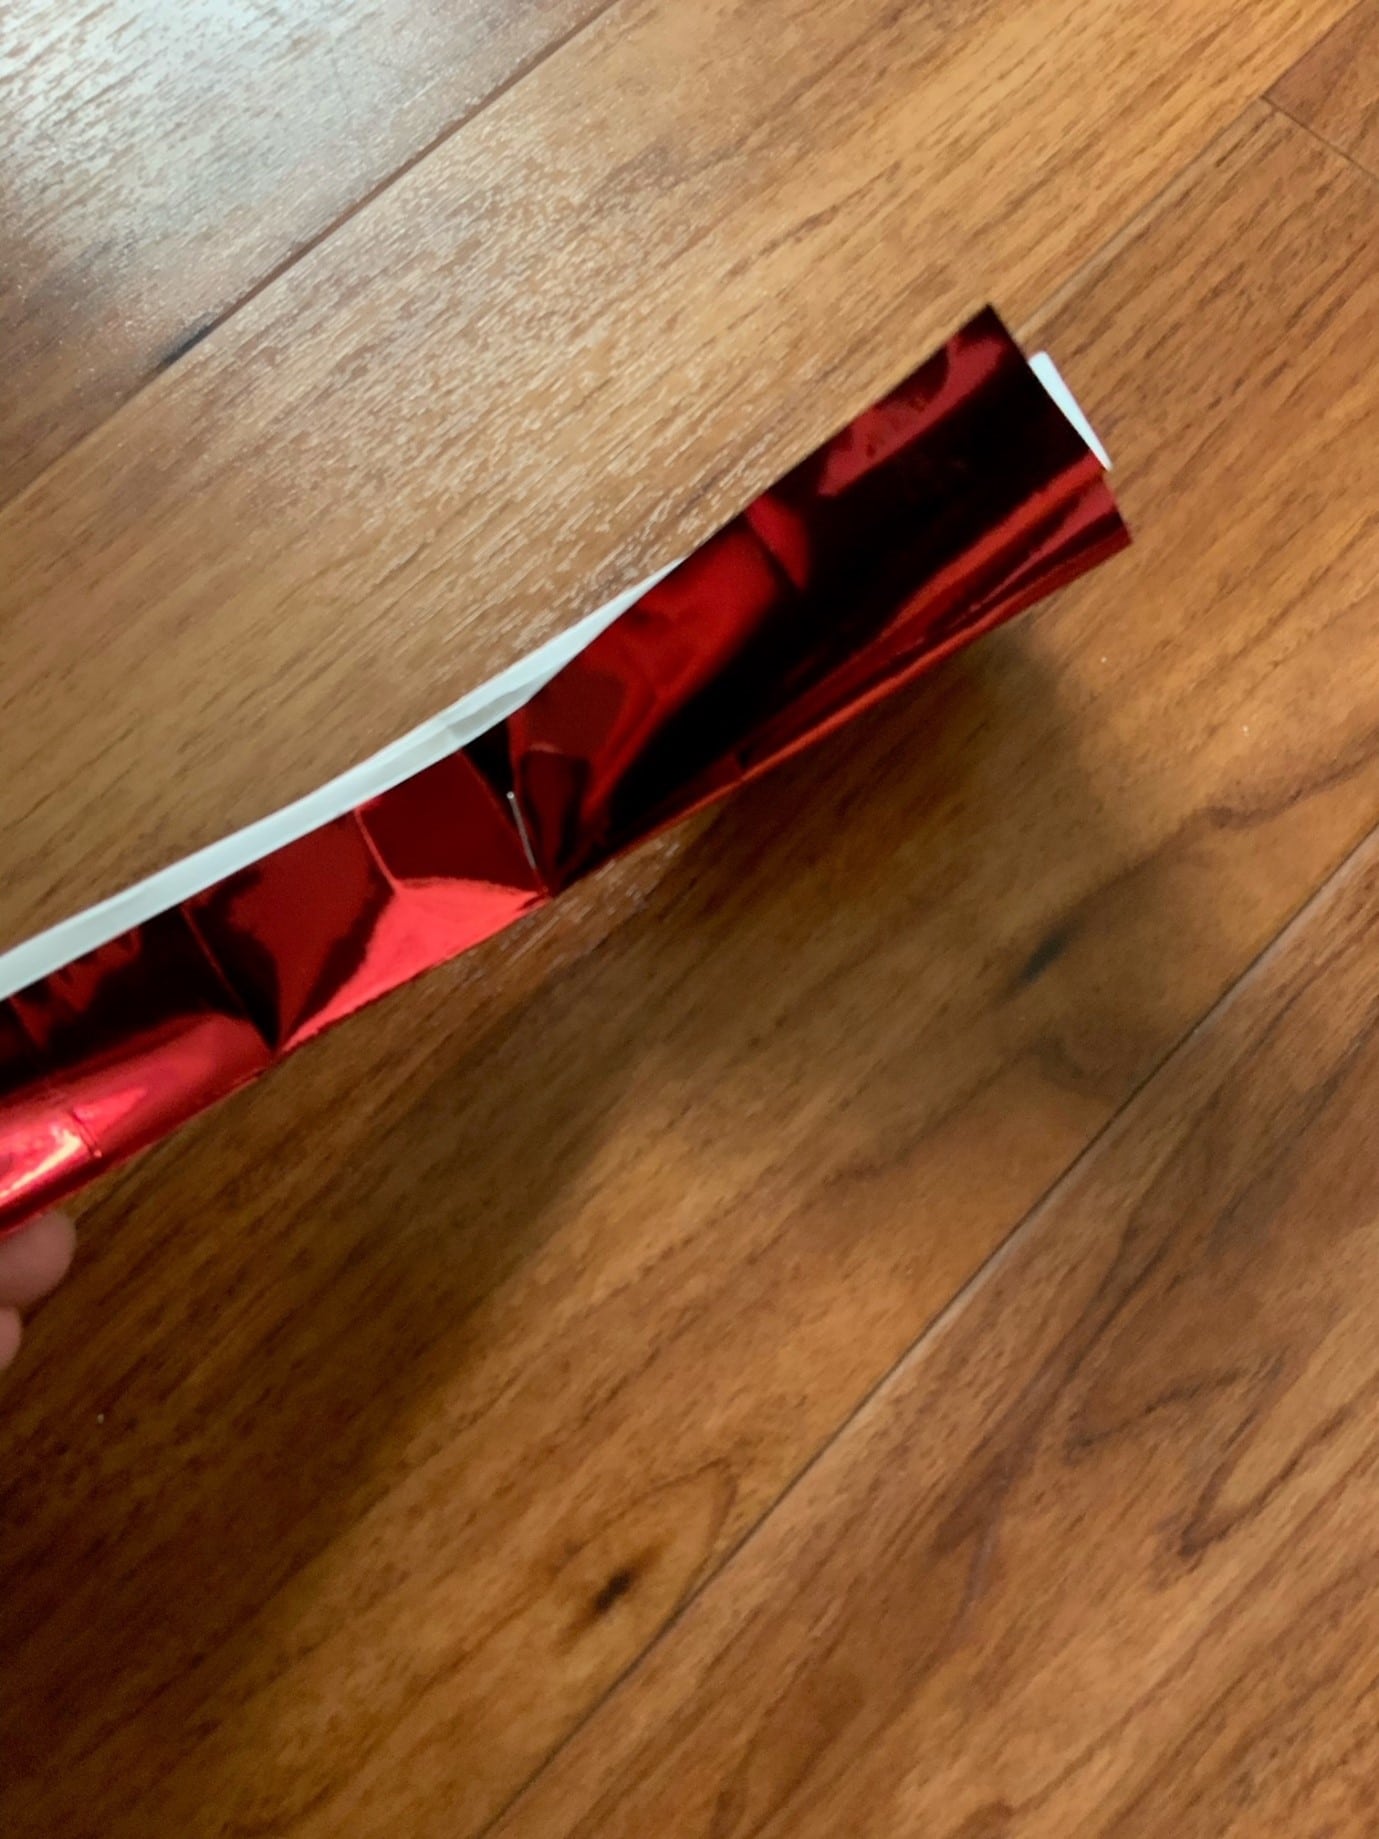
Step four:
Open out and staple/ glue the ends together
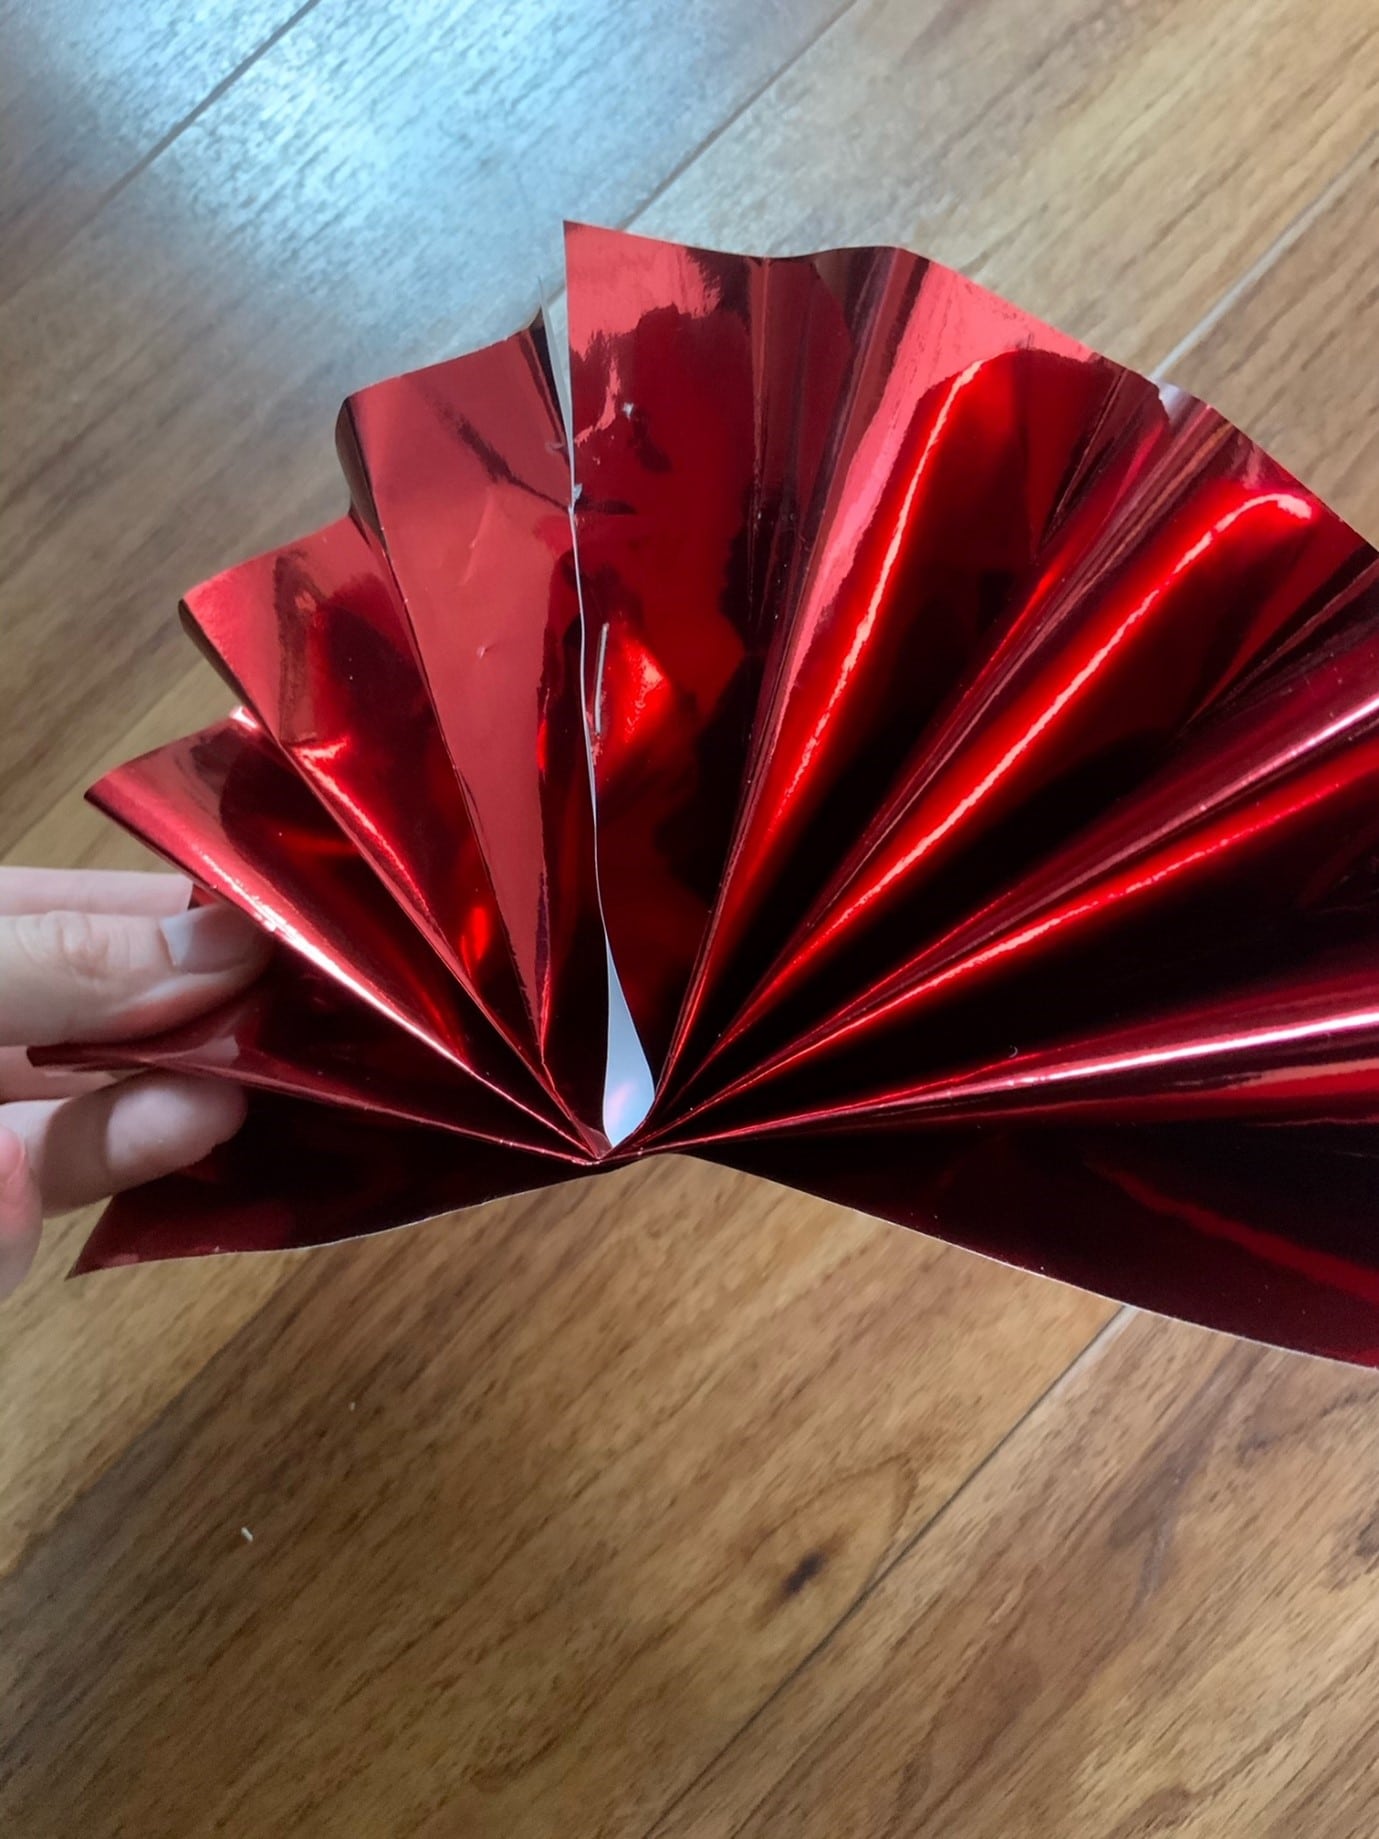
Step five:
Repeat for the other half of the fan!
If you make a large one you can do it with 1 piece for example my large ones are 19 inches X 29 inches and I didn’t need to do it twice.
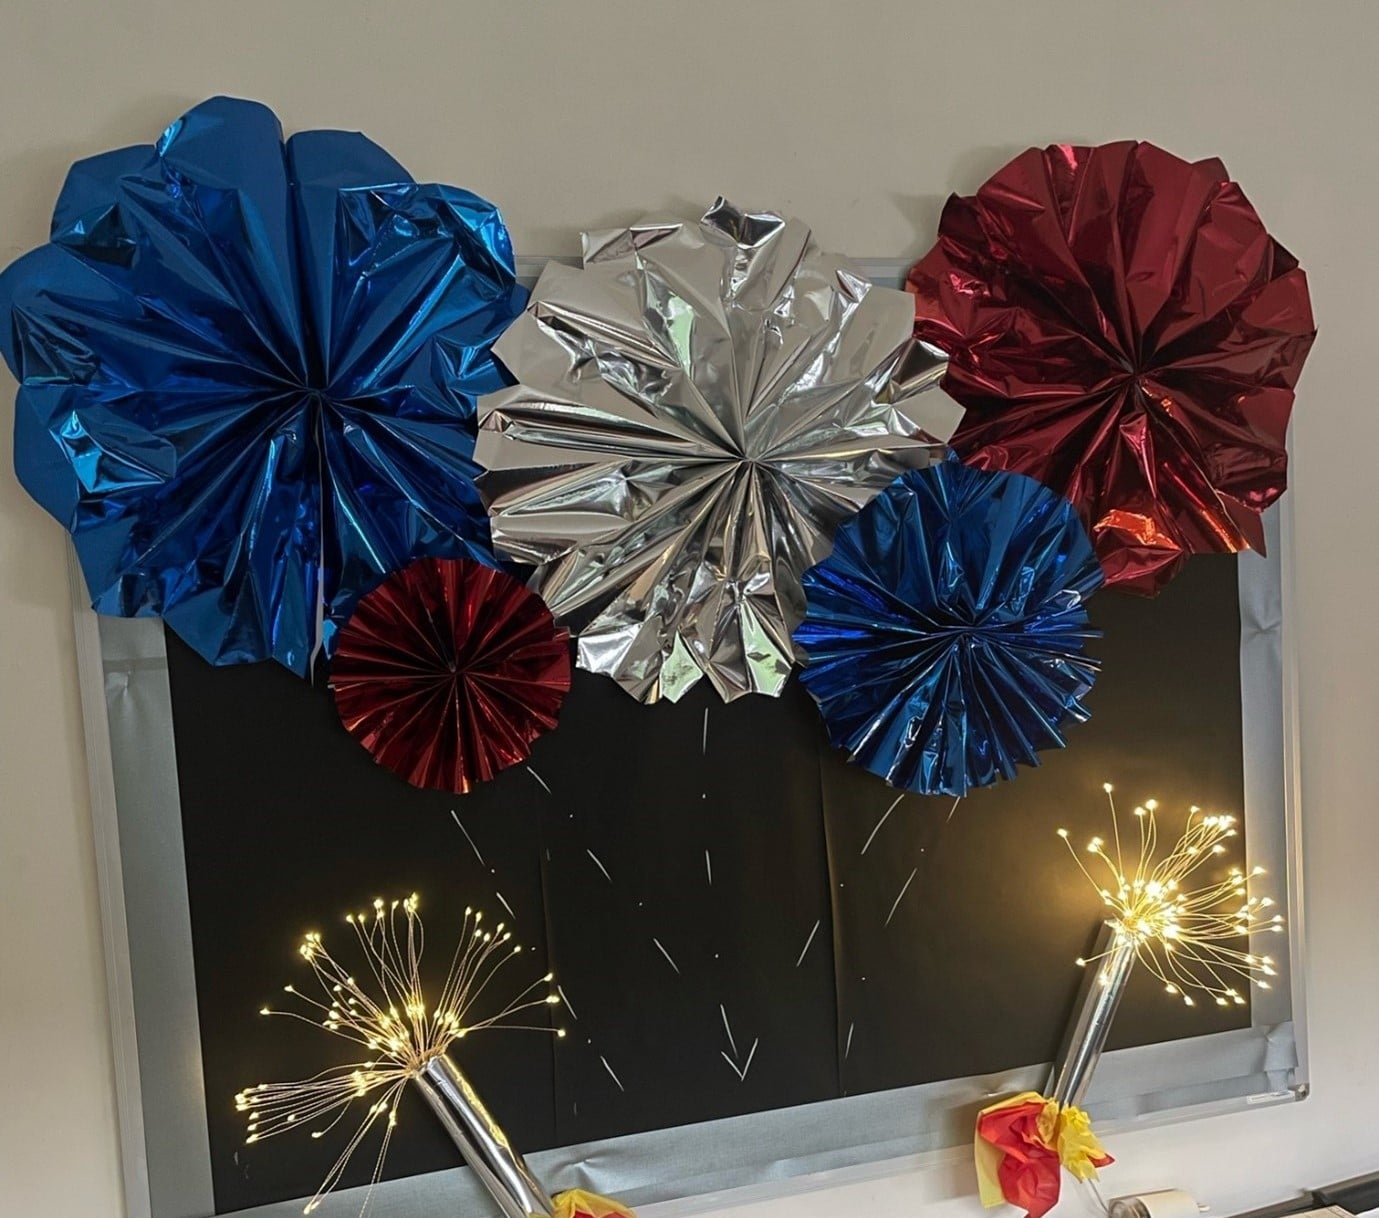
Finally:
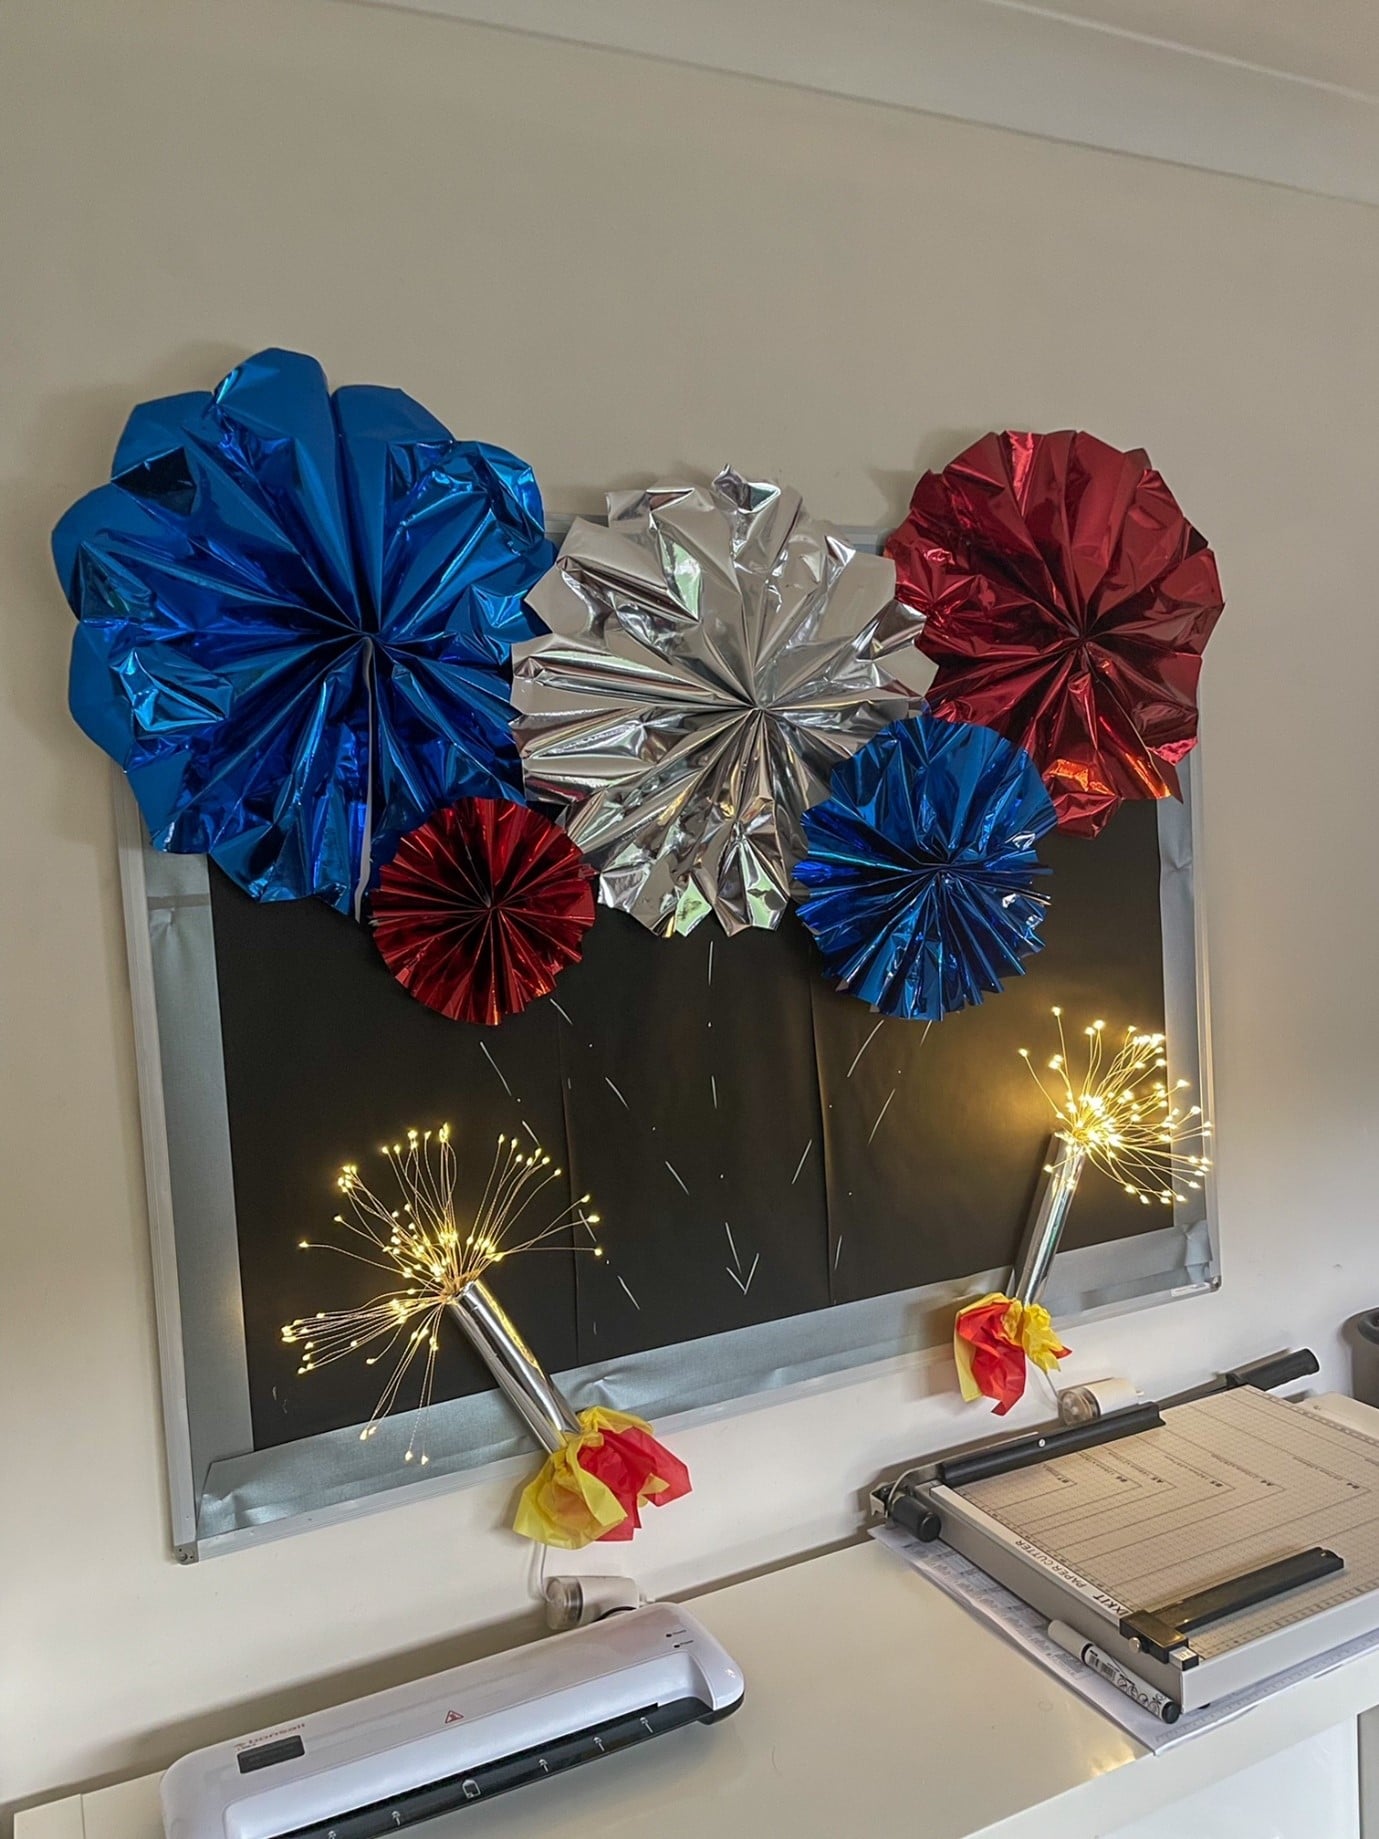
Attach them to black mounting paper on the wall and arrange them into a nice display.
Use chalk pens and extra lights for the sparkle effect
Get crafting ready for bonfire night and show us your firework displays via our social media! Have an amazing, safe Bonfire Night and remember to wrap up warm!!
We’d love to see your DIY crafting firework displays
Show us your images @HopeEducation_Primary
You’ll find guides like these, plus more at blog.hope-education.co.uk.