Stained glass decorations
Florence and her daughter Primrose love crafting together. Here, they show us how to make some Christmas decorations which are suitable for all ages and look really effective when hung on the tree.
“This brilliant craft is a real classic. It can be adapted to suit a range of ages and is really fun & easy to make. You could attach a ribbon to your finished decoration so that it could be hung on a Christmas tree- the twinkly lights on your tree would shine through the different colours beautifully! You could make these stained glass decorations in a few different shapes or styles and create a festive window display, or children could use them on a light panel to explore light, shape, colours & shadows. This craft is great for practising fine-motor skills, scissor skills, colour blending concepts, when pieces of cellophane or tissue paper are overlapped, and spacial awareness by filling the gaps & spreading the colours”
You will need:
- Scissors
- Black card or sugar paper or pre-cut stencils (using pre-cut stencils will save time)
- Coloured cellophane and/or tissue paper- you could pre-cut these into small squares for younger children
- PVA glue & brushes or spreaders and/or sticky back plastic
Step 1
Cut a Christmas themed shape (e.g. star, cracker, bauble, arch, tree) out of black card or sugar paper.
older children might like to cut their own shape
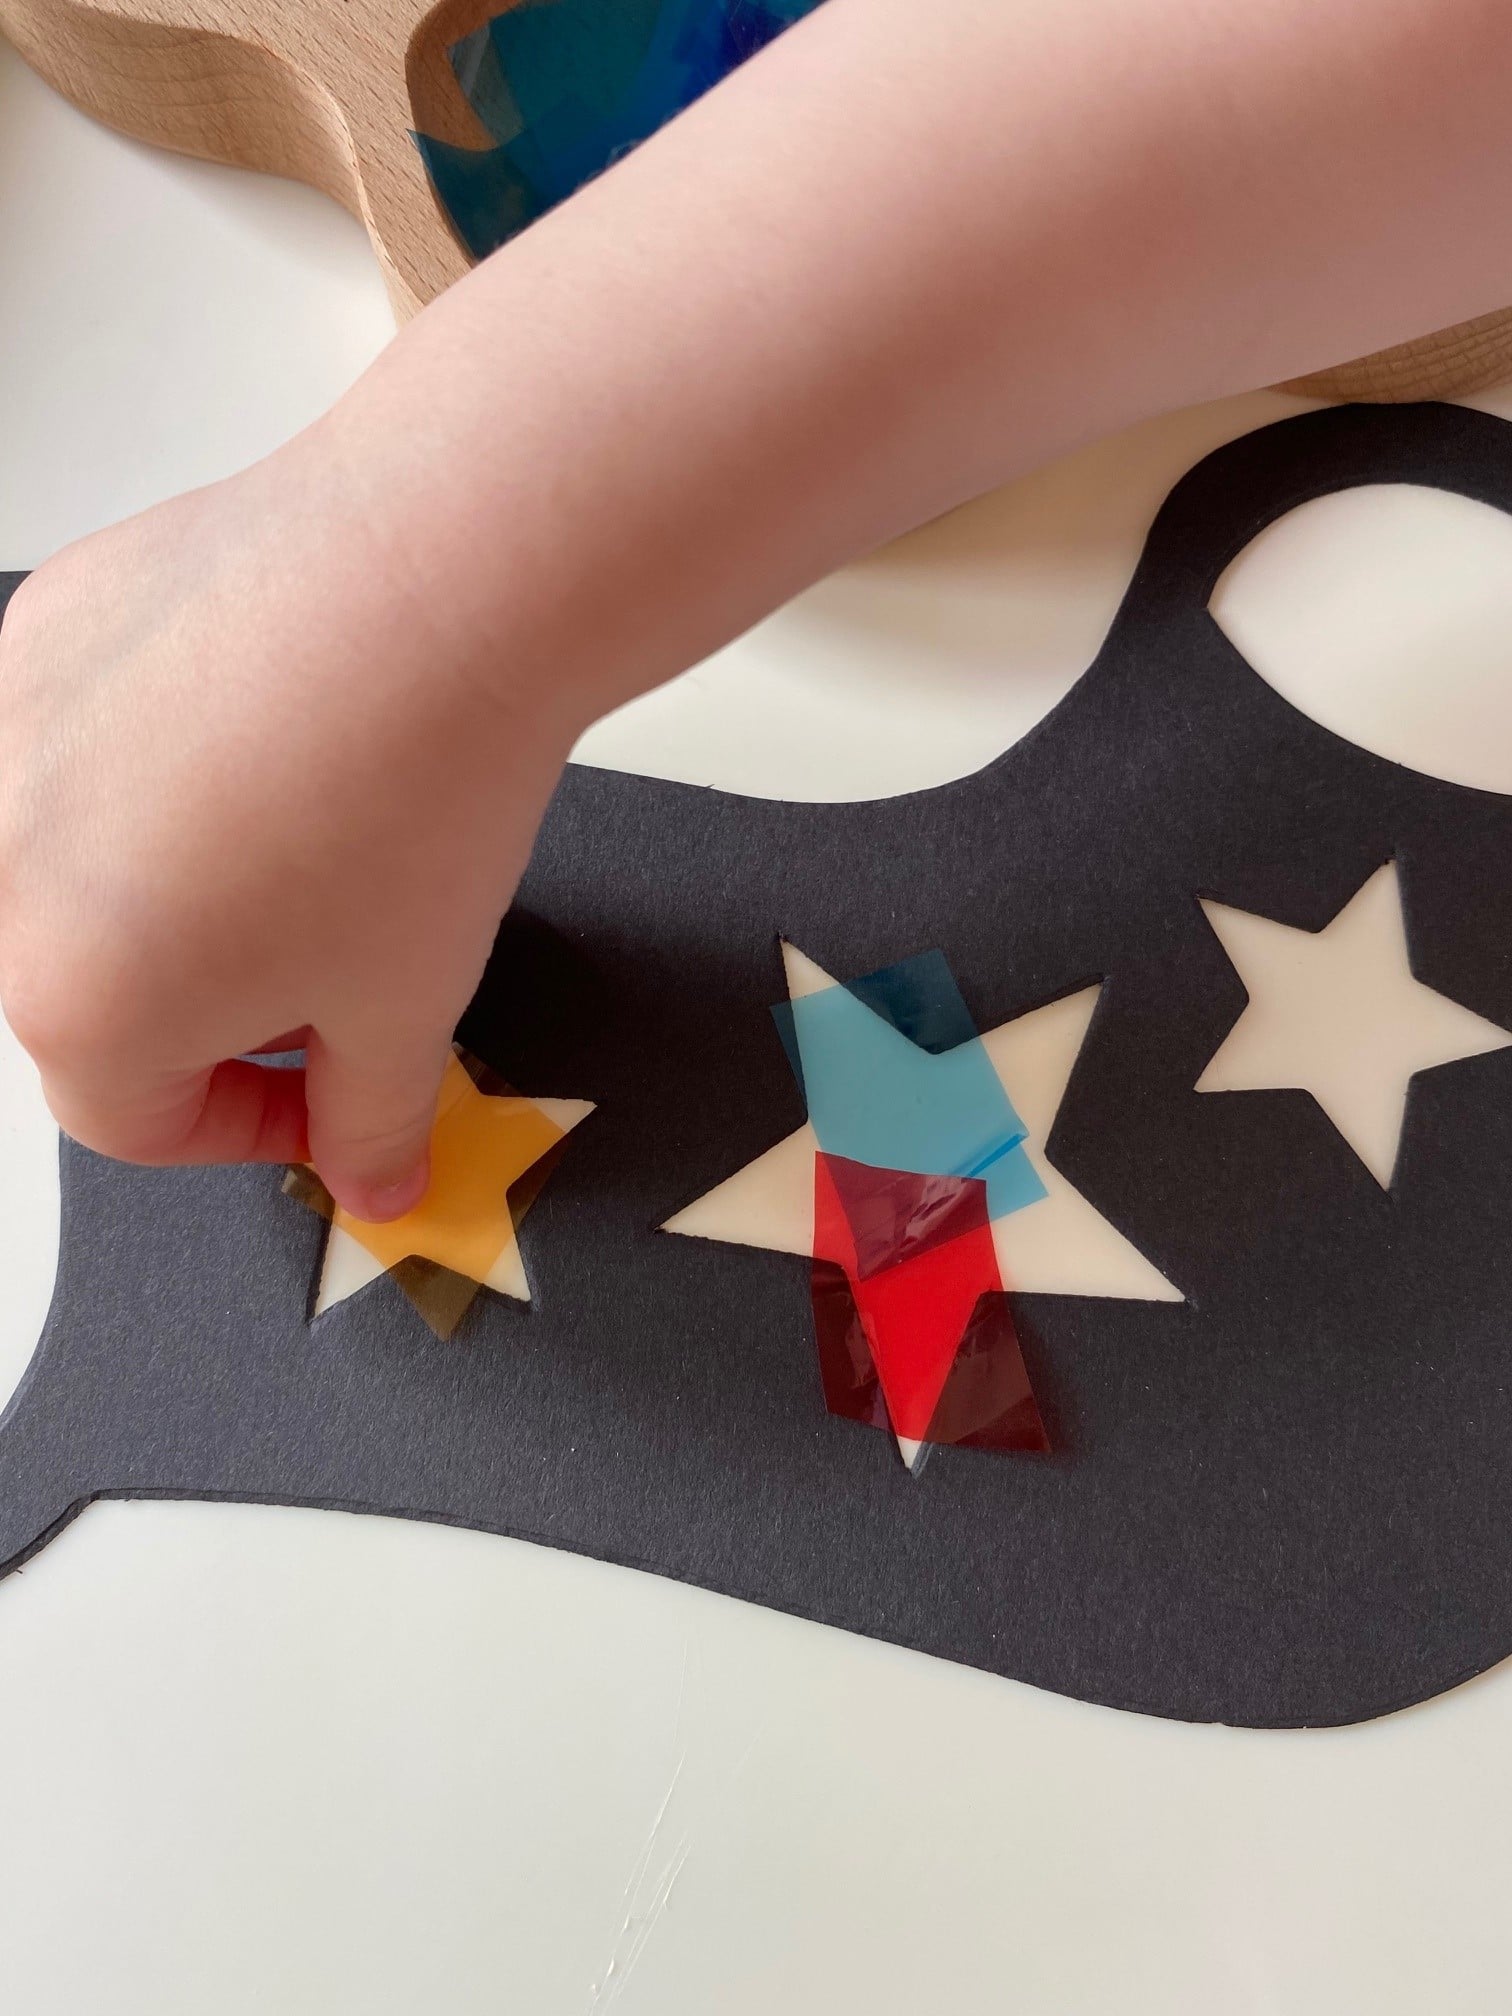
Step 2
Cut some smaller shapes into the middle of the large shape that can be decorated. Older children may need some assitance with this if they are cutting out their own shape.
Save time with this Stained Glass Window Set, containing everything you need!
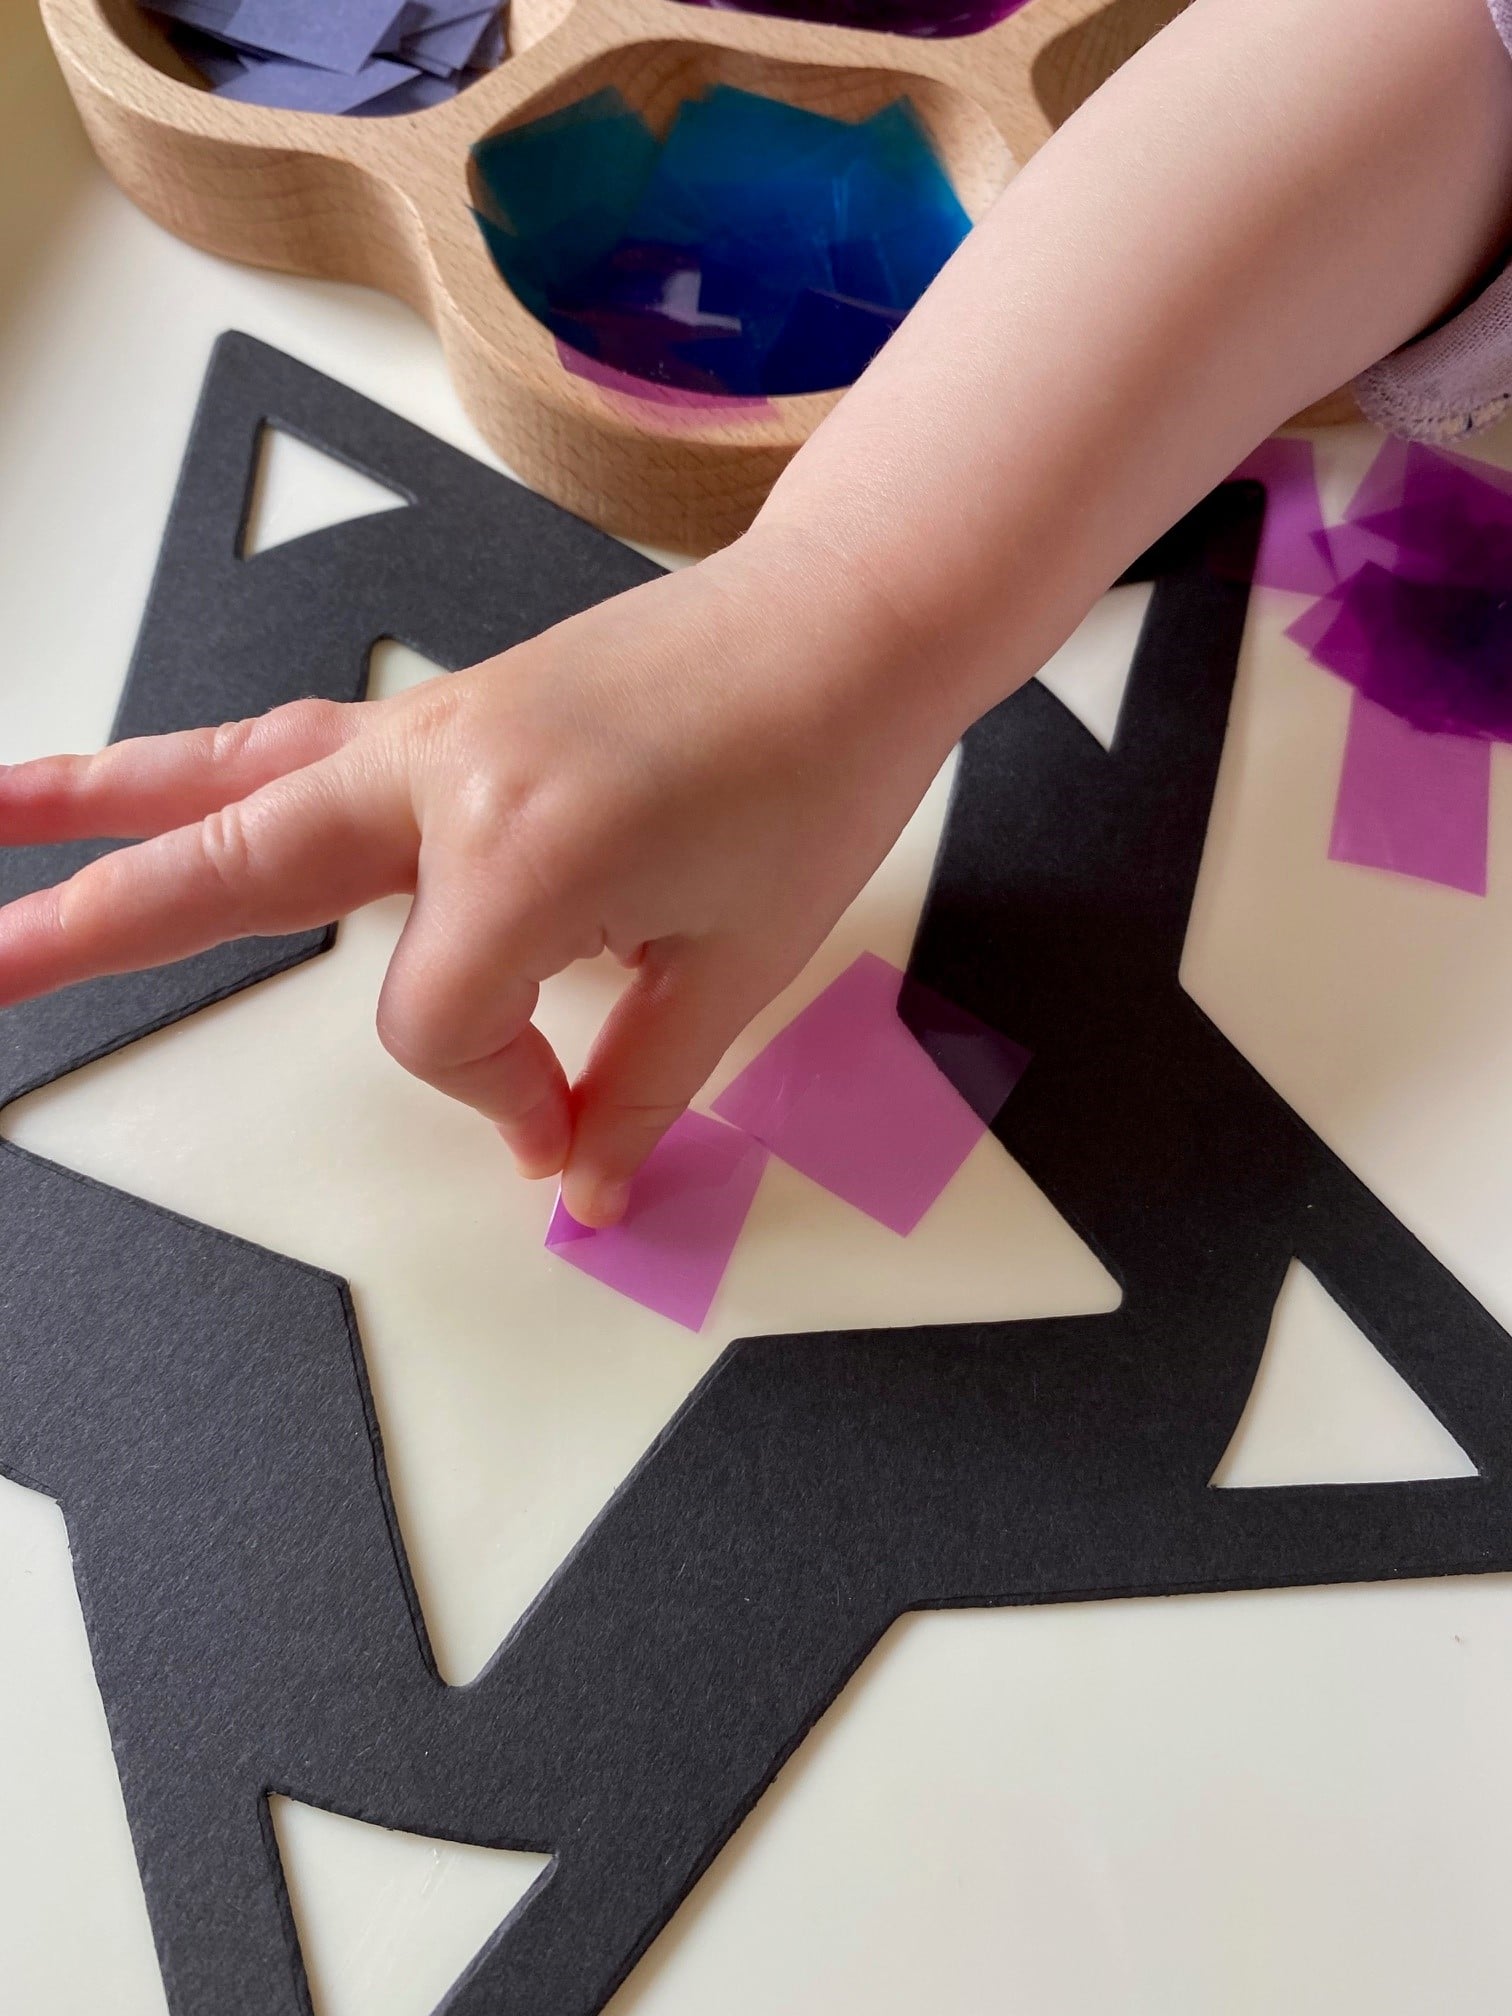
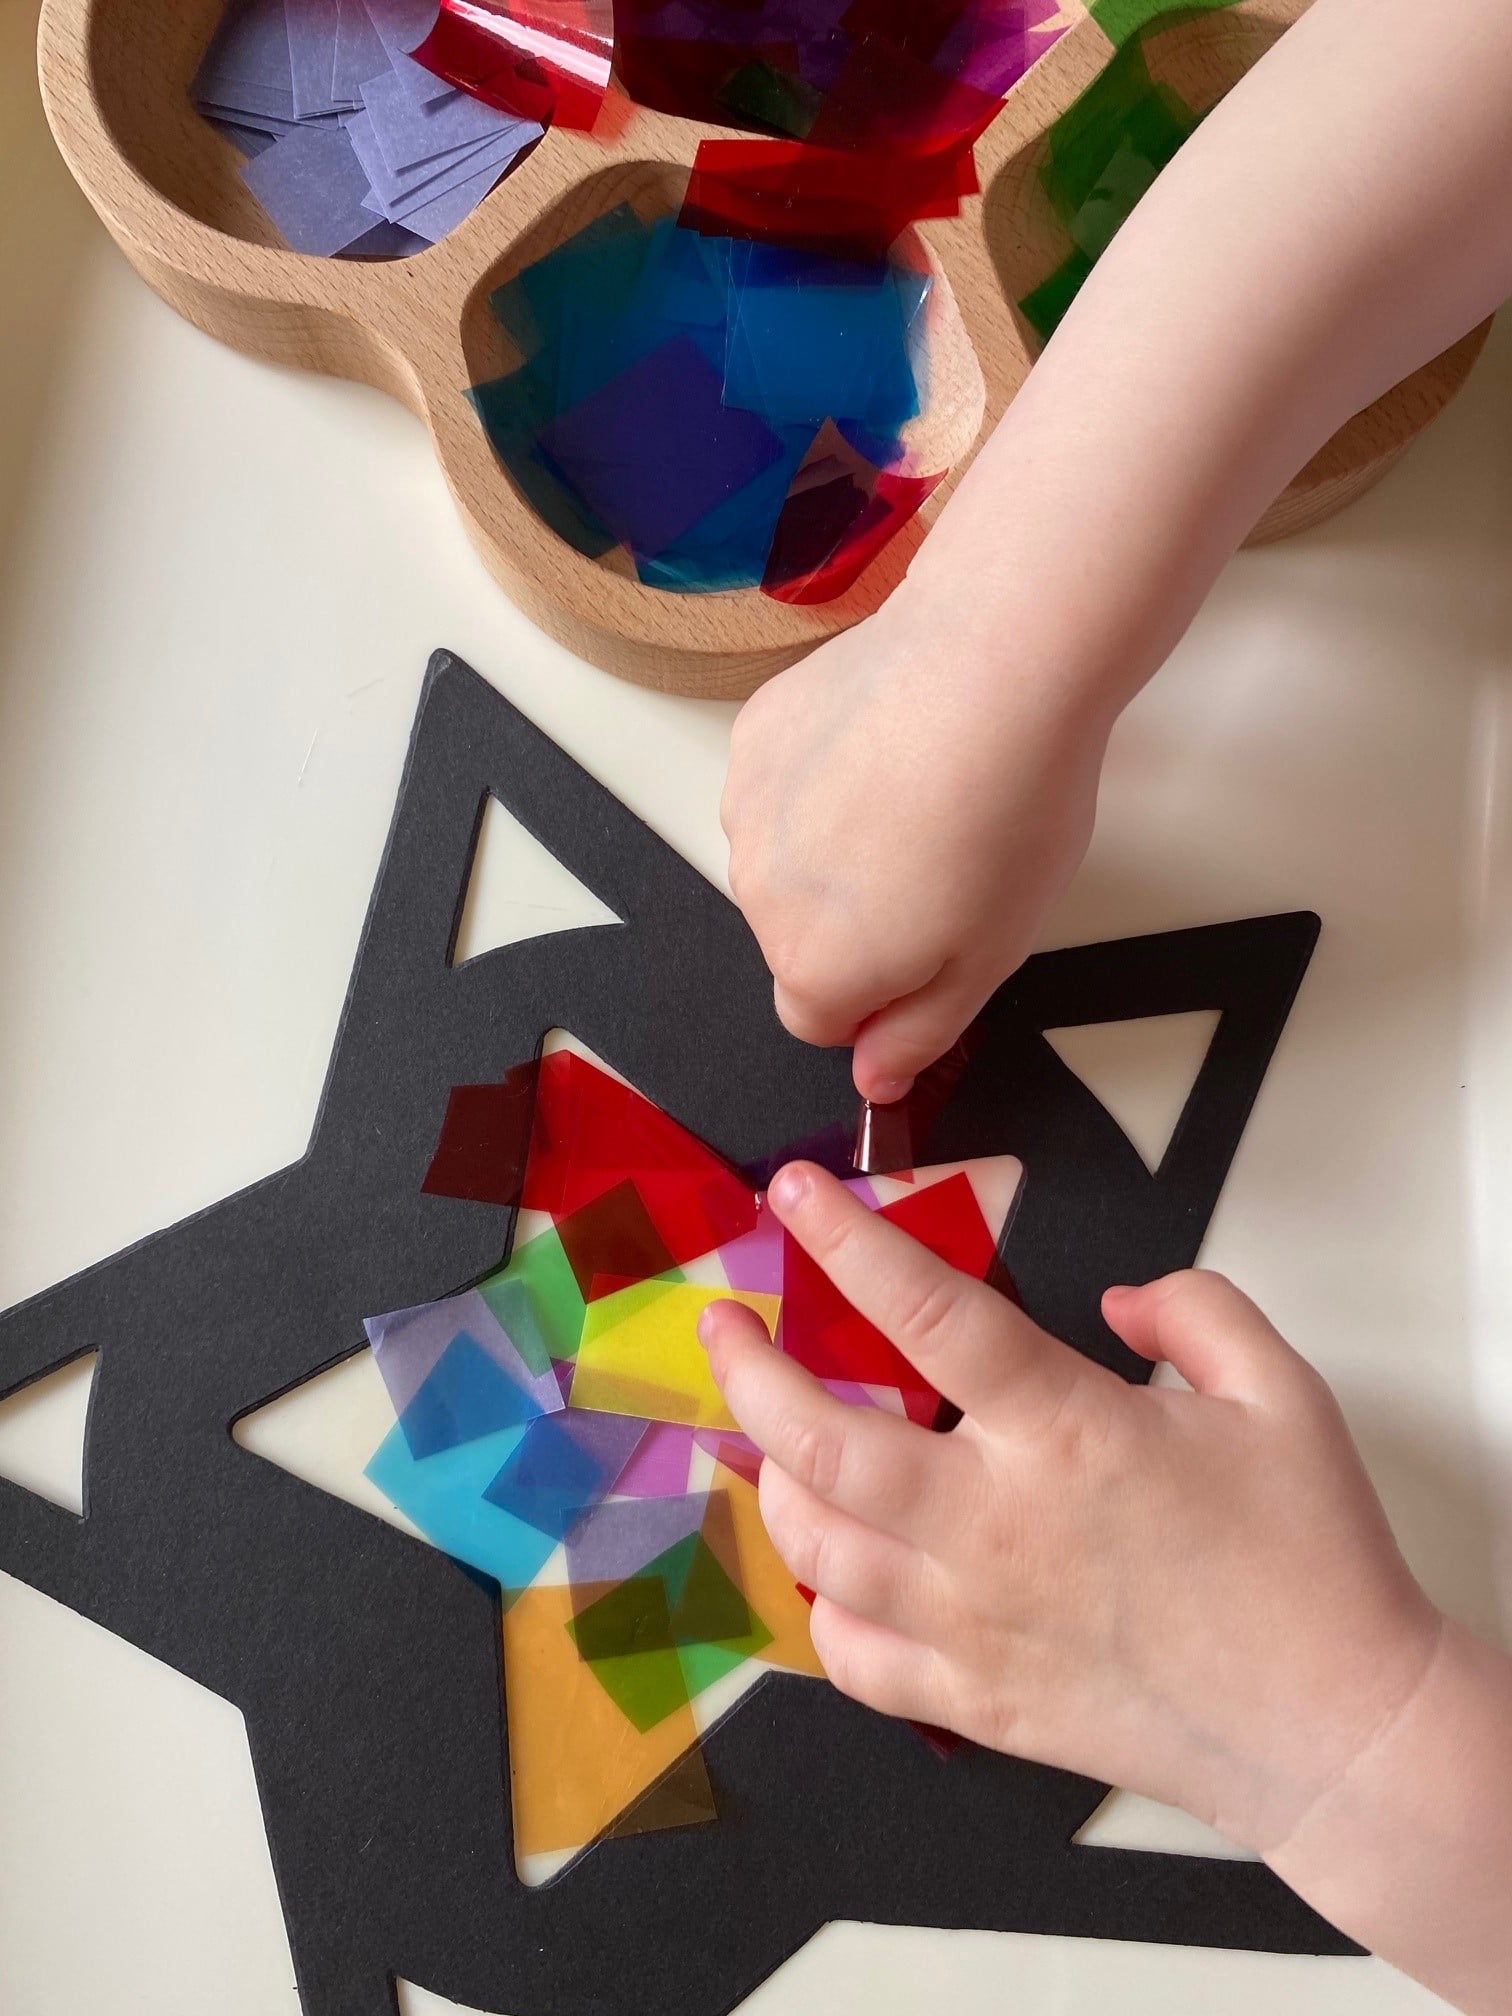
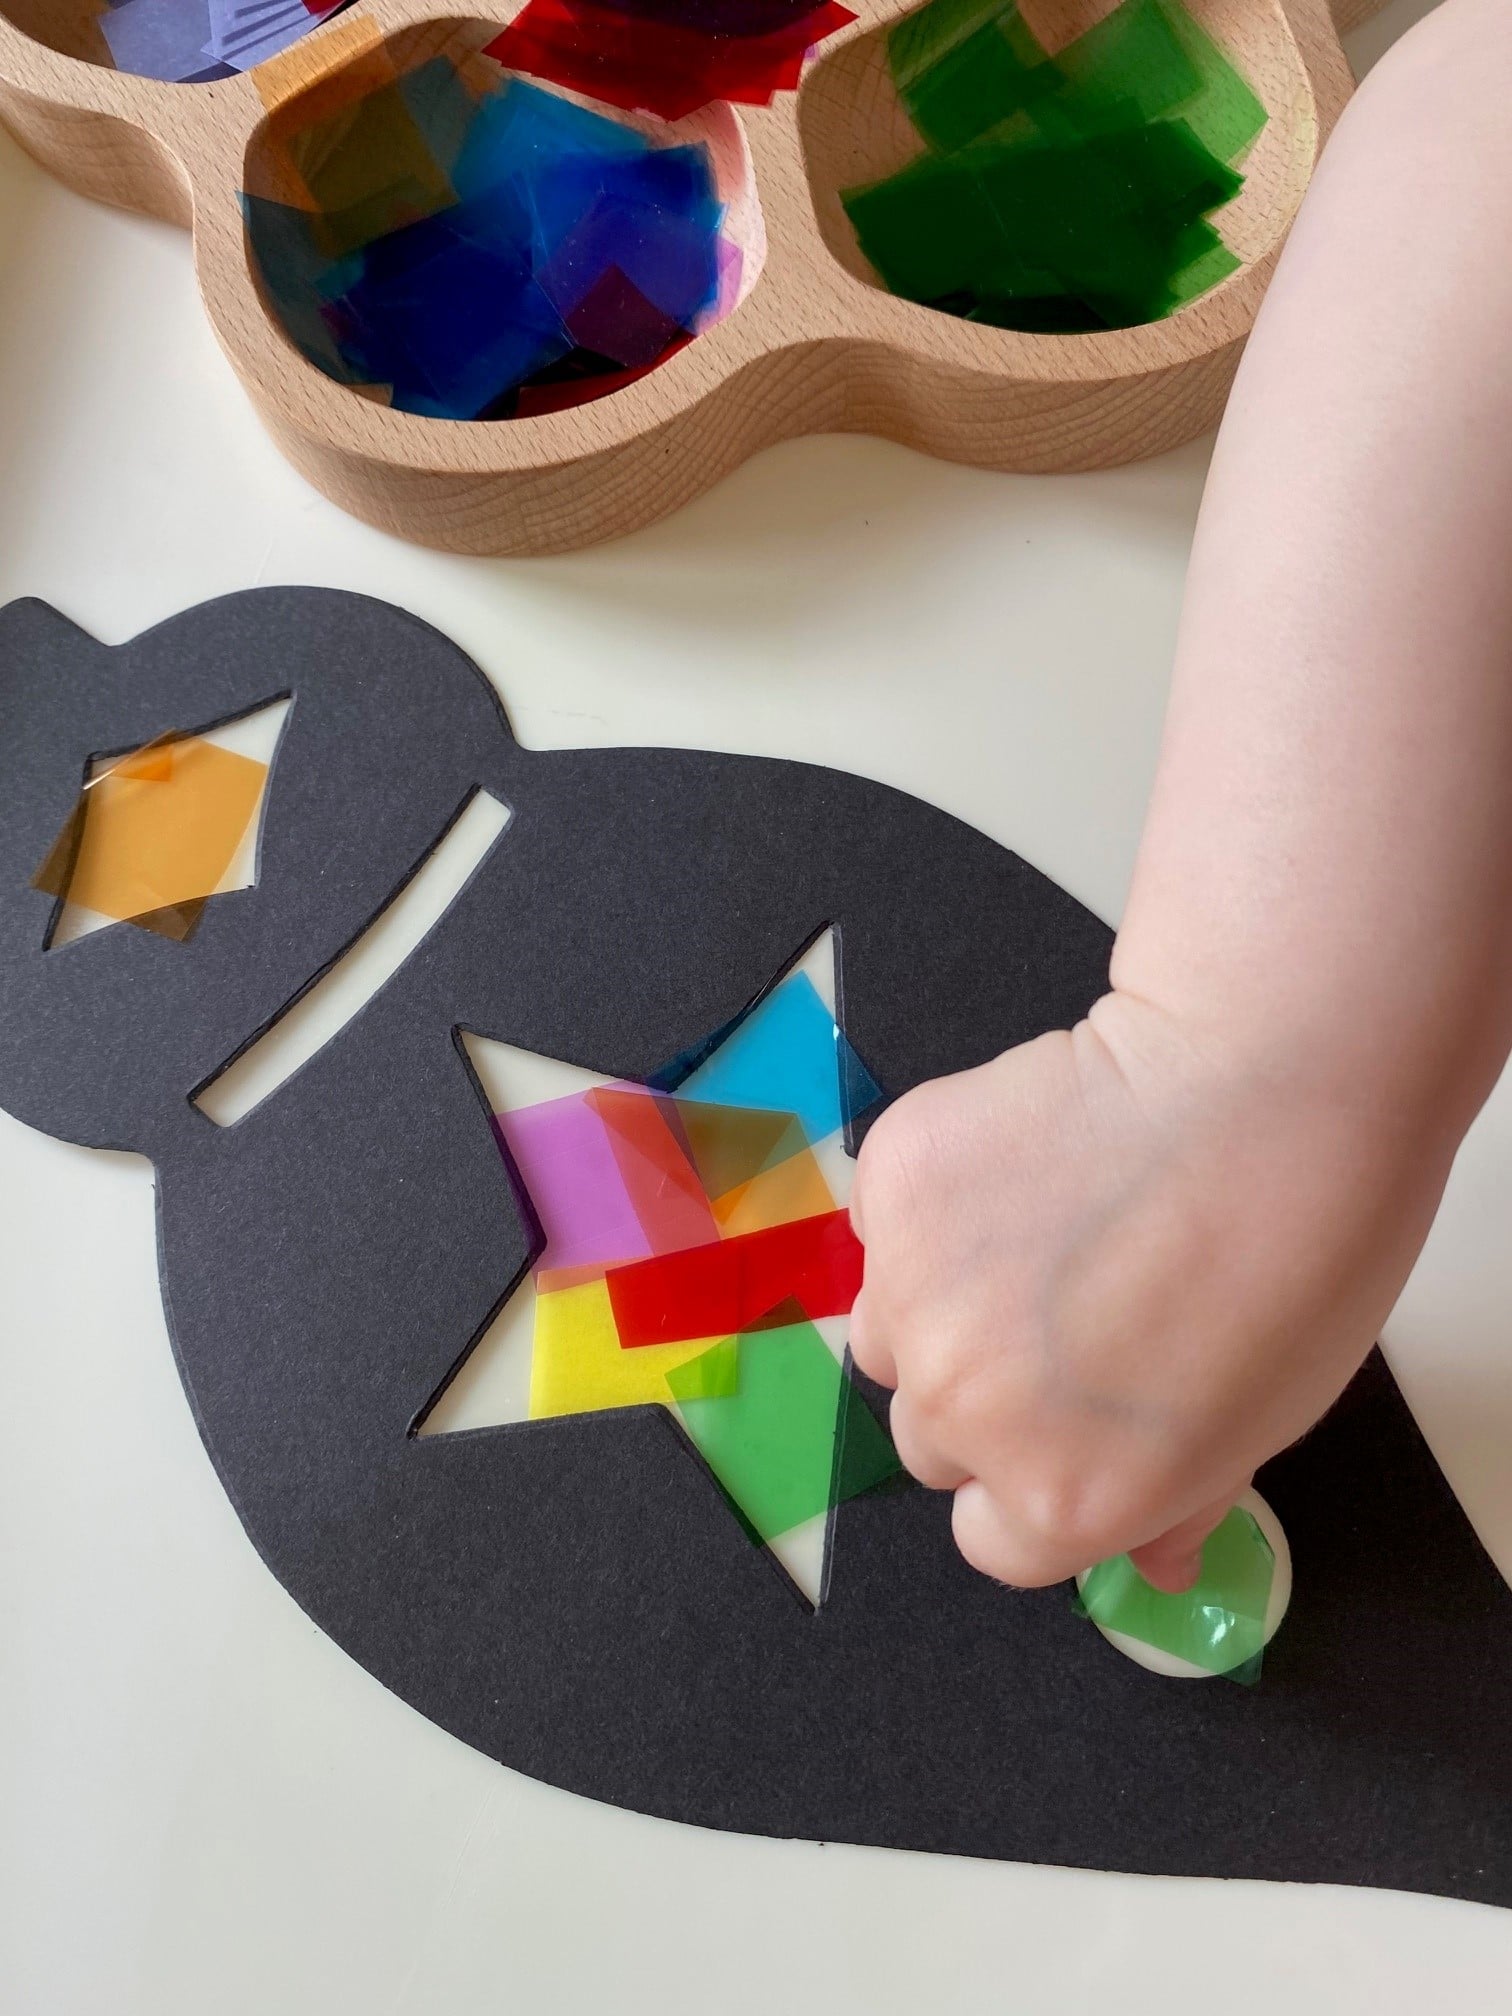
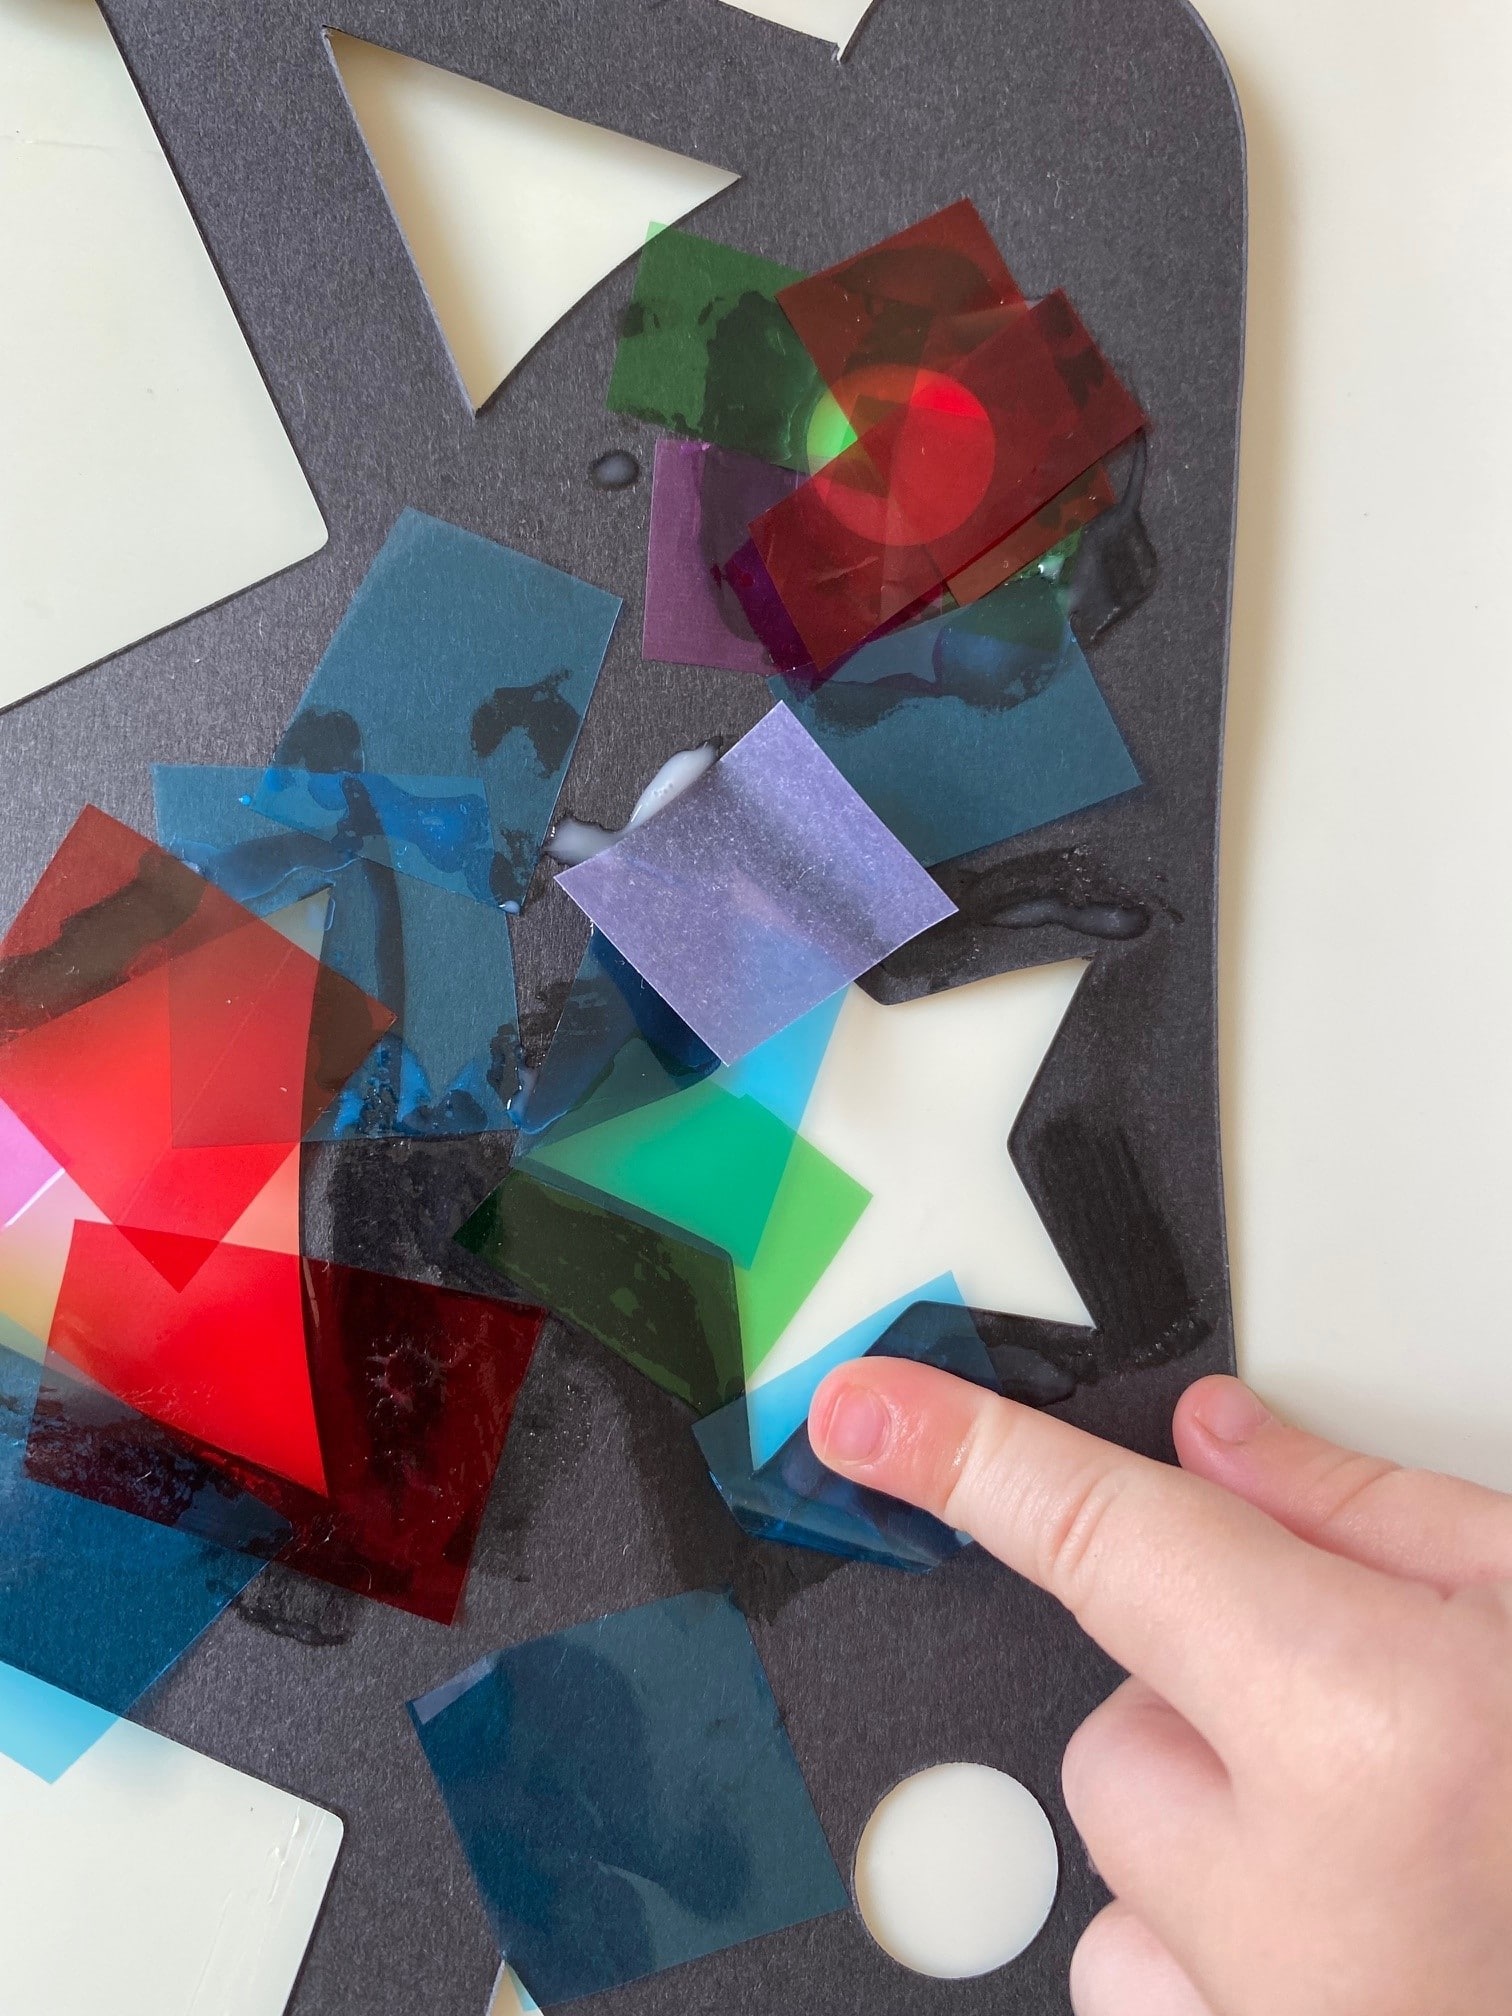
Step 3
Dab PVA glue around the edges of your shapes, in the middle of your decoration and cover them with cellophane or tissue paper. Younger children may find it easier to decorate a shape that is covered with sticky back plastic. To do this, attach a few squares of sticky back plastic over a few of the shapes and then turn it over so that the sticky back plastic is facing up.
Stained glass decorations
Step 4
Once your shape is totally decorated, leave it to fully dry.
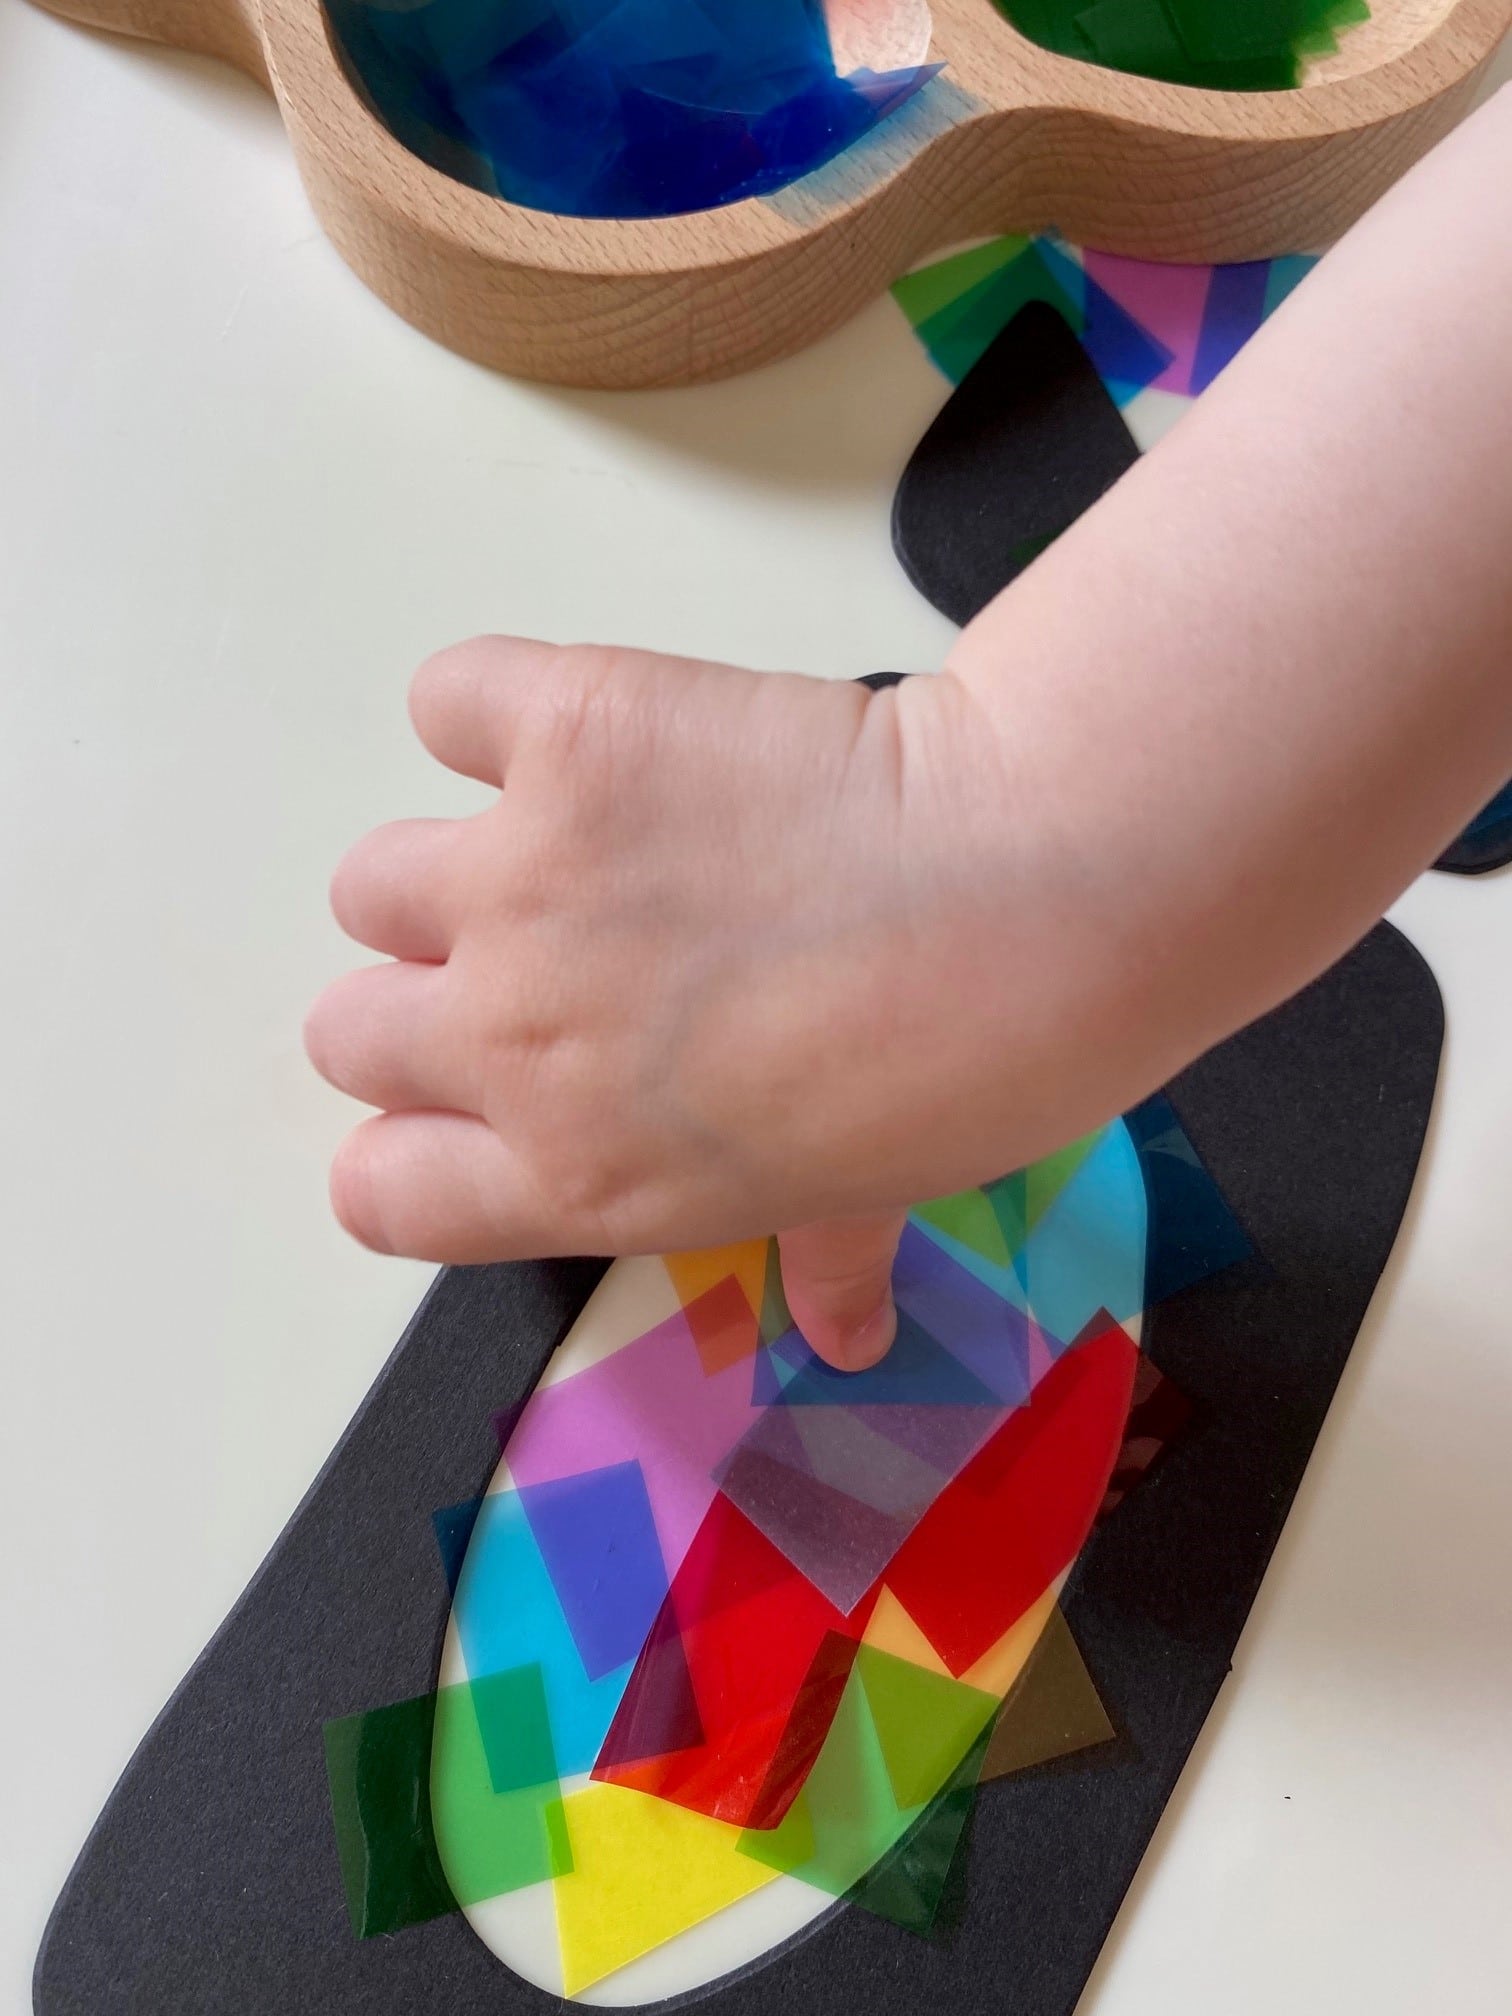
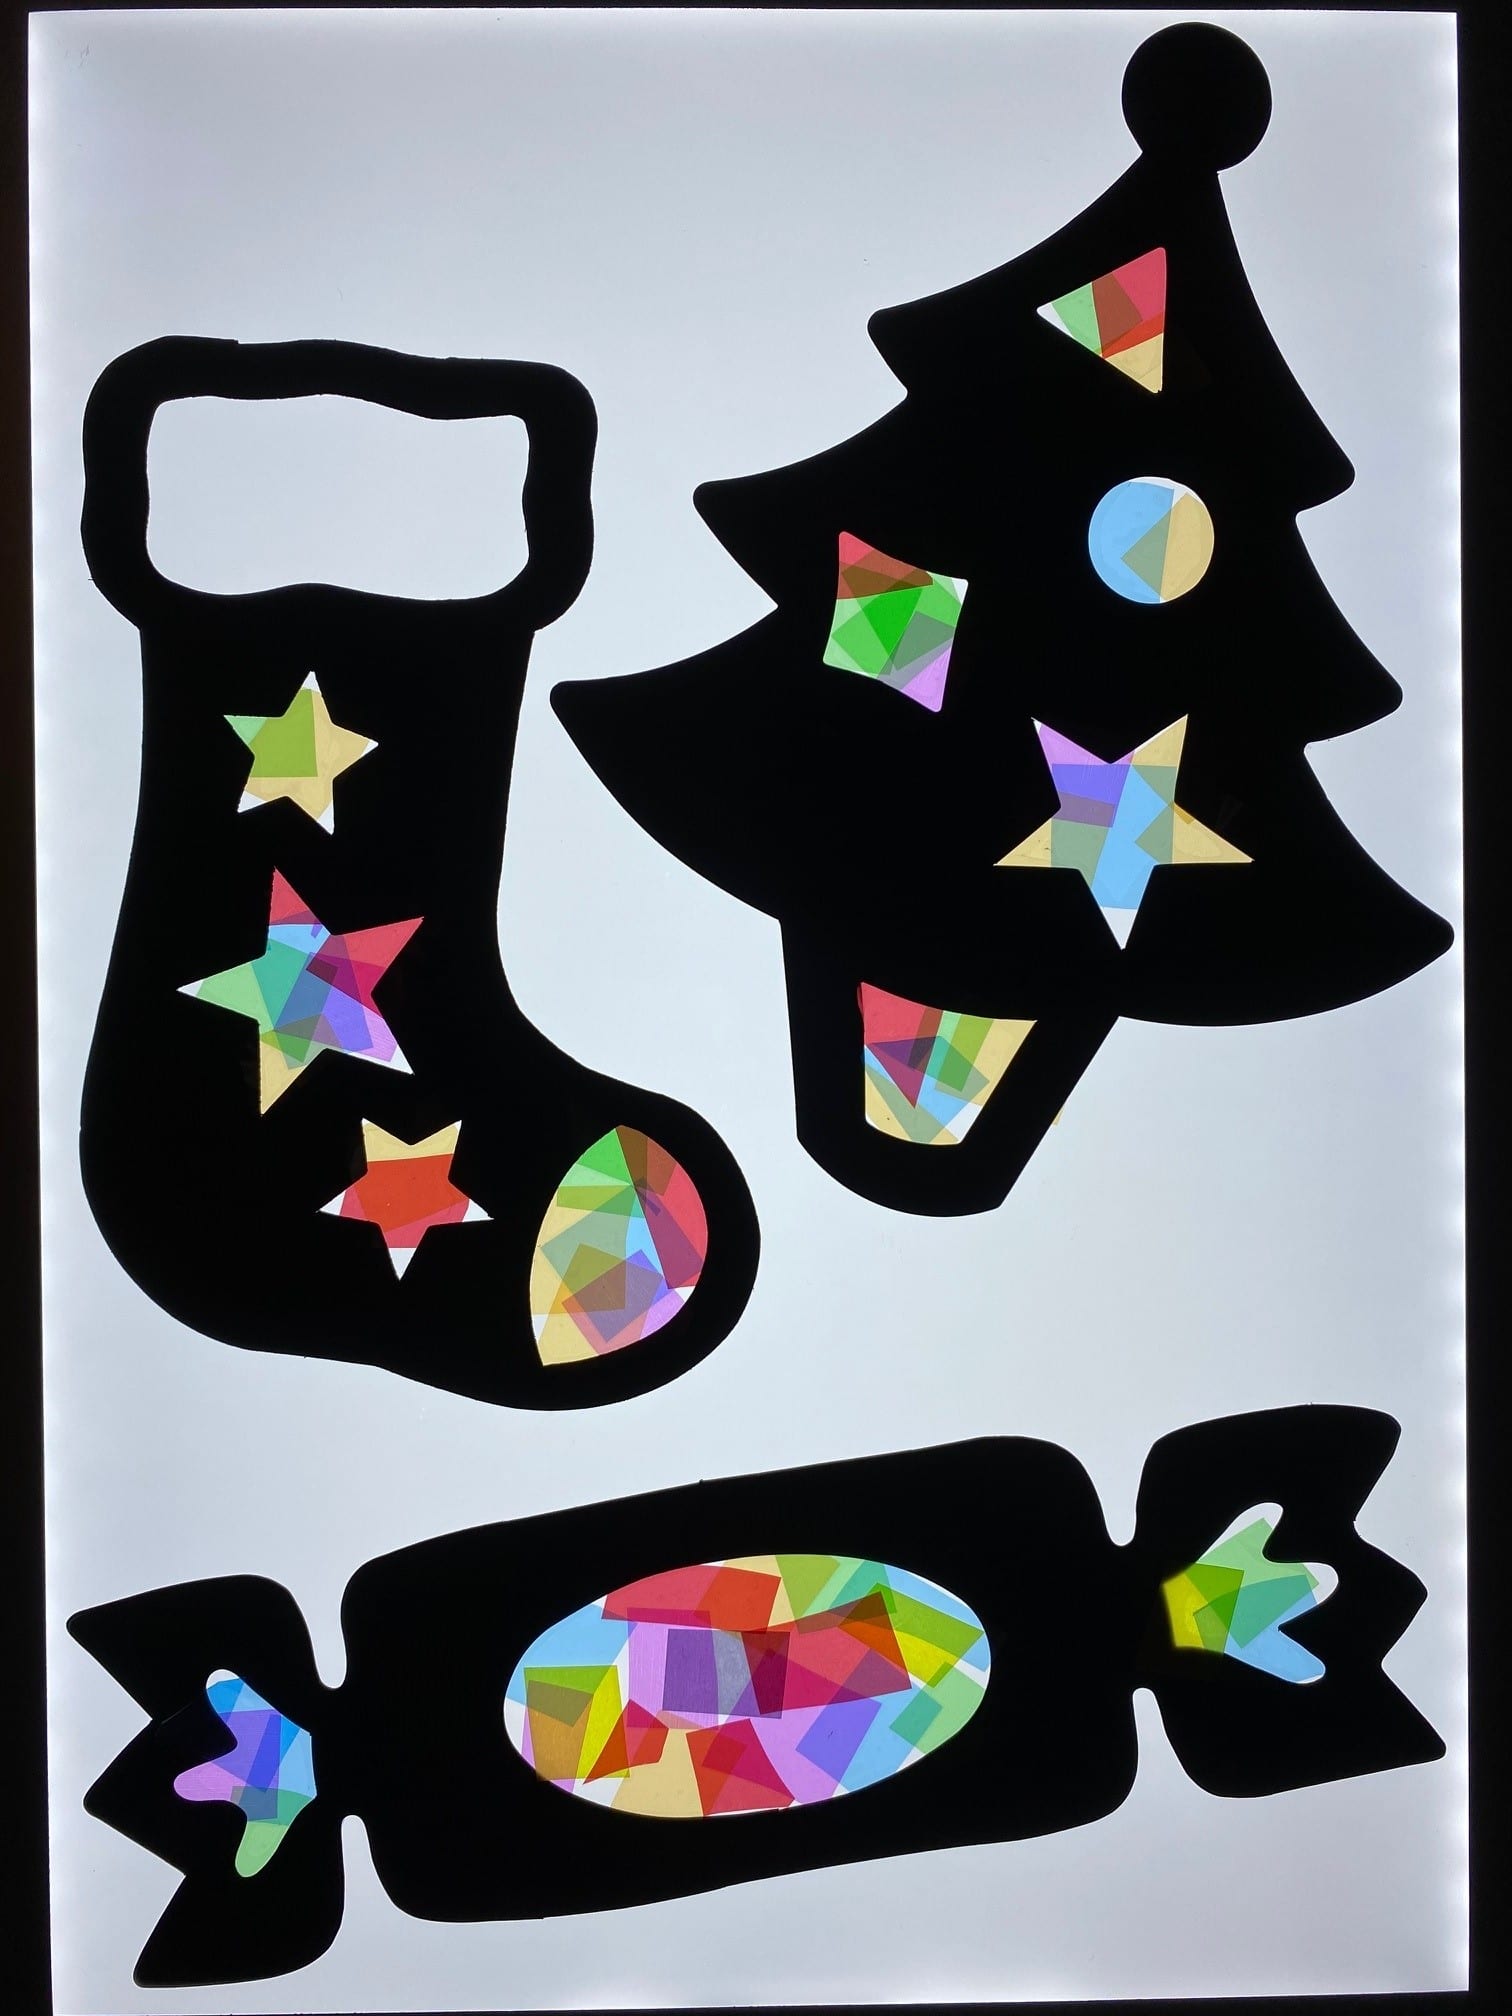
Step 5
Turn your decoration over so that the messy decorated side faces the window if using them for a display. Your stained glass craft is now finished and ready to display!
For more inspiration from Florence and Primrose, make sure to follow them on Instagram @playingwithprimrose to see what else they are getting up to!