Christmas Card Crafting
Nothing says Christmas like card making. It’s the perfect activity to get children thinking creatively as they all like to put their own stamp on their work; we’re sure you’ll agree that no two cards ever look the same when they’re lying on the drying rack!
Our friends over at @my_three_little_strawberries have been busy coming up with some new card making ideas, perfect for all ages. Take a look….
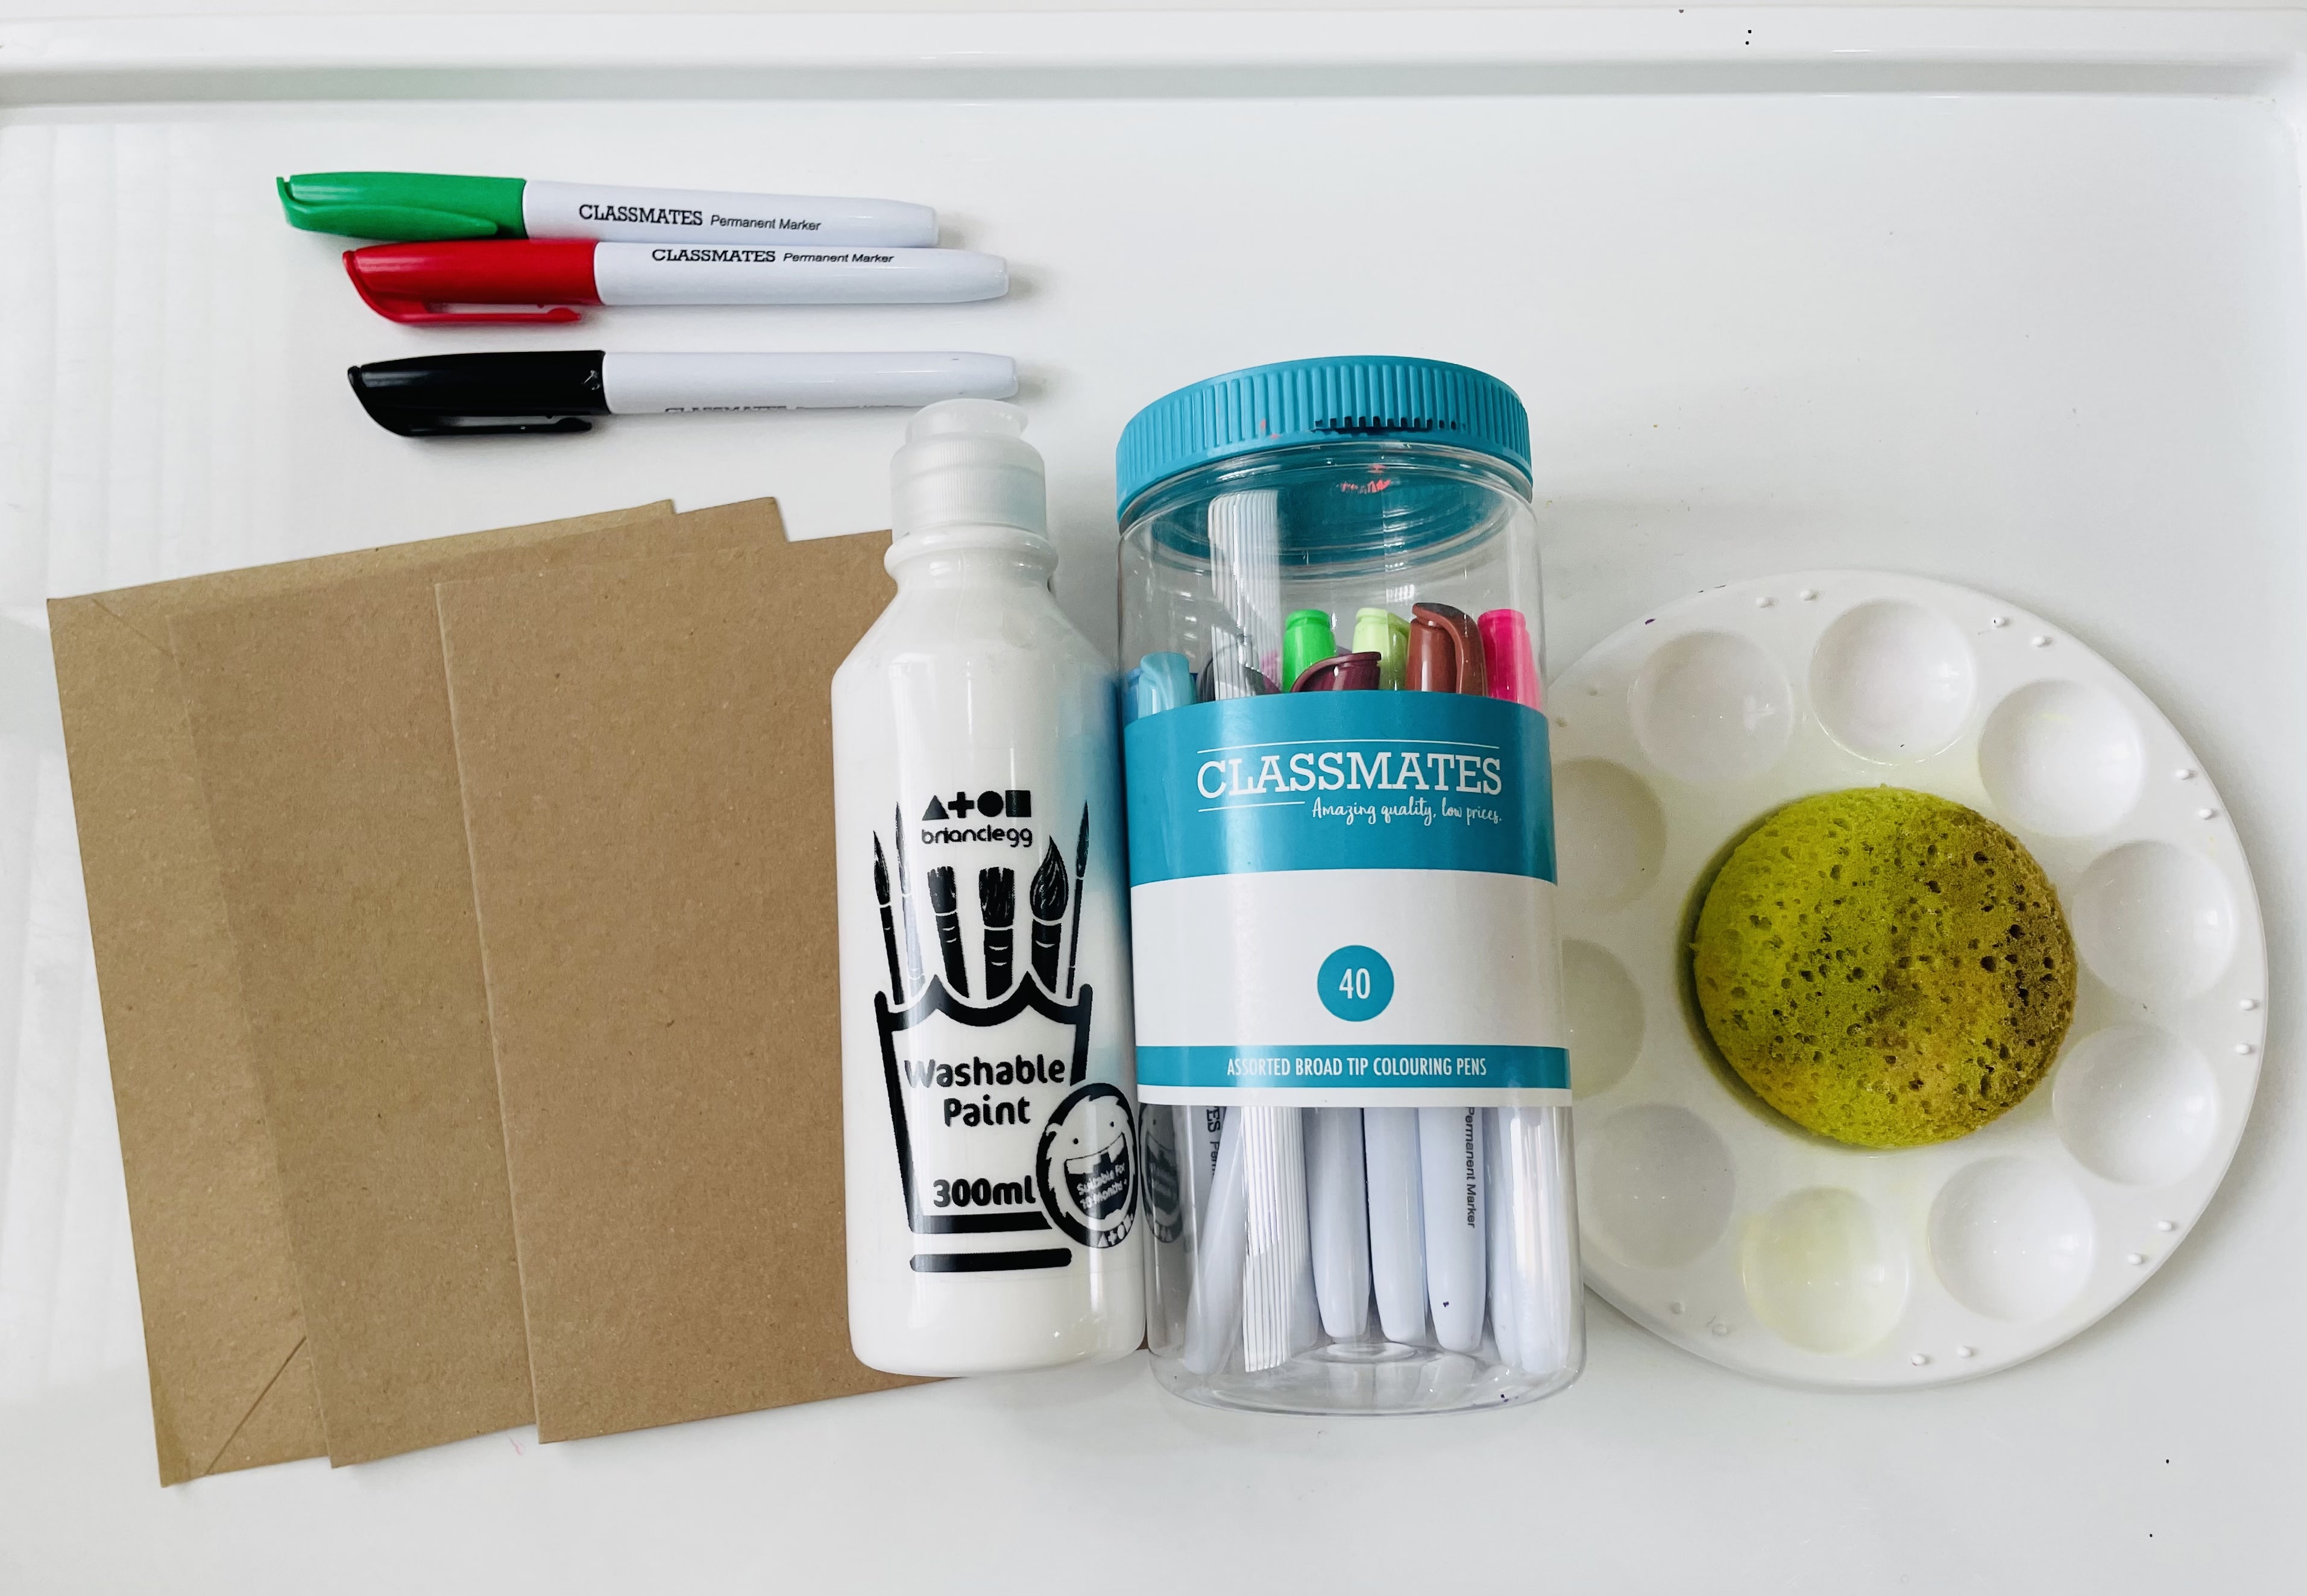
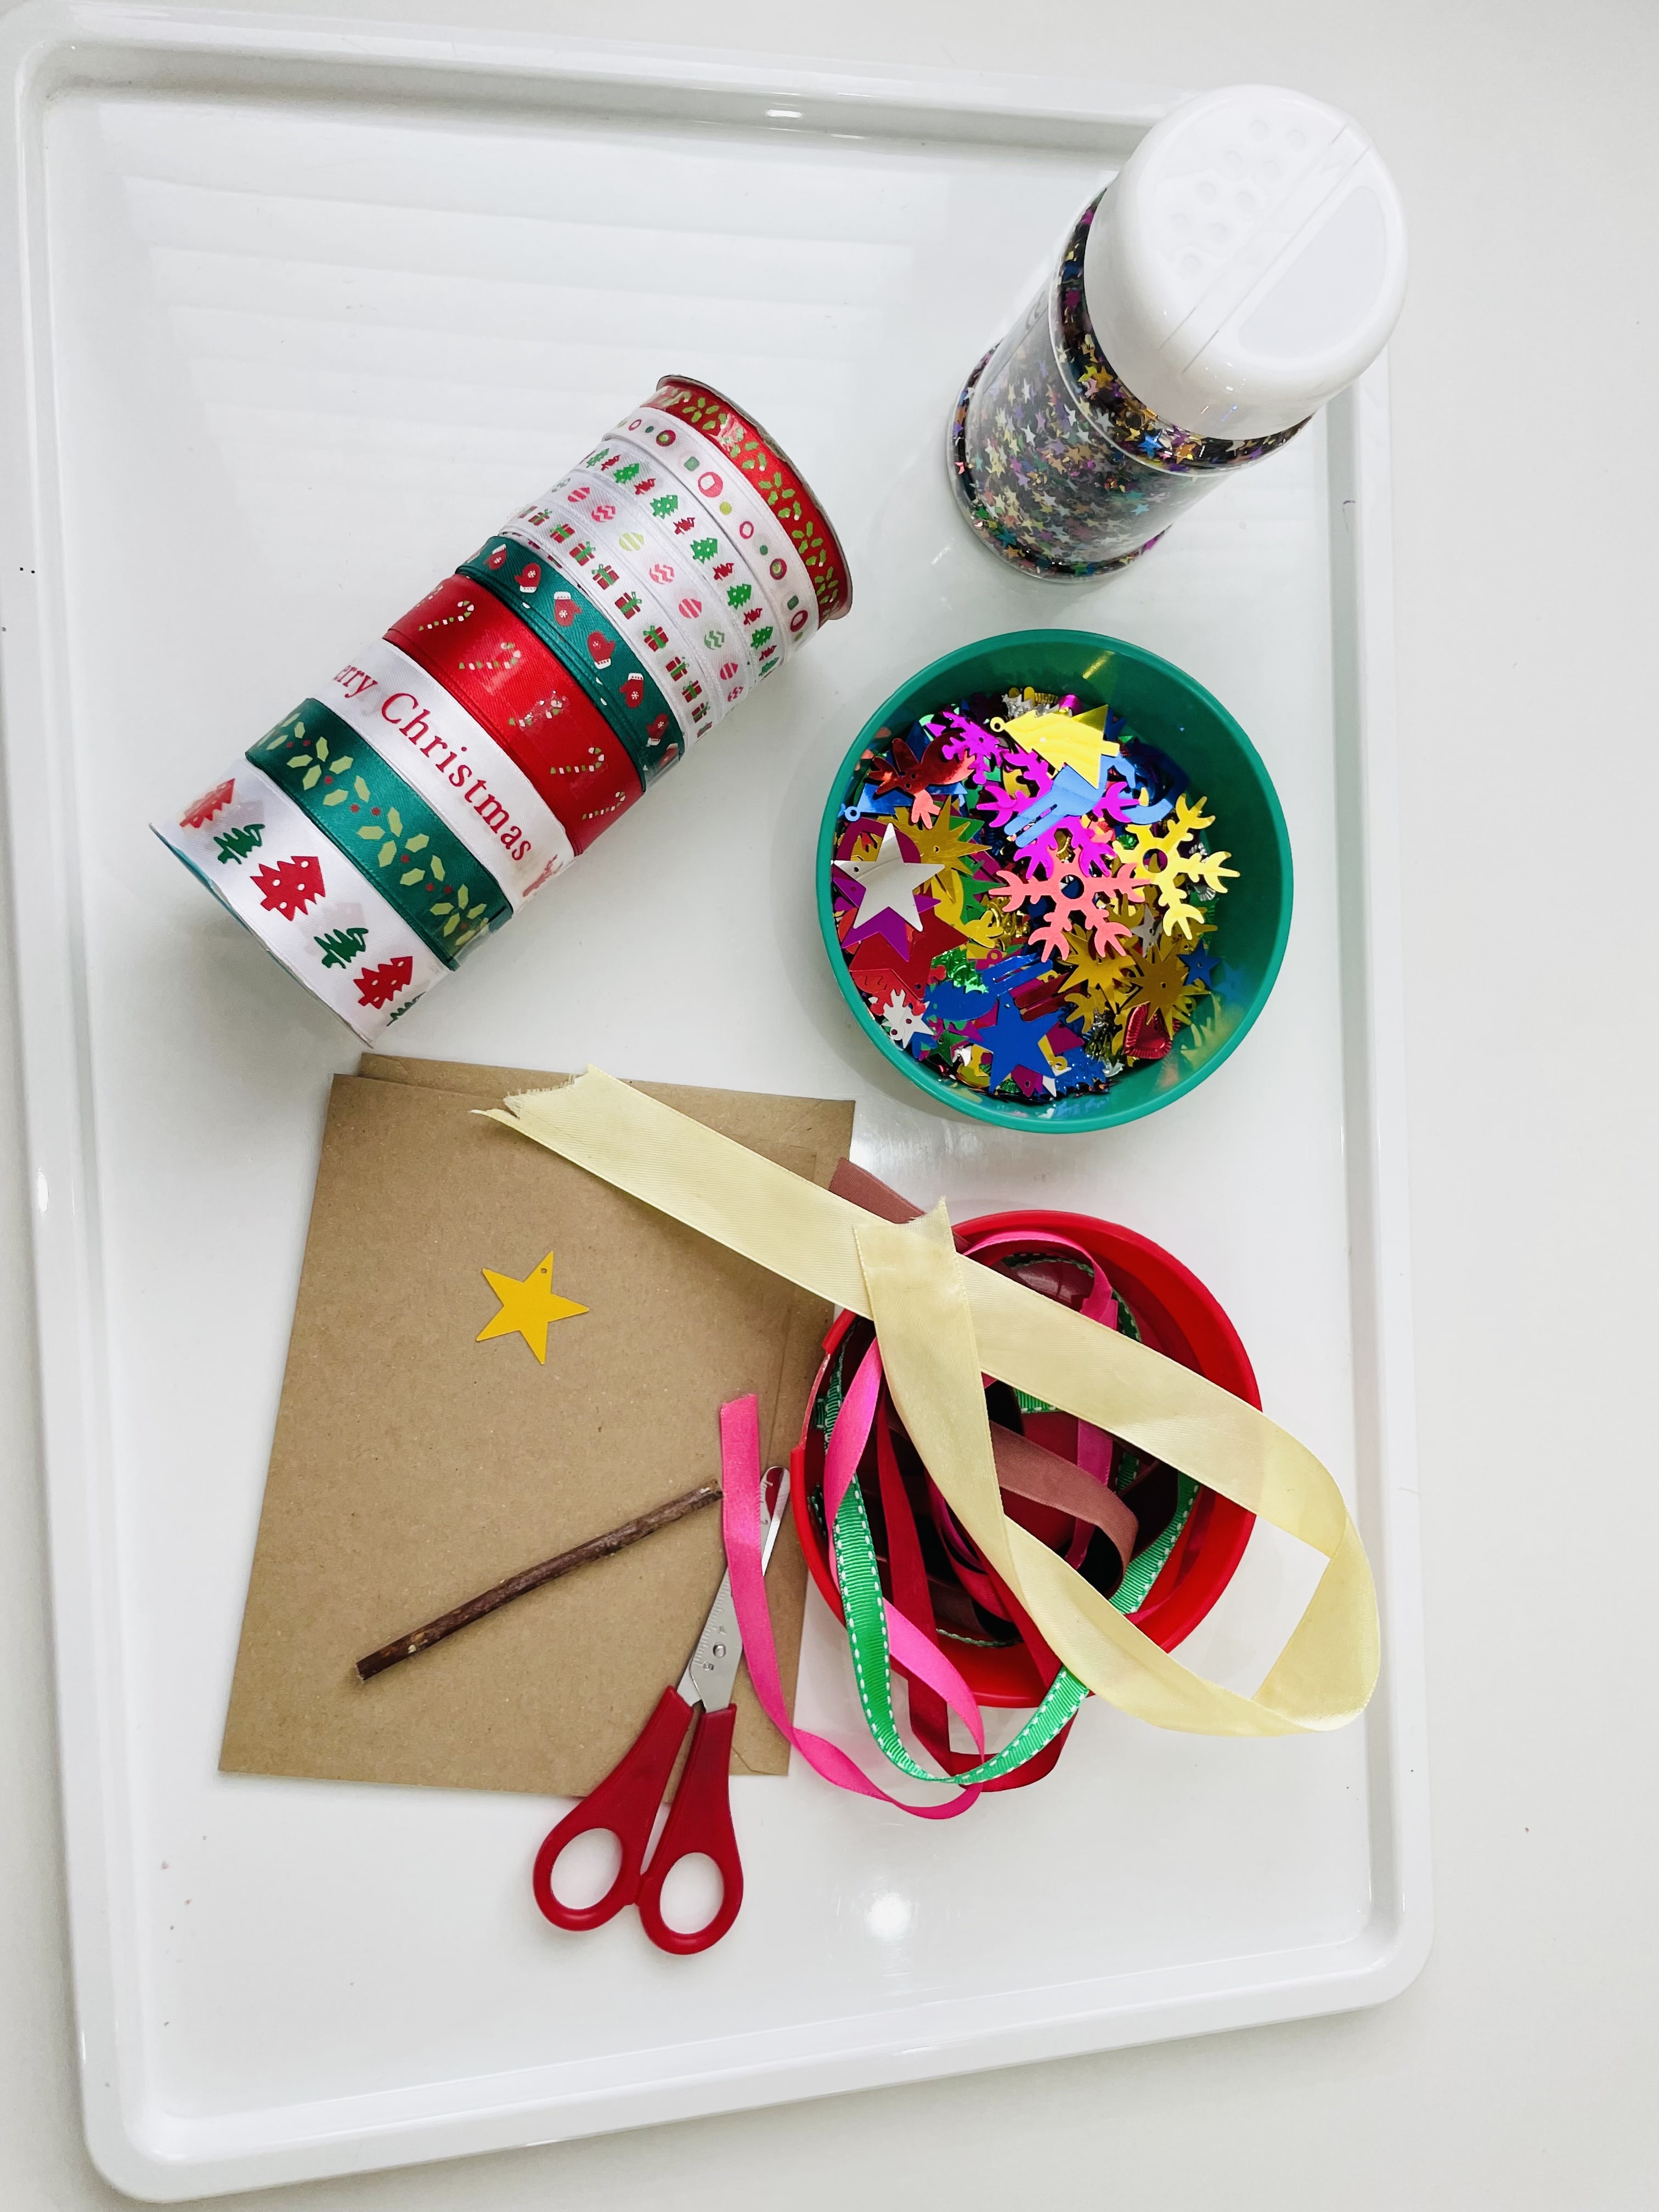
What you’ll need
- Card
- PVA Glue
- Ribbons
- Marker/Paint or colouring pens
- Twigs
- Paint
- Buttons/Eyes
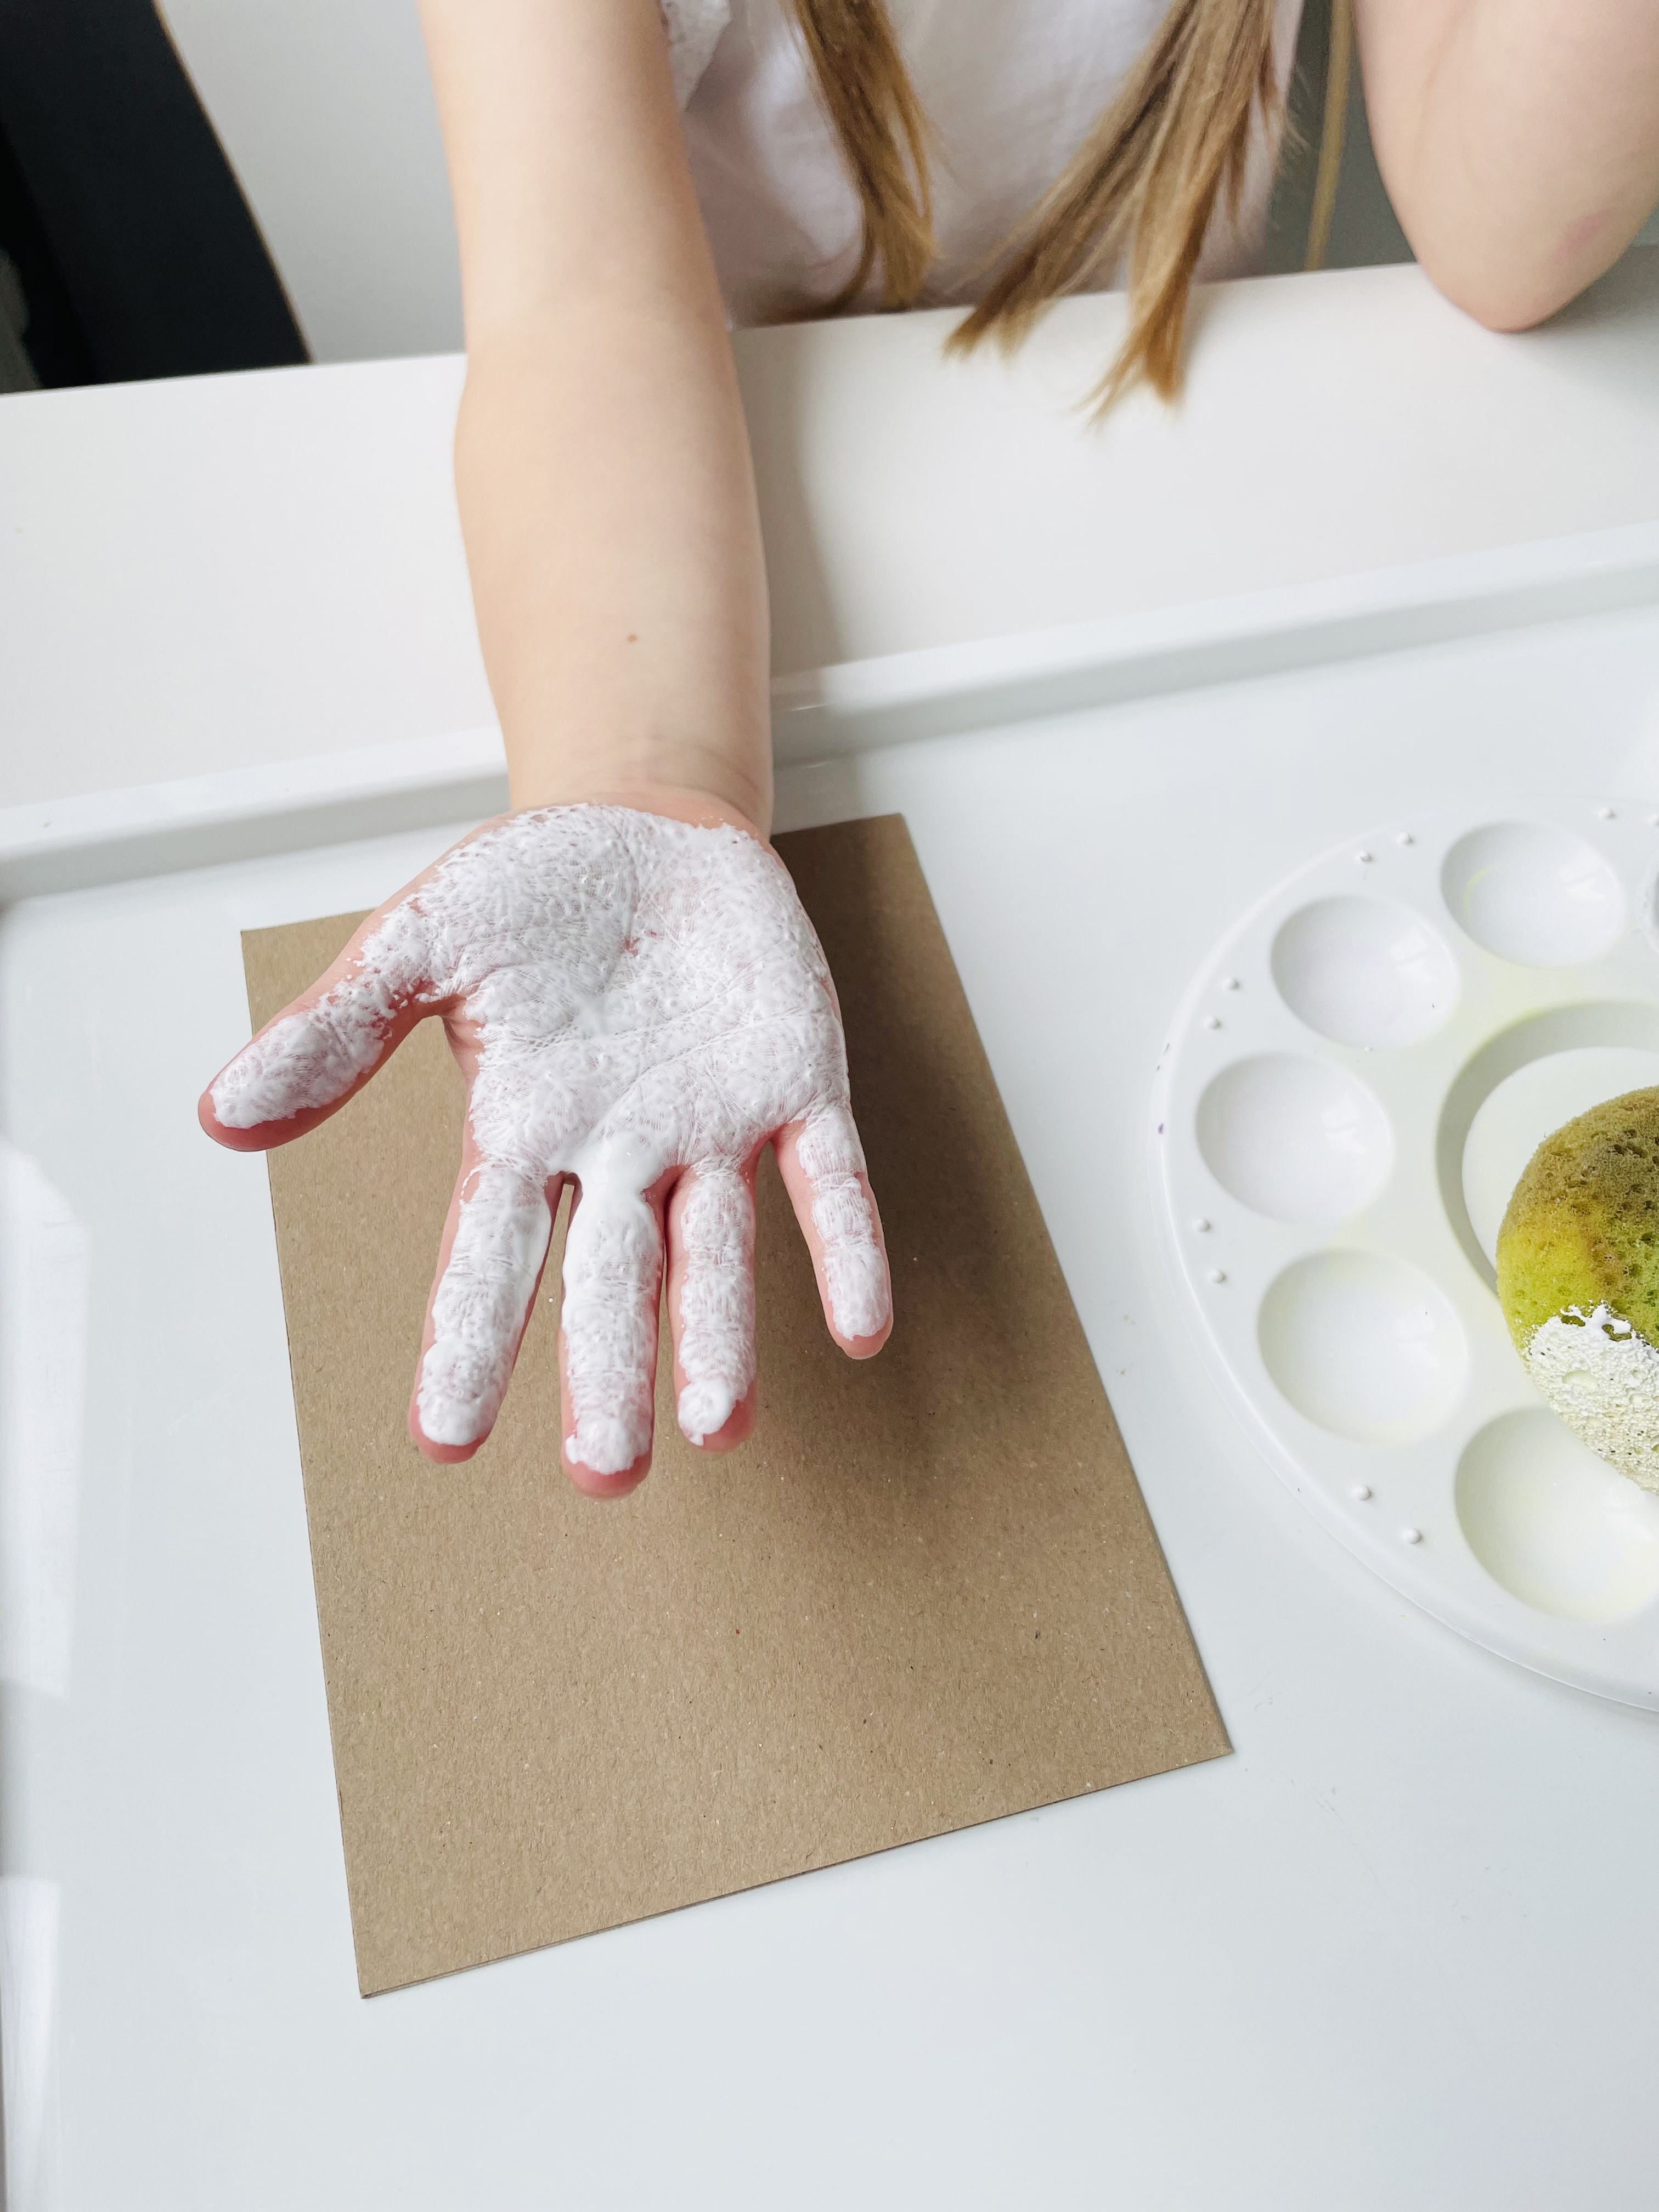
Snowman Handprint
We couldn’t have Christmas card crafting ideas without at least one handprint craft! It adds a personal touch, and most children love getting their hands stuck into the big dish full of paint in front of them.
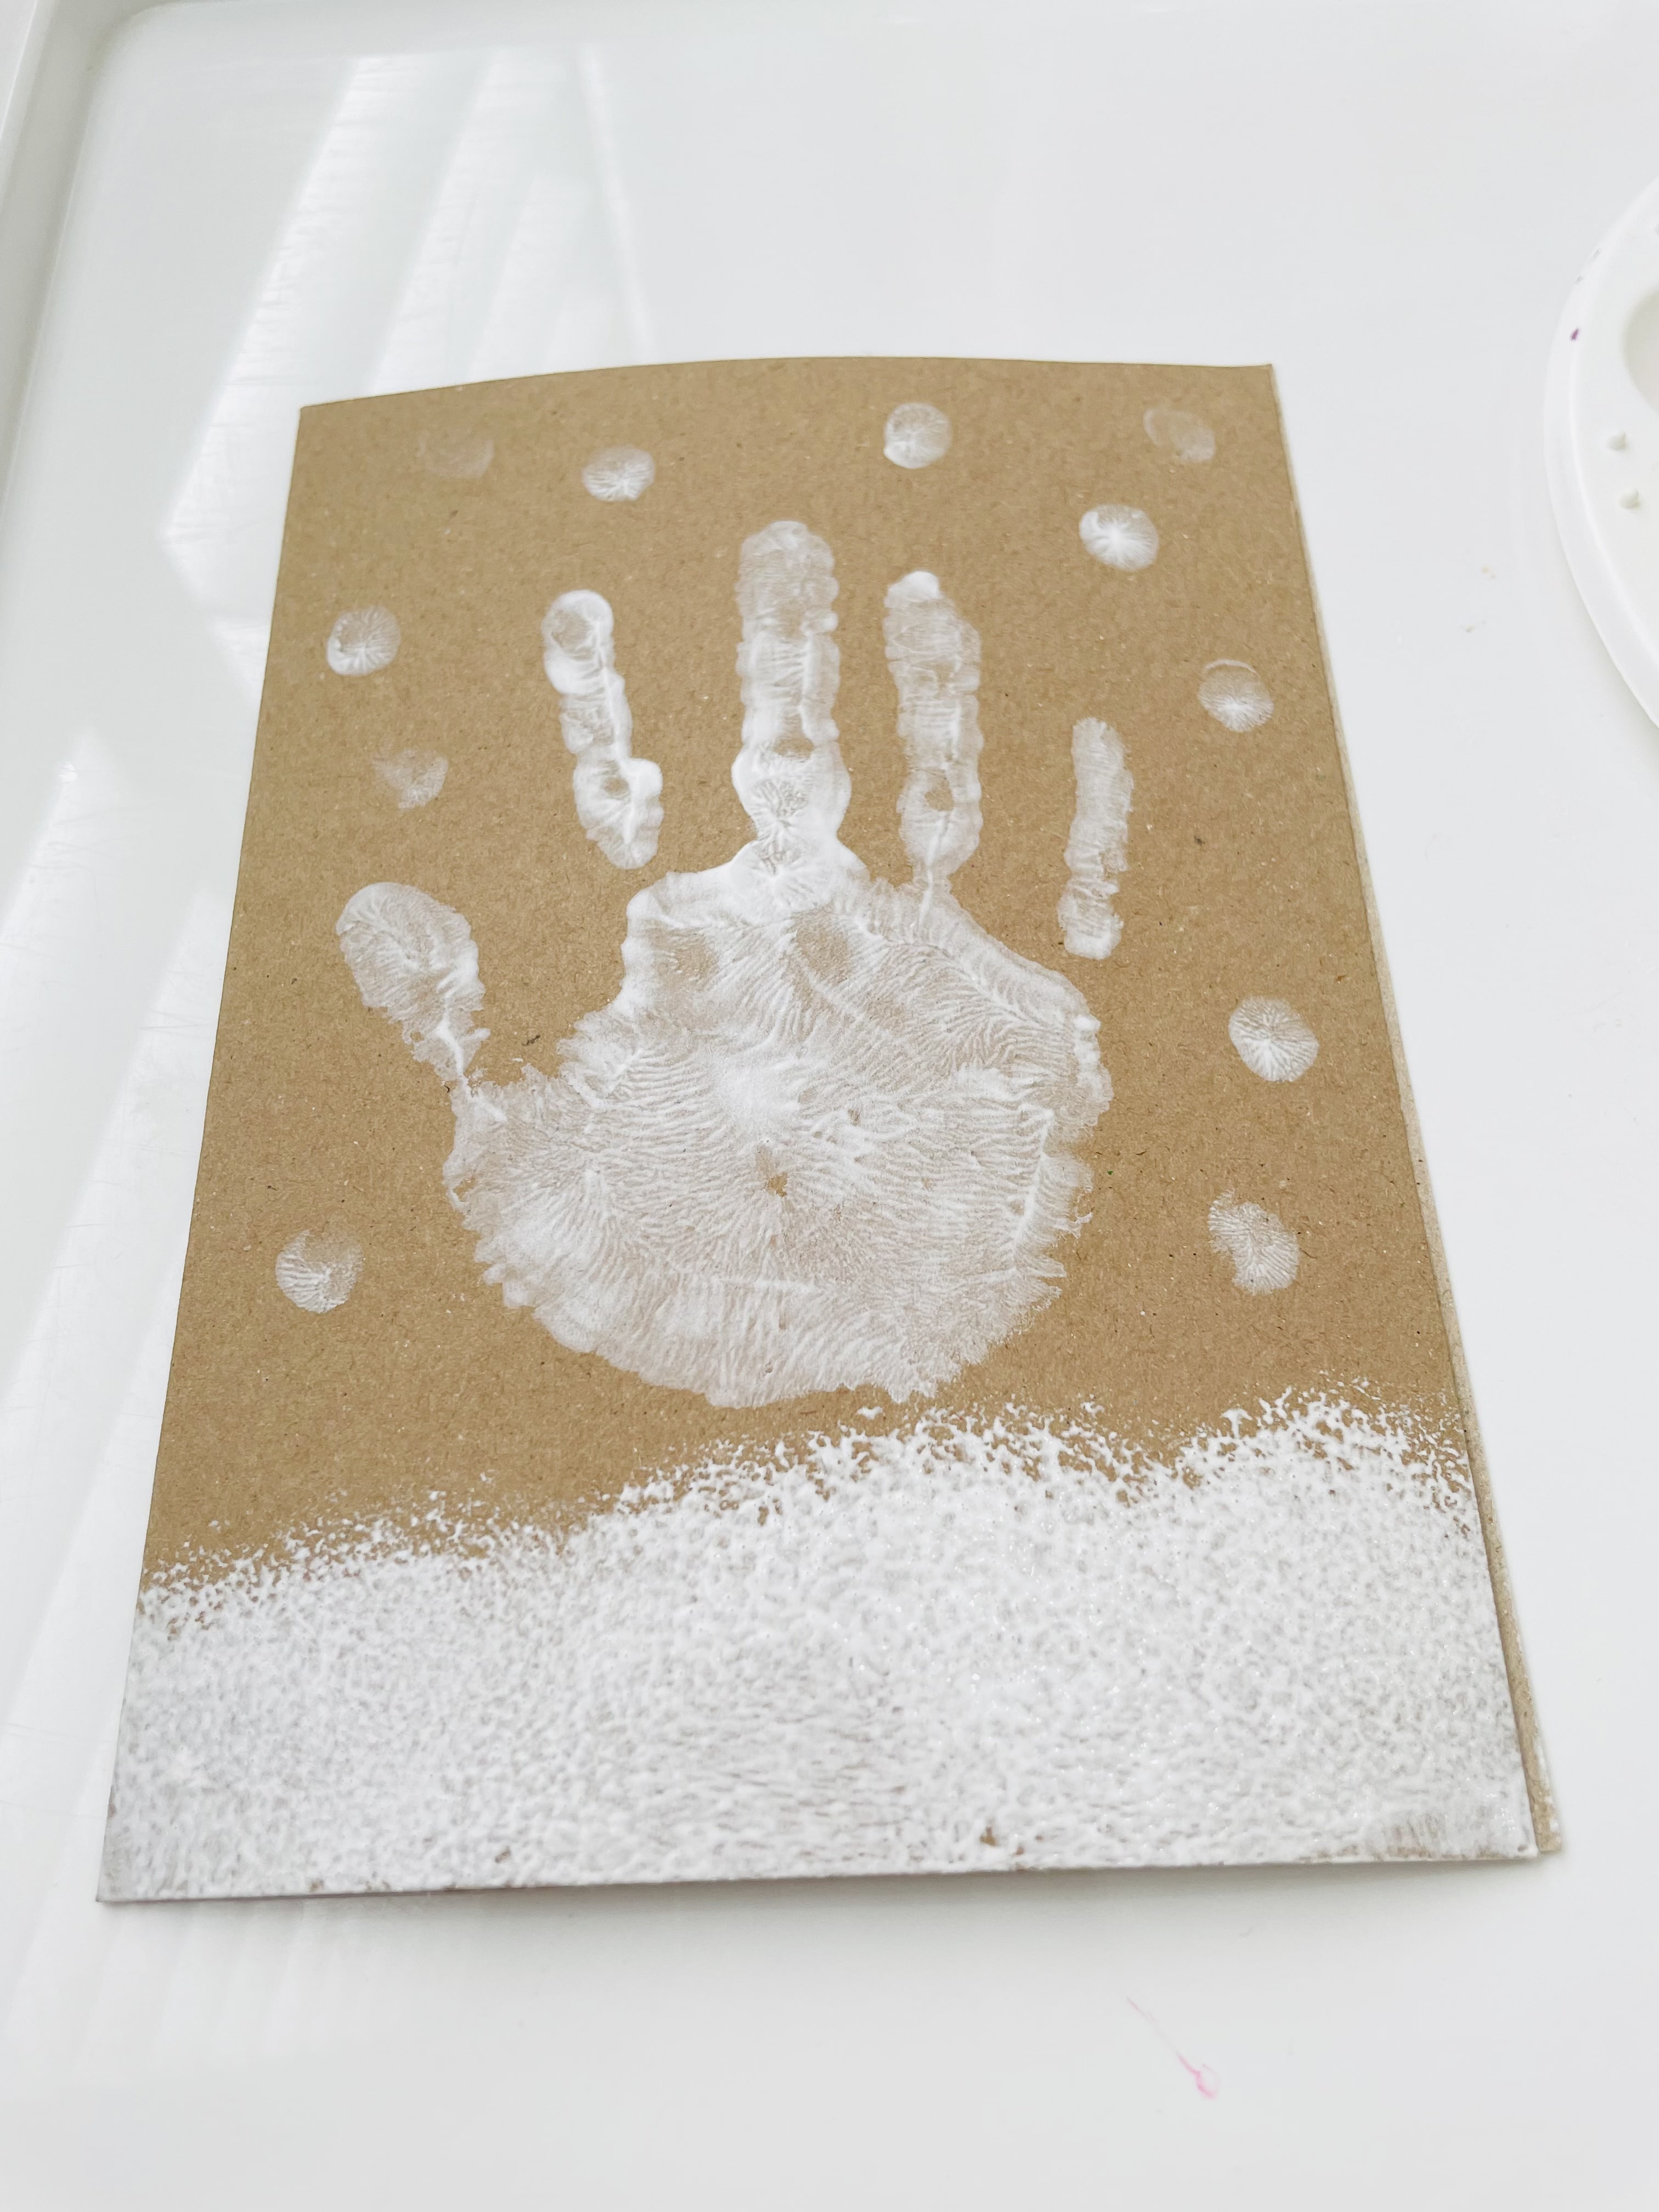
Step 1
Start by using a sponge to create a snowy base along the bottom of the card. Then, encourage the children to cover their full hand in paint, and press down firmly onto the pre-folded card. Whilst the paint is still wet, ask the children to use one paint-covered finger to create the falling snow.
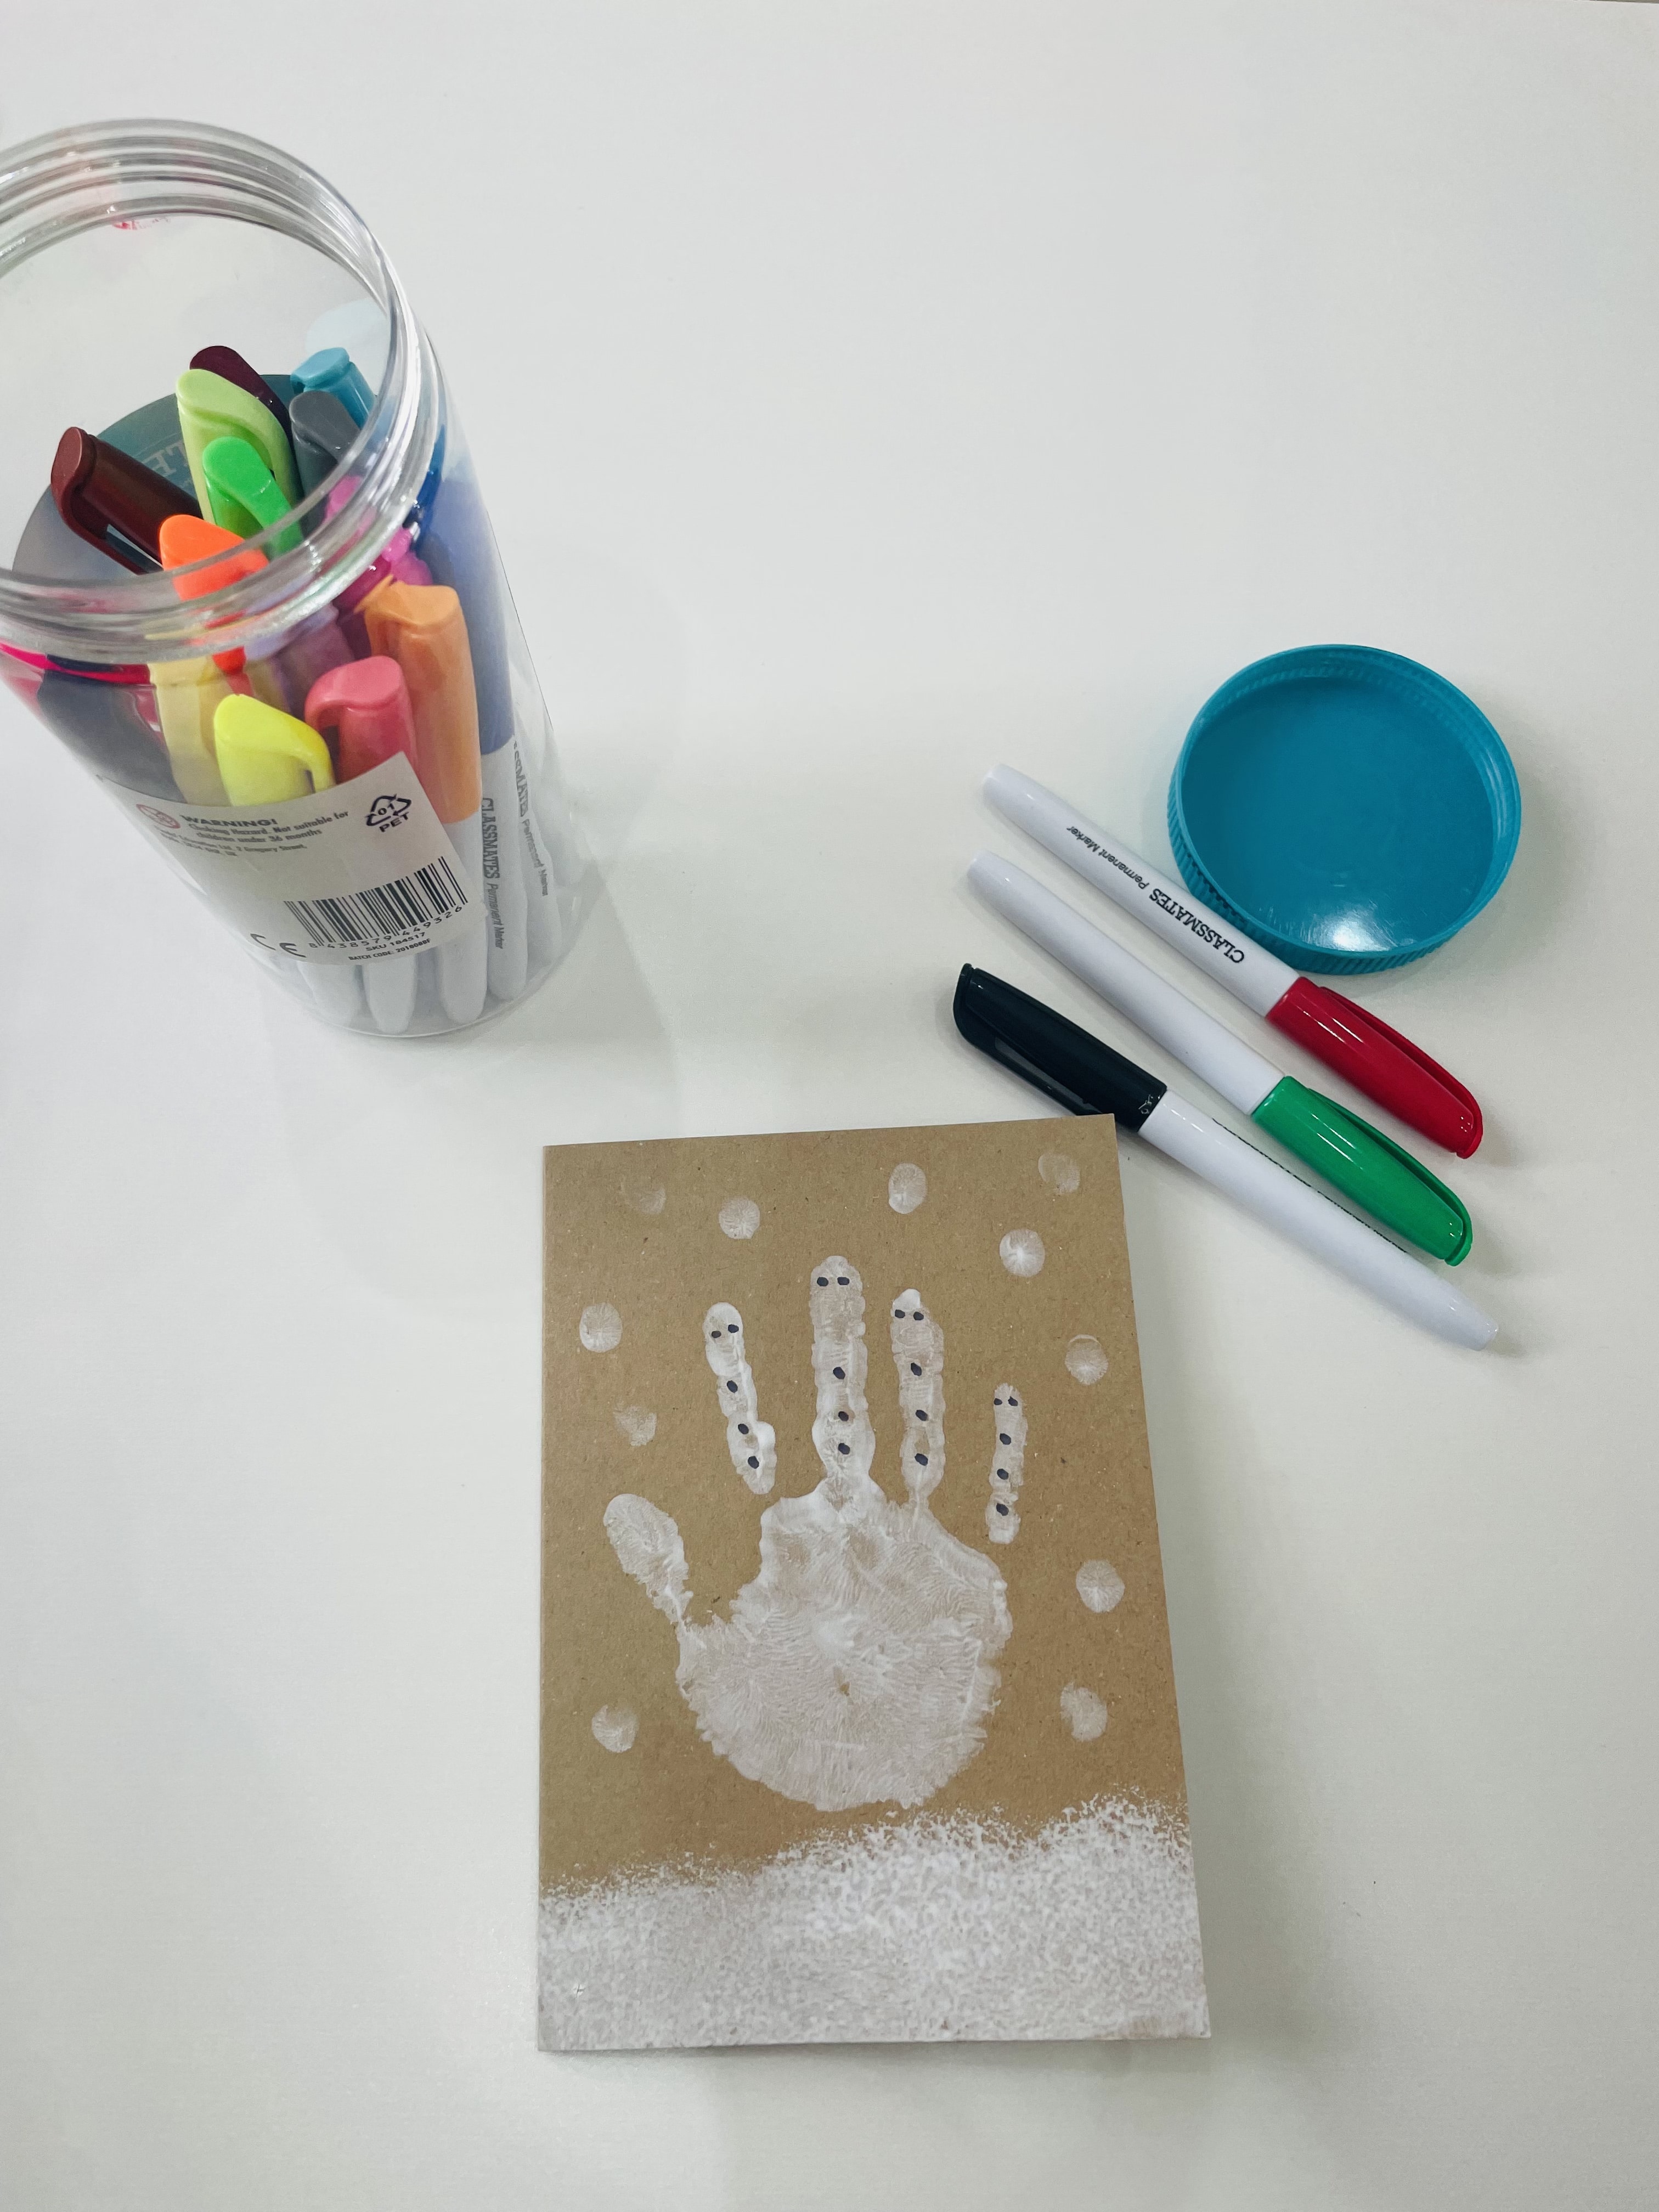
Step 2
Once the card has fully dried, provide children with a range of coloured pens to decorate their handprint into 5 lovely snowmen! Think coal buttons, twigs arms, smiling faces, hats and scarves.
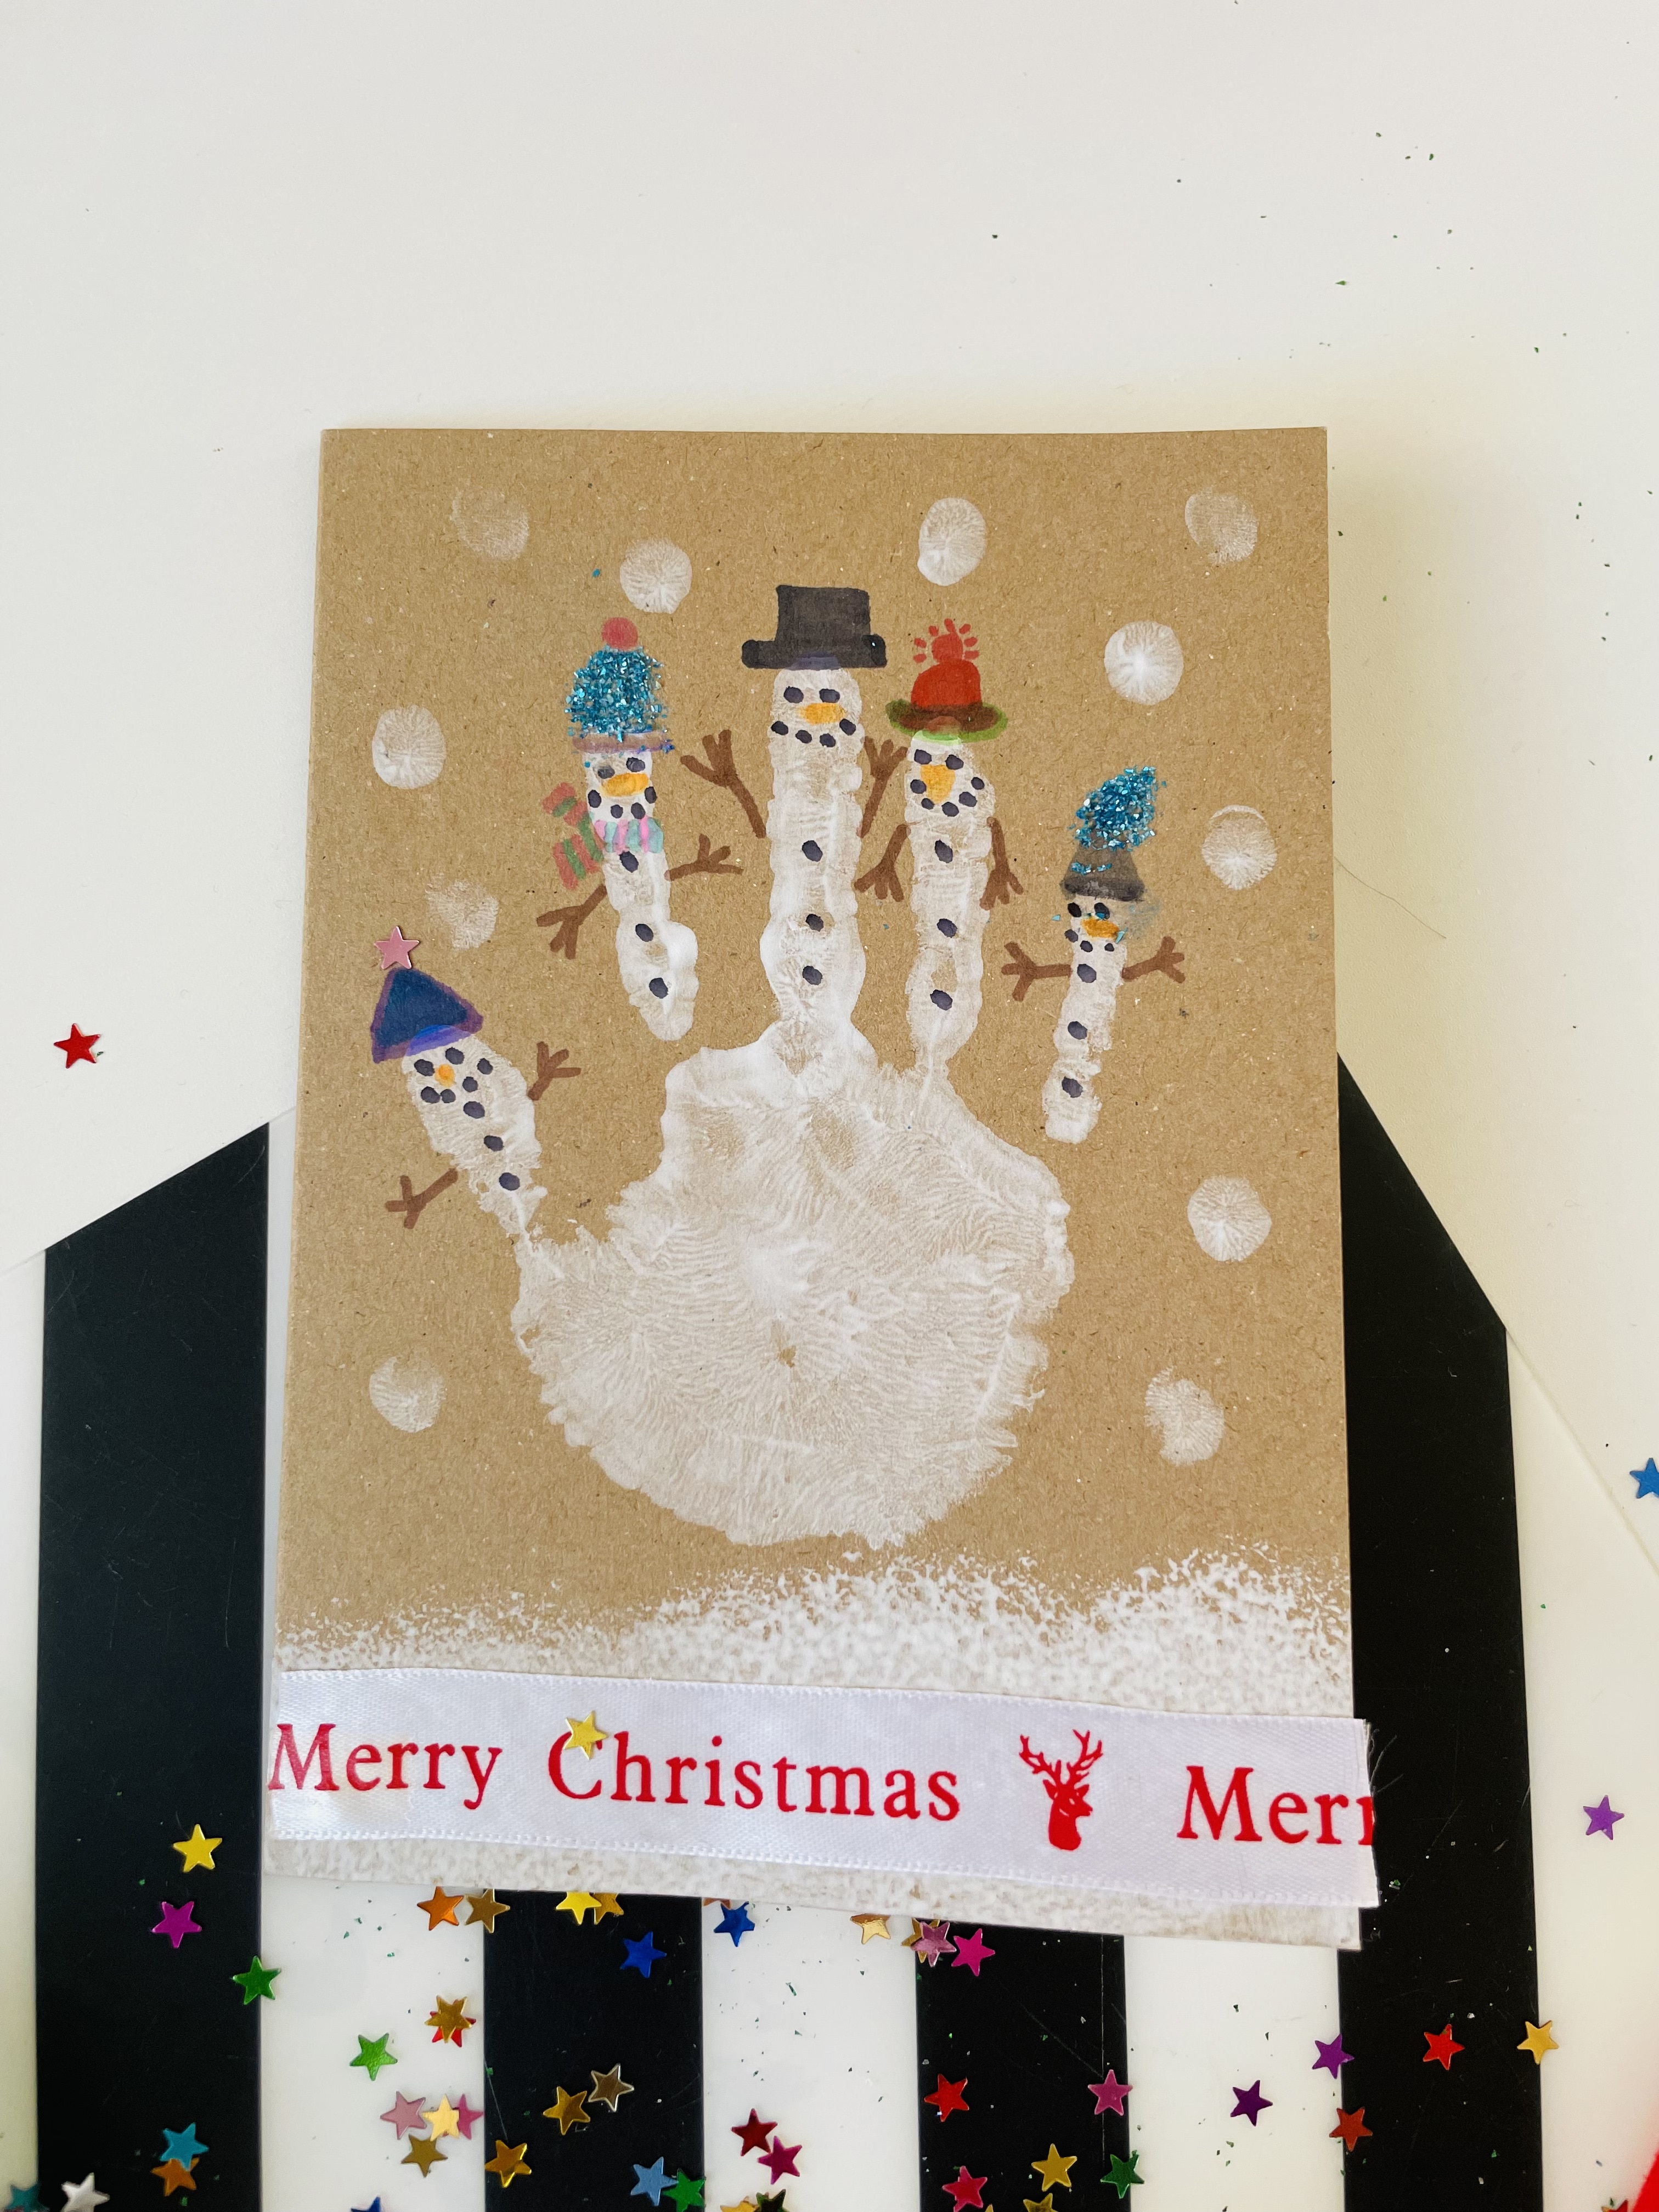
Amazing fun for the children getting their hands dirty! With such a great effect afterwards!
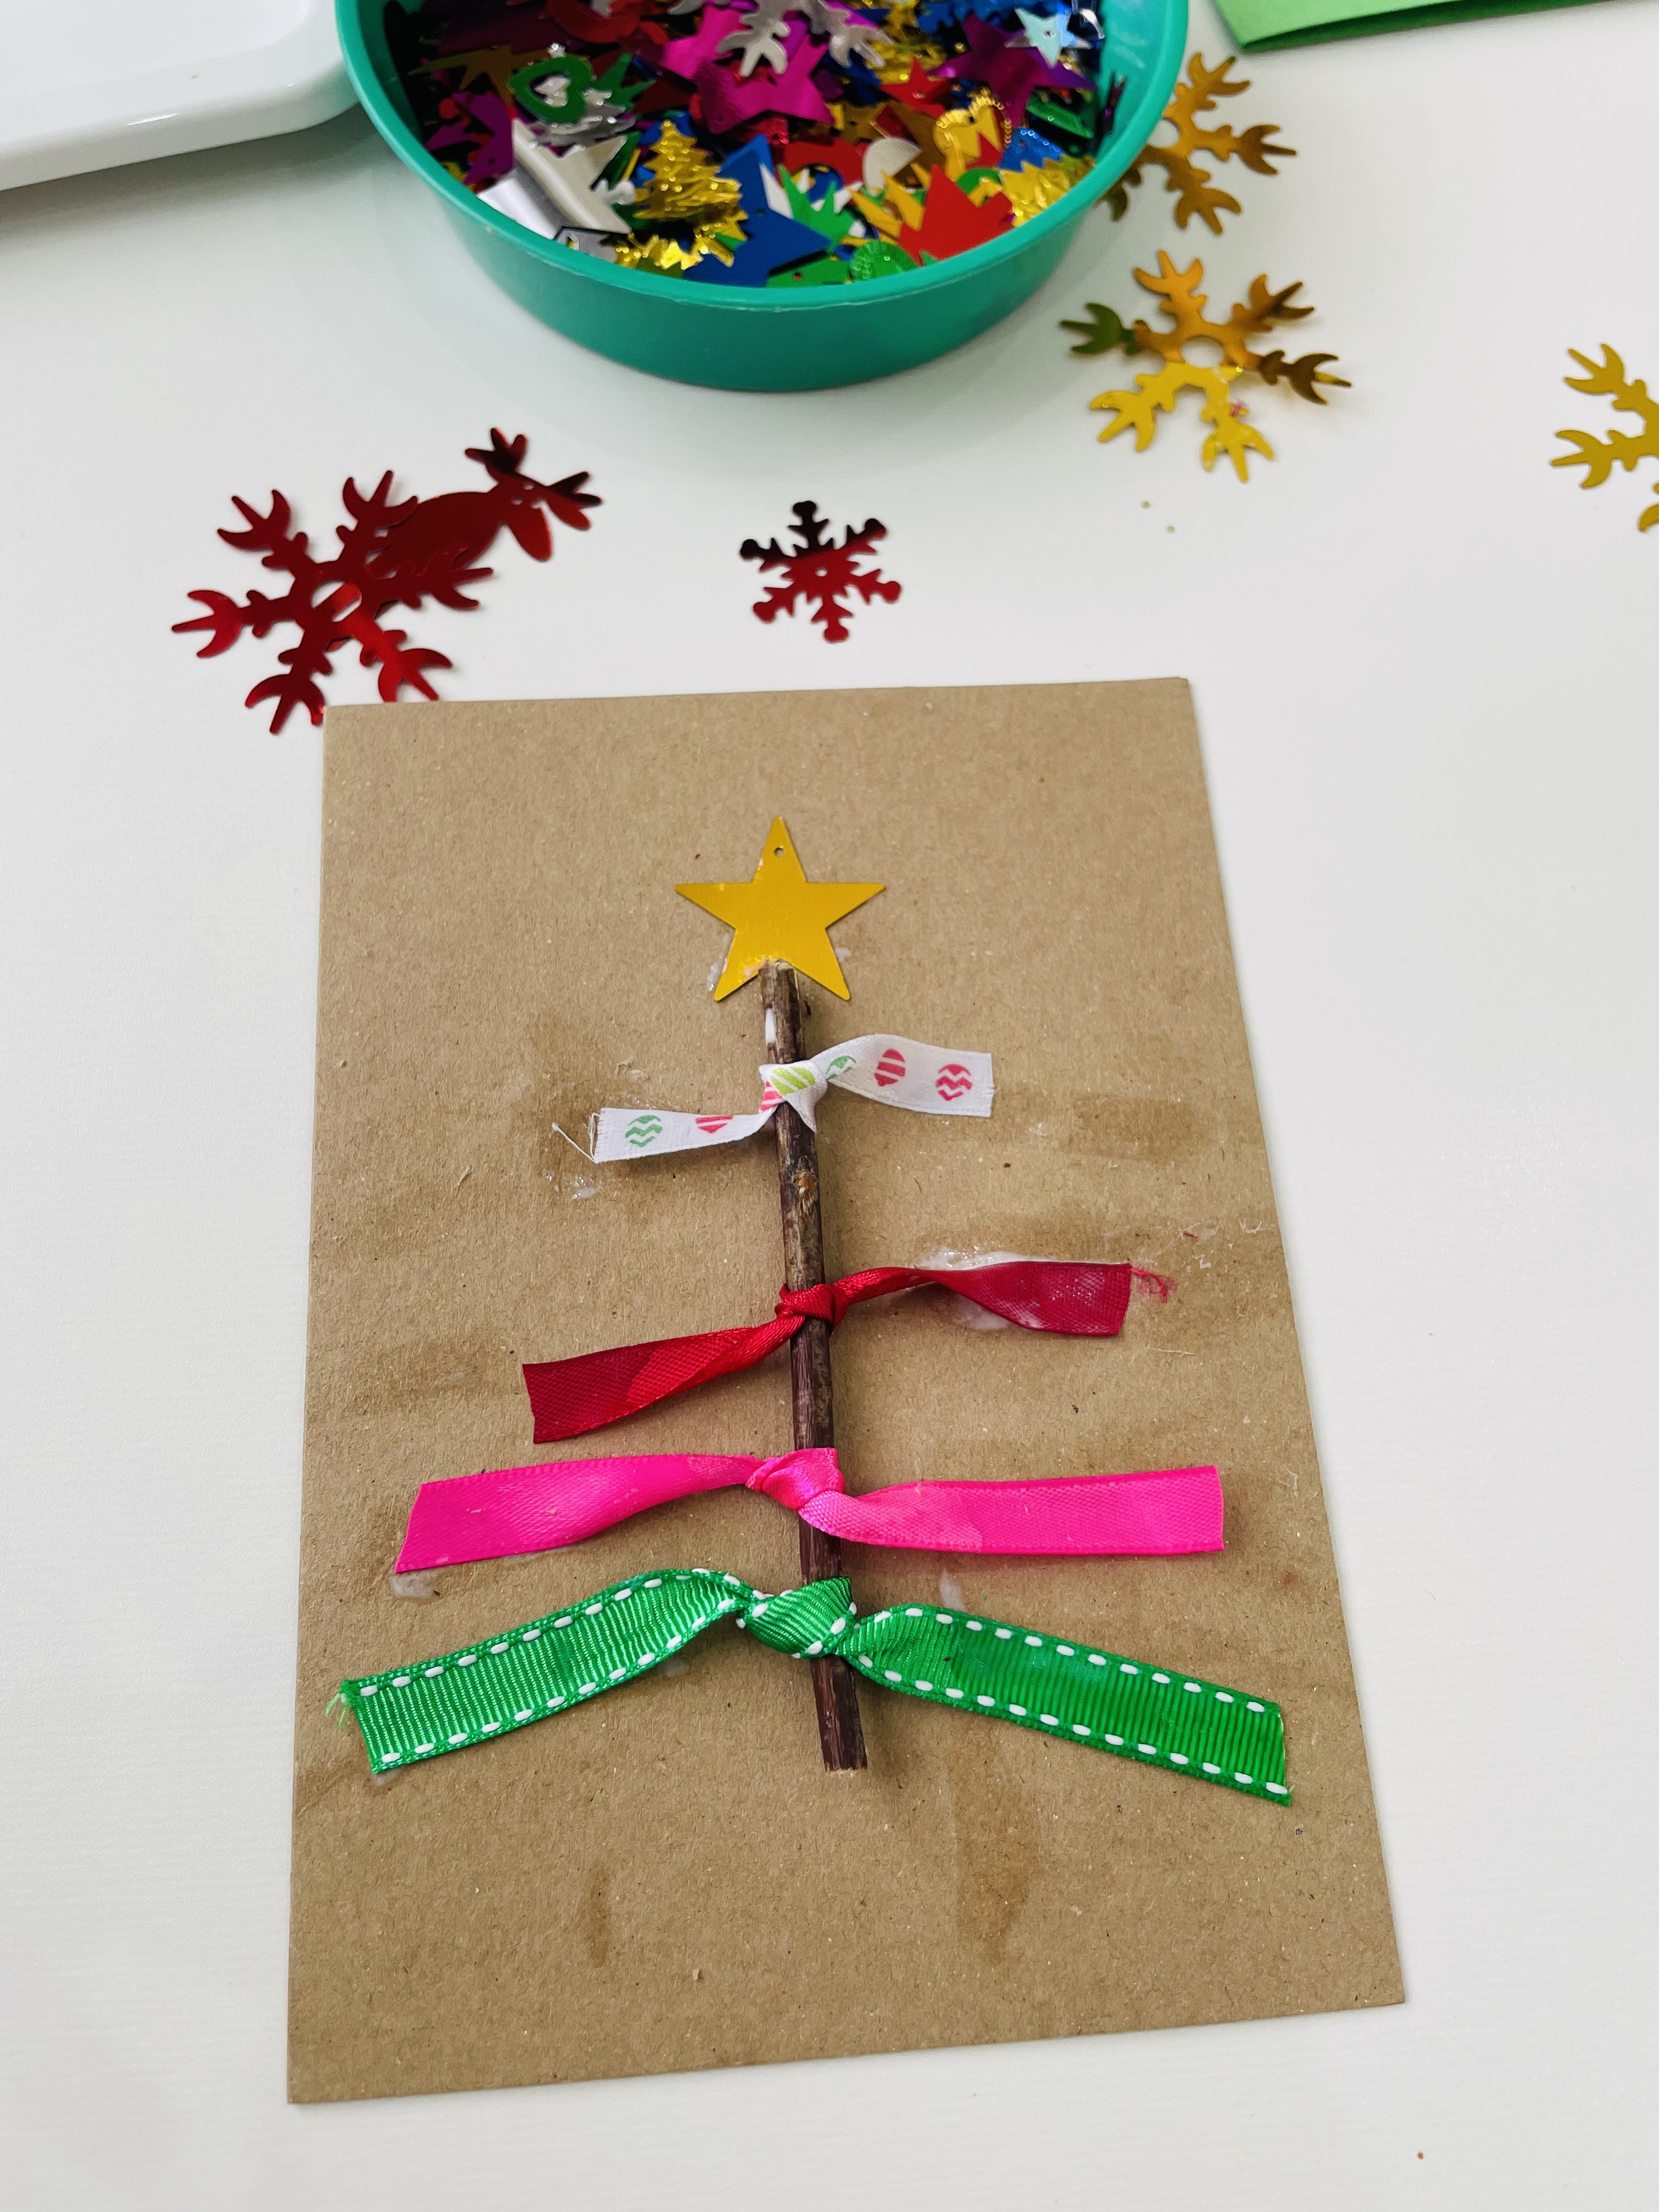
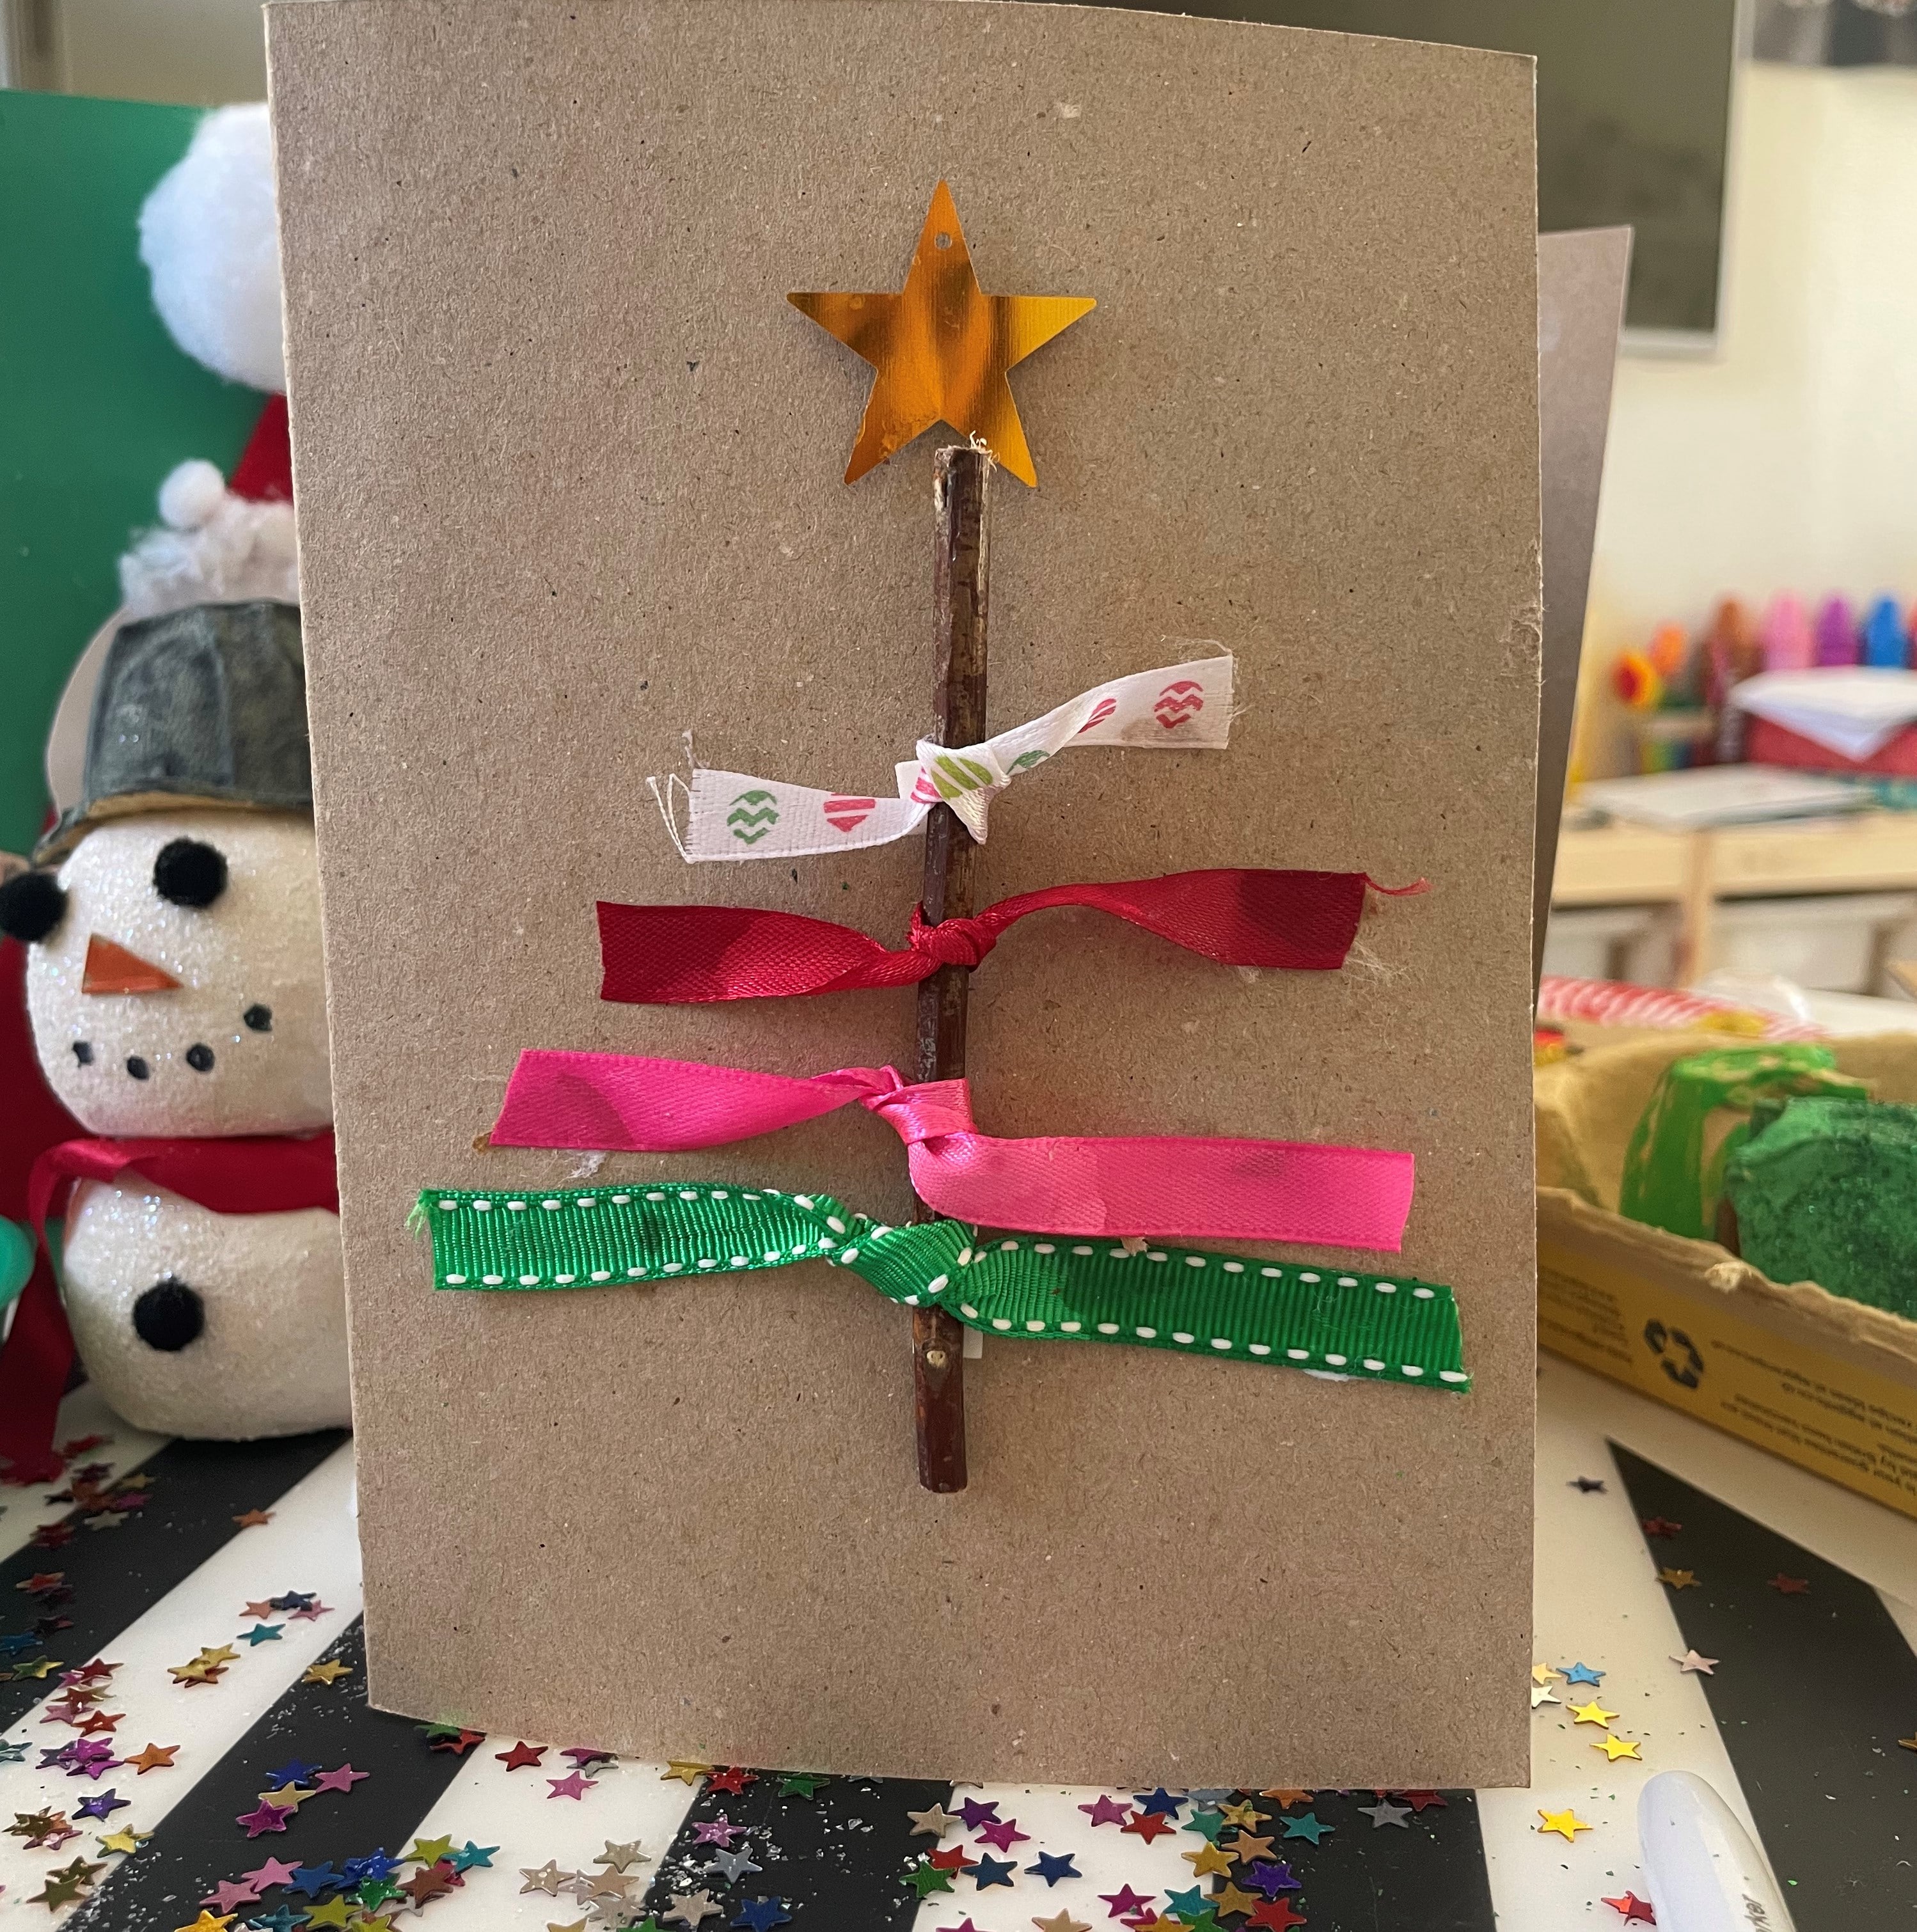
Natural Christmas Tree
We love this one! It’s super simple yet looks lovely, parents or carers won’t be able to resist putting it pride of place in the home.
Step 1
Before you get started, you need to make sure you have a small twig, this will form the main body of the tree. You can collect these up in advance, or why not extend the activity by taking the children out in the garden to find their very own twig?
Step 2
Give the children a selection or pre-cut ribbon strips, they will love rummaging through them all to find the perfect ones for their tree! Once they have their selection, help them to tie each one around the twig as shown, this is a great activity for help with fine motor skills and hand-eye coordination.
Step 3
Once finished, use PVA glue to affix to a pre-folded card and top with a beautiful gold star.
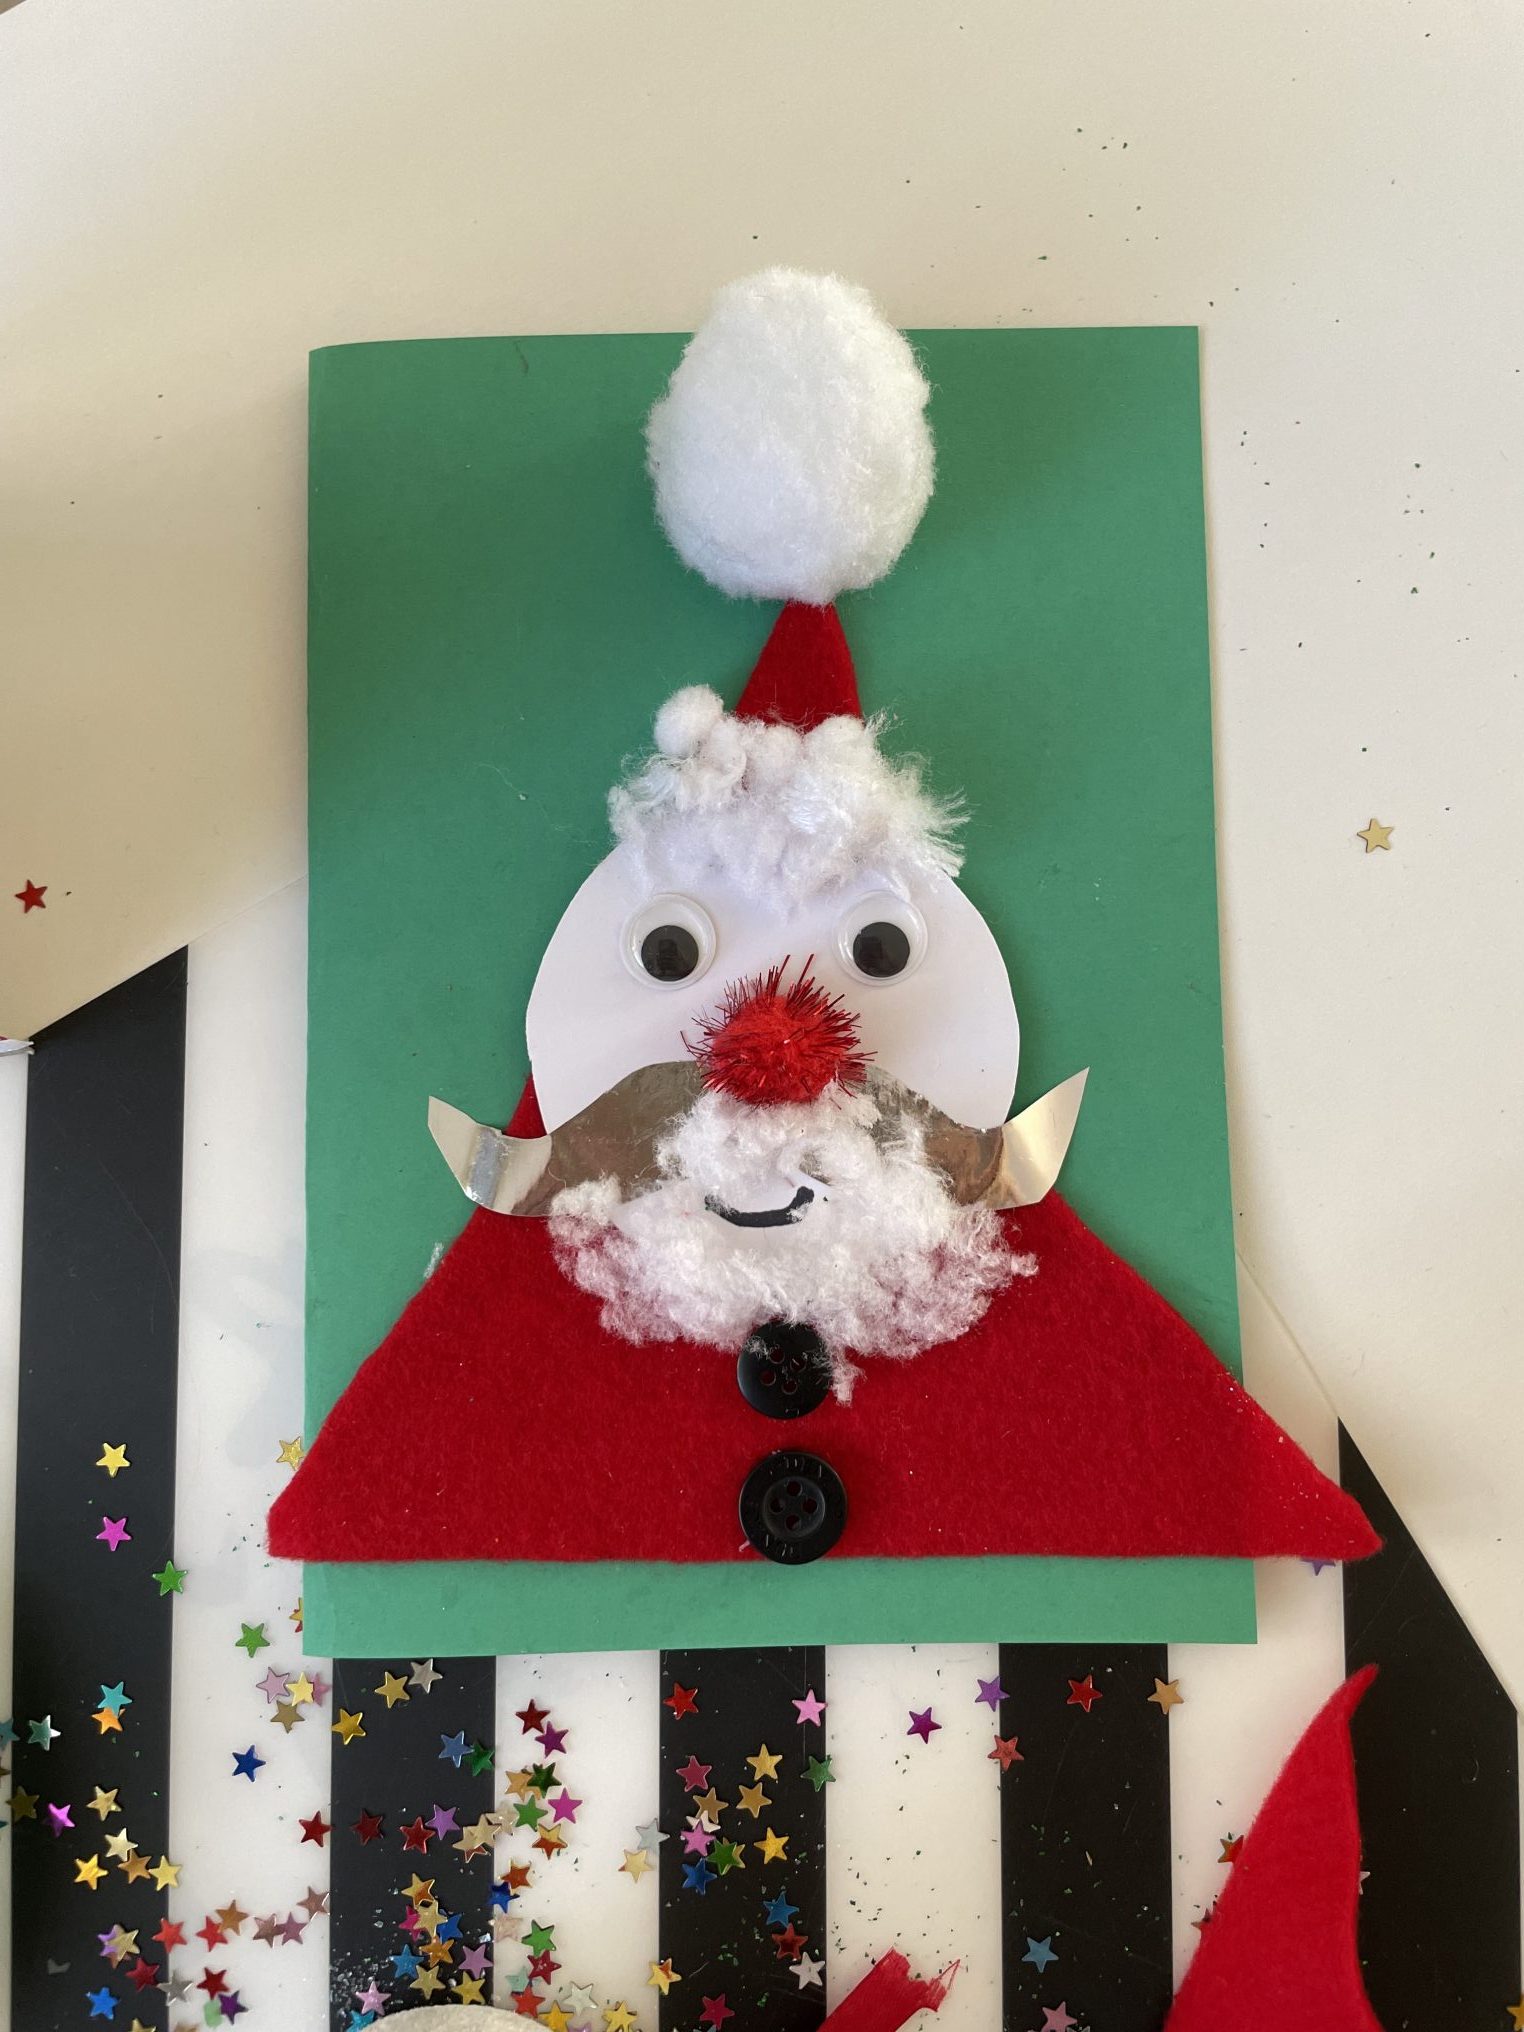
Smiling Santa
To finish off Christmas Card Crafting, we have this lovely smiling Santa – it’s bright, fun and uses a range of different materials and textures.
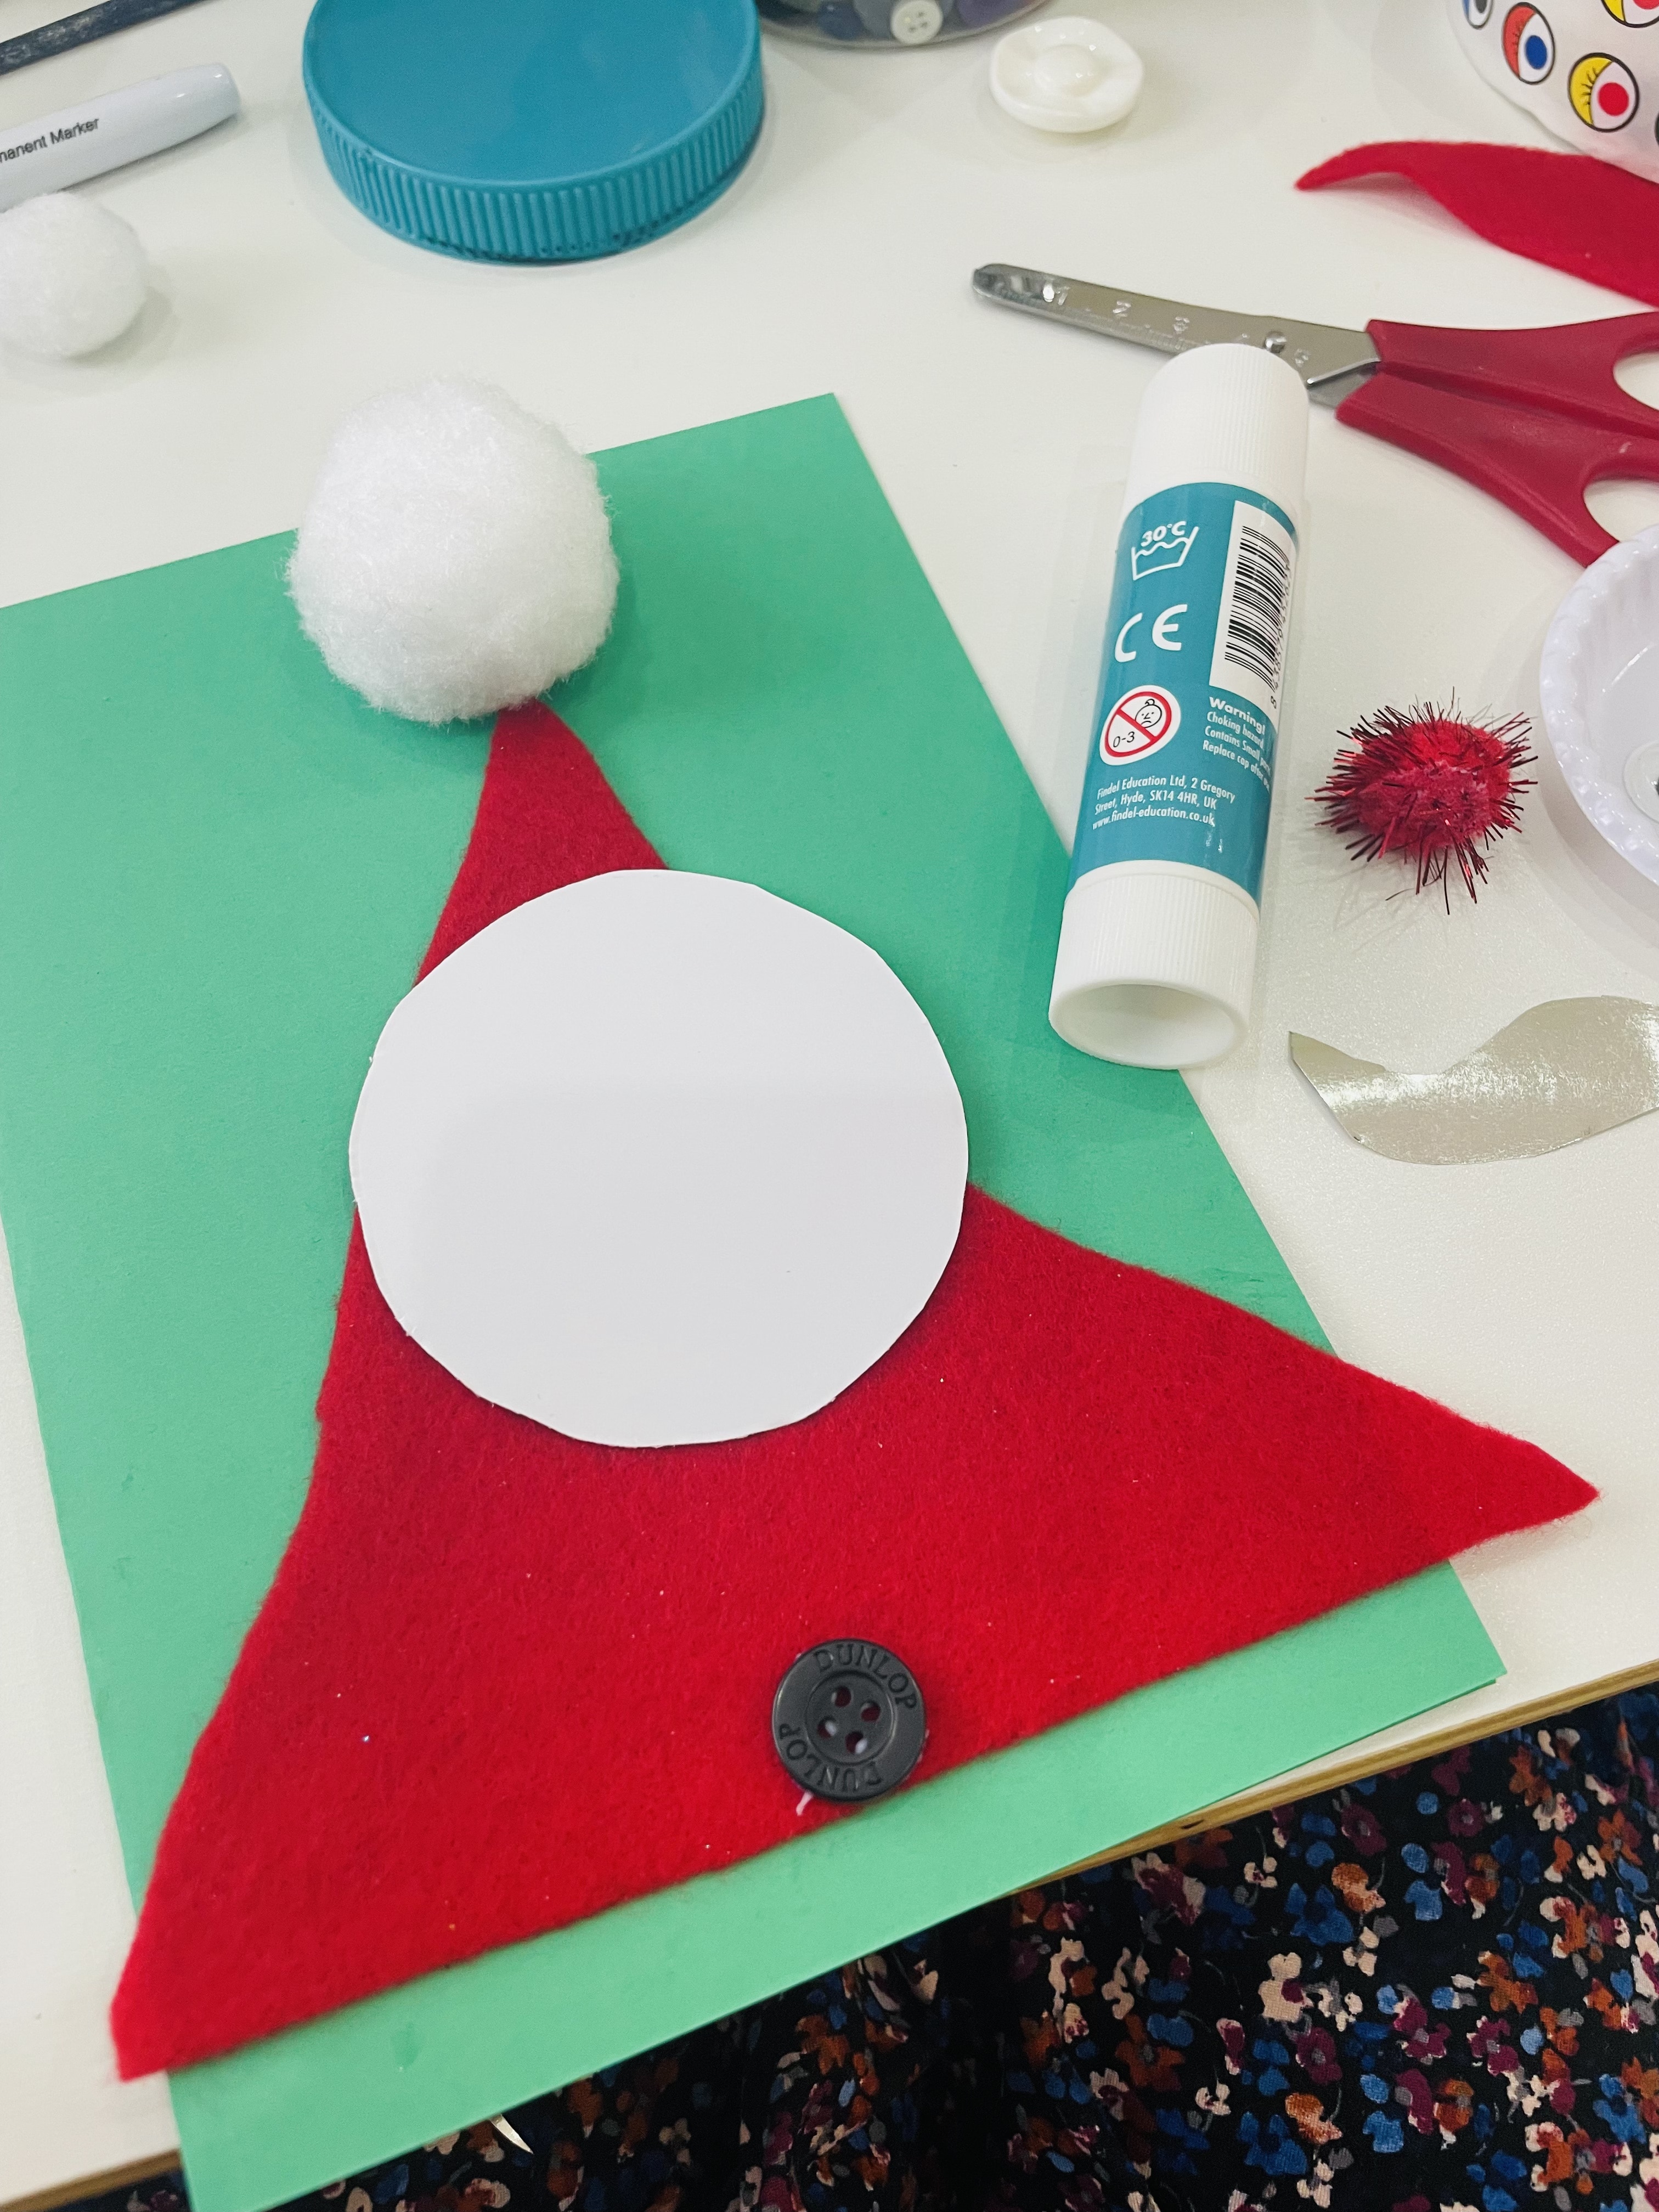
Step 1
Start by taking some red felt and cut out 1 large triangle and 1 much smaller triangle. Glue the large triangle in place at the bottom of your pre-folded card and glue black buttons onto the middle, this is Santa’s body.
Step 2
To make Santa’s smiling face, cut a large circle out of a piece of white paper or card. Use wiggly eyes, pom poms, shiny paper and cotton wool to start to add his features. Glue the face onto the top of the red felt body (don’t glue the top of the face down yet, we need to add the hat!)
Step 3
Finally, slide your felt hat underneath the top of the face and glue into place. Top with a big white pom pom or cotton wool ball and add a nice white trim. Glue the top of the face in place, and leave to dry.

Make sure you follow @my_three_little_strawberries on Instagram for more creative ideas and Christmas Card Crafting!